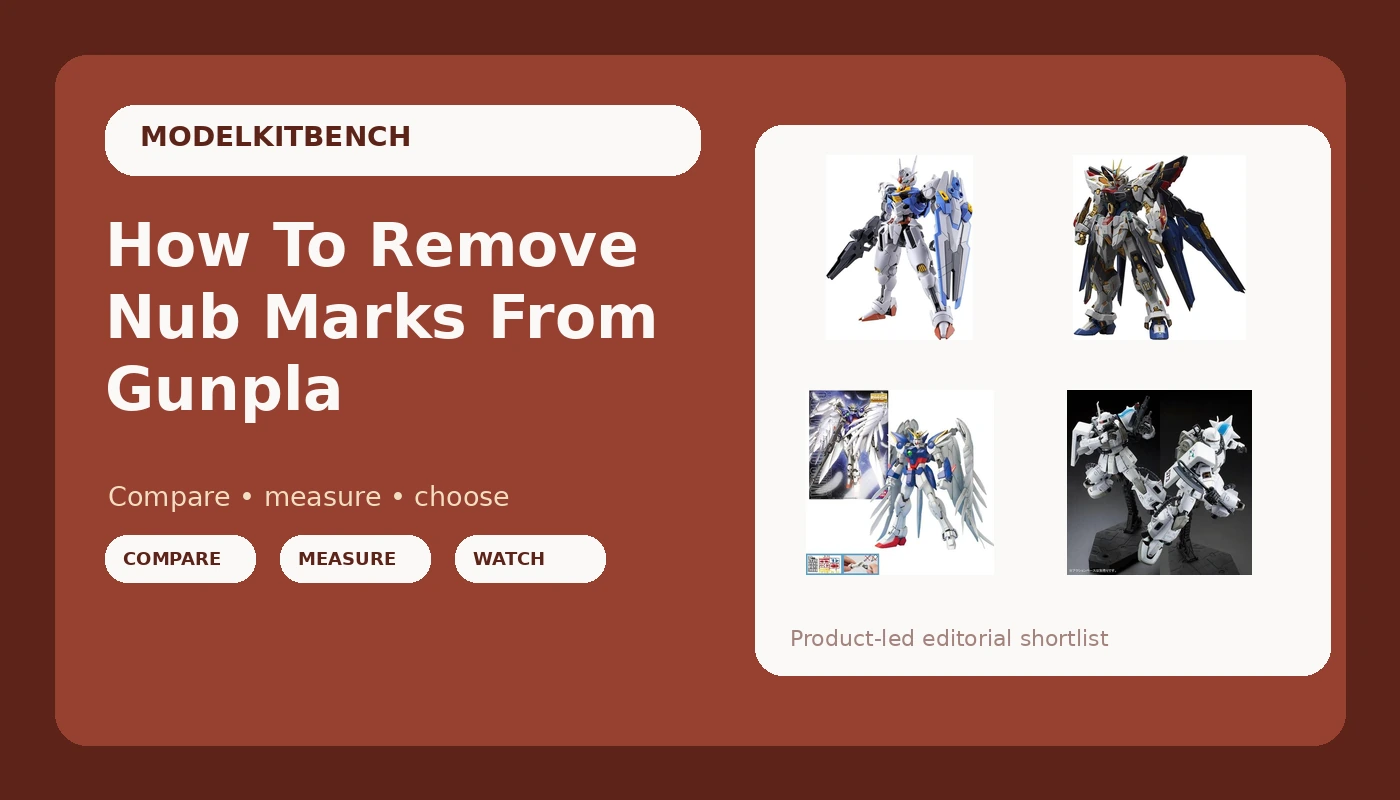
I've been cutting parts off runners since I was eleven, which means I've probably created more nub marks than most people will ever see. I've also removed a few thousand of them. The MGEX Strike Freedom taught me the hard way that a visible nub on a gold-plated surface is a permanent scar, not a learning opportunity.
This guide covers the tools that actually work, the techniques that save you time, and the mistakes that cost me hours of sanding.
Why You Should Trust Me
I'm Kenji, and I've been building Gunpla for over 25 years, with a 15-year gap that ended when I picked up an HG and remembered why I loved this hobby. I've judged two local Gunpla competitions, which means I've seen what separates a clean build from a nub-mark disaster.
I test every kit the same way: straight out of the box, no aftermarket parts, and a part-fit scorecard.
My cat Miso supervises from the corner of my workbench, and she has strong opinions about sanding grit.
How I Picked
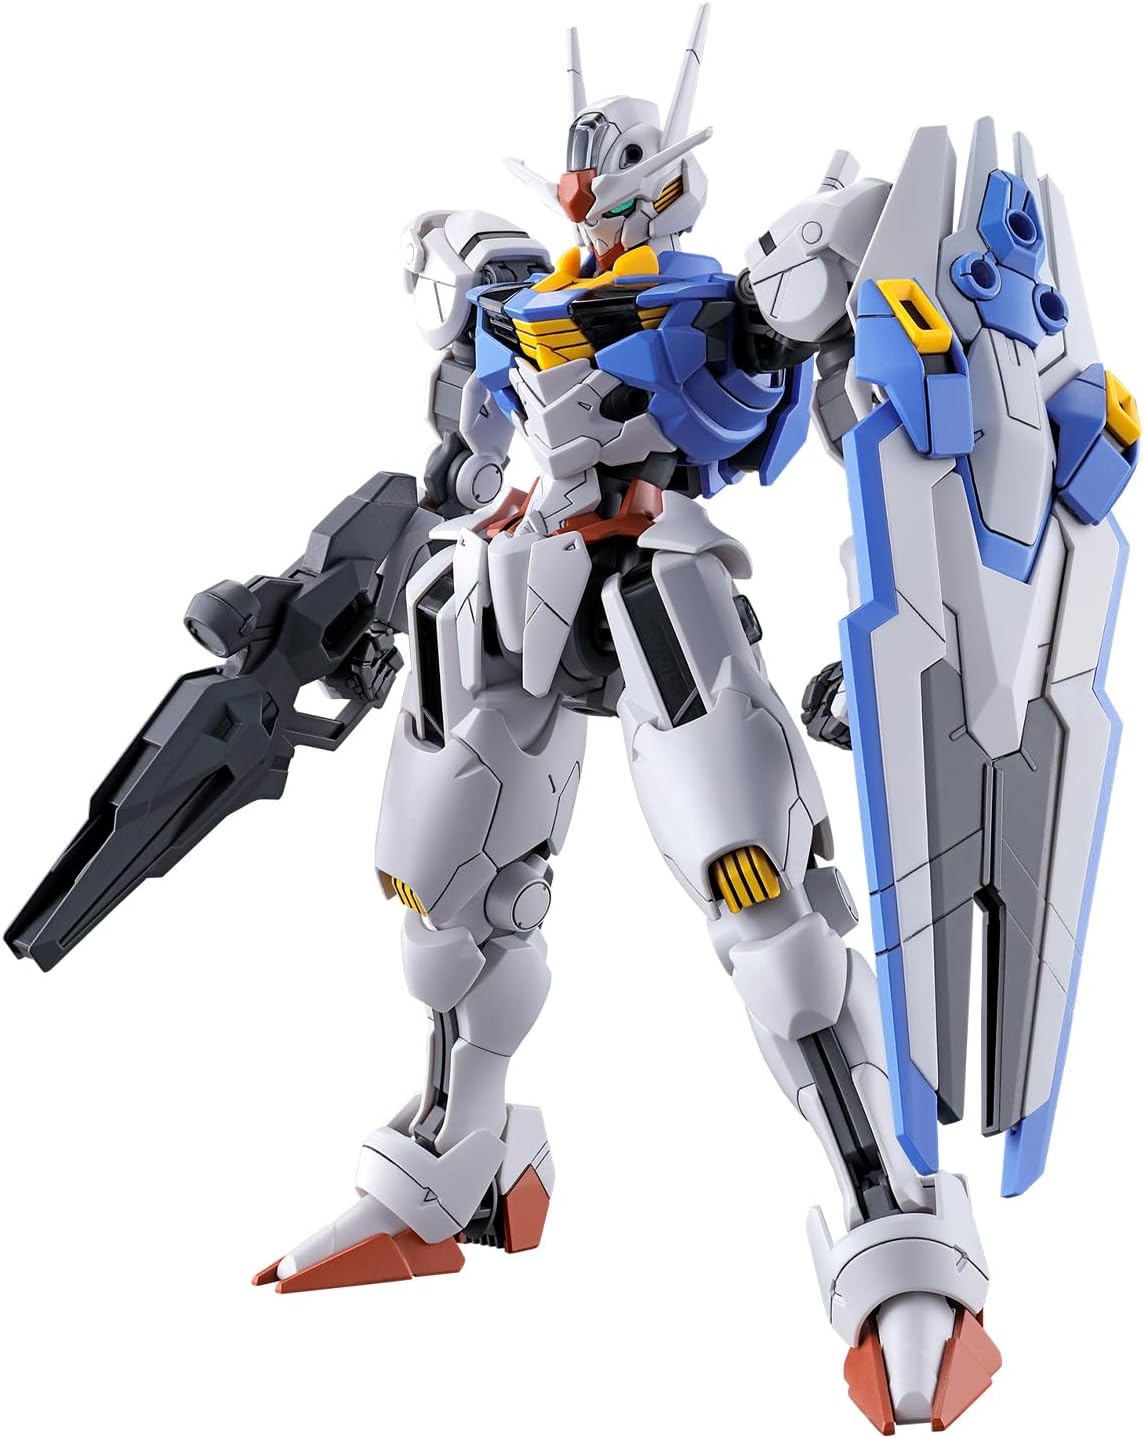
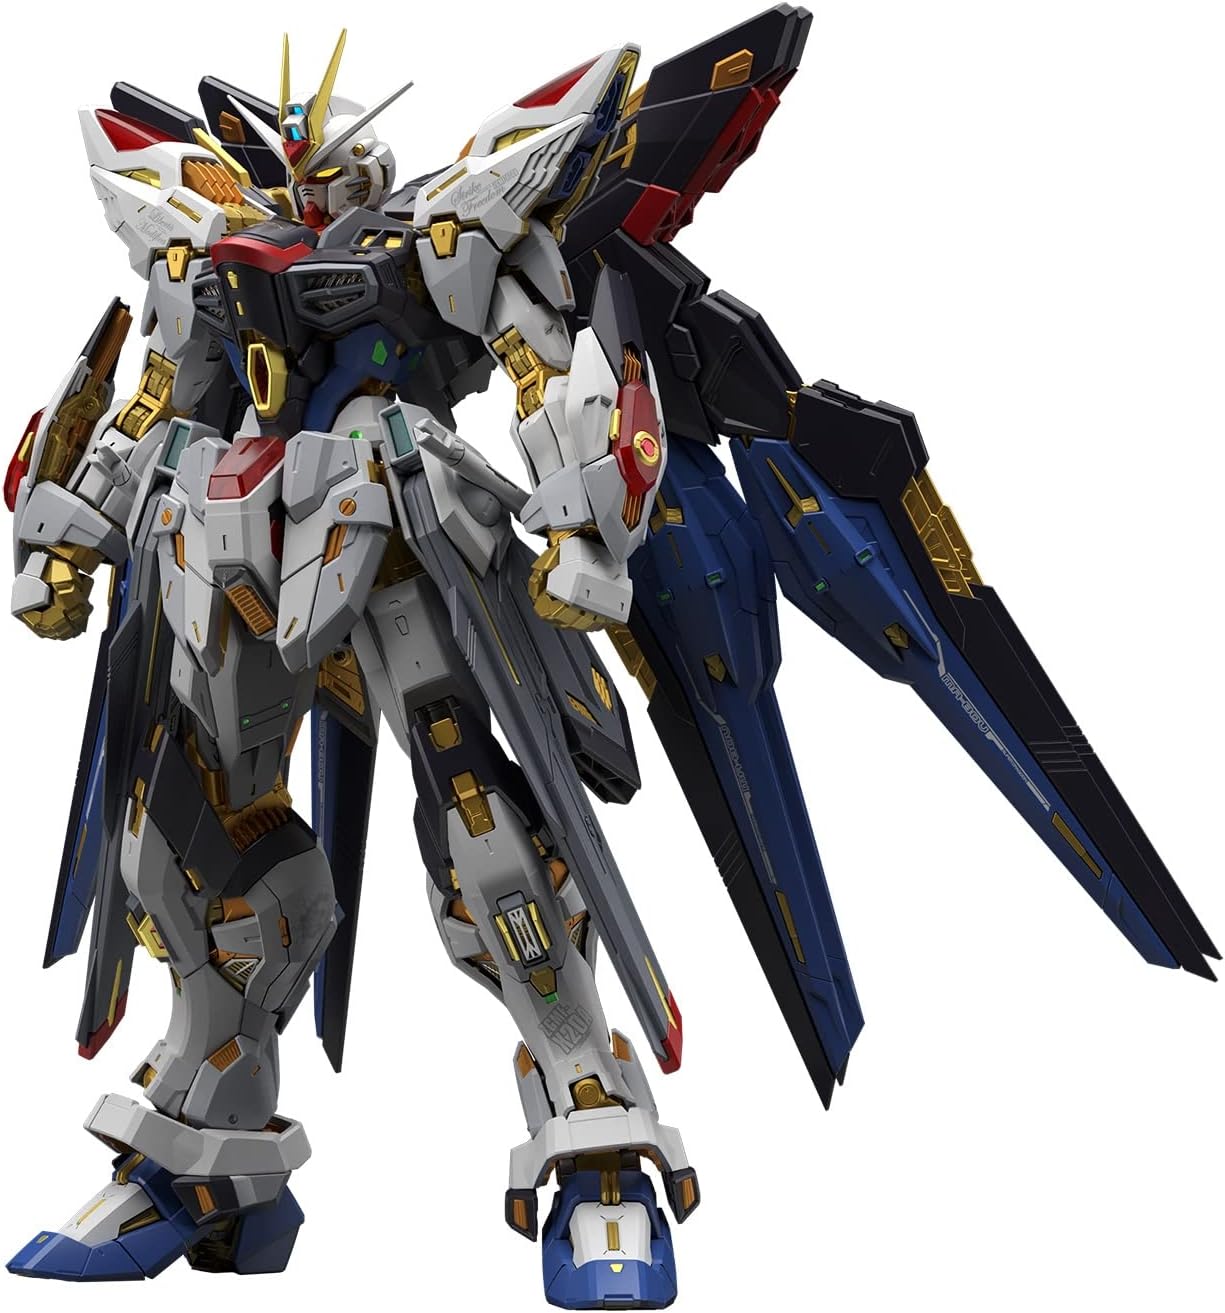
I tested these methods on three grades of plastic: the soft PS plastic of an HG Gundam Aerial, the harder ABS of an MG Ver.Ka Wing Gundam Zero EW, and the gold-plated nightmare that is the MGEX Strike Freedom.
I measured time per nub, visible mark left behind, and whether the plastic discolored or stress-whitened during the process.
I also checked what real builders were saying on forums, because the guy who's built 200 kits knows things the instruction manual doesn't.
The test was simple: I built three kits back to back, using a different method on each runner, and compared the results under a desk lamp with a magnifying glass. I also left one runner untouched so I could see what I was actually fixing.
Our pick: GodHand SPN-120 Nippers
These are the ~$70 nippers that everyone argues about, and the argument is justified. The SPN-120 has a single-blade design that cuts so cleanly it leaves a mirror finish on the cut surface. I've used mine for two years and over 40 kits, and they still cut through PS plastic like it's butter.
The blade is thin enough to get flush against the part, which means you're removing 90% of the nub in the first cut instead of leaving a thick stump to sand down.
The catch is the blade is fragile. Drop them once and you'll hear that sickening ping of a snapped edge. I've broken one pair, and I know three other builders who've done the same. You don't use these on thick gates or ABS plastic. You use them for the final flush cut after you've already removed the bulk with a cheaper pair.
At ~$70, they're not for everyone. But if you build more than five kits a year, they pay for themselves in time saved. I've timed it: the GodHands cut my nub removal time from about 45 seconds per part to 15 seconds. That's real.
Flaws but not dealbreakers: The blade is delicate, and you will eventually break a pair. The handle is also a bit thin for larger hands. But the cut quality is so far ahead of anything else that I can't recommend anything else.
If you're someone who builds one kit a year and just wants it to look decent, these are overkill. If you're someone who wants to build clean and fast, these are the only tool that matters.
Runner-up: Tamiya 74035 Fine Nippers
These are the ~$25 nippers that I recommend to anyone who isn't ready to commit to the GodHand price. They're double-bladed, which means they don't get quite as flush, but they're tough enough to handle thick gates and ABS plastic without worrying about breaking the blade.
I've had a pair for three years, and they've survived being dropped, knocked off my workbench, and used on parts they probably shouldn't have been used on.
The cut is clean enough that you can skip sanding on most inner-frame parts. On visible surfaces, you'll still need a quick pass with a sanding stick, but you're starting from a much better place than with the plastic nippers that come in some kits.
I give these to every beginner I mentor. They're forgiving, they last, and they don't cost more than the kit you're building.
Flaws but not dealbreakers: They don't cut as flush as the GodHands, so you'll need to sand more. The spring can also pop out if you're rough with them. But at ~$25, they're the best value in the hobby.
If you're a beginner who wants to build clean without spending more on tools than on your first kit, these are the ones.
Budget pick: Bandai Entry Nipper
The ~$12 Bandai Entry Nipper is the tool that comes in some kits, and it's... fine. It's a single-blade nipper that cuts cleaner than you'd expect at this price, and it's tough enough to survive being used by an eight-year-old. I've seen one survive a full HG build with a kid who was more interested in seeing how fast he could go than in being careful.
The problem is the cut isn't flush enough to skip sanding, and the blade dulls noticeably after a few kits. You'll spend more time sanding and cleaning up nub marks than you would with a better pair. But for the price, it's a solid starting point.
Flaws but not dealbreakers: The blade dulls fast, and you'll need to sand more. But if you're on a tight budget and just want to see if you like the hobby, this is the right entry point.
If you're someone who wants to try Gunpla without committing to expensive tools, this is the one.
The Technique That Actually Works
The two-cut method is the only technique that matters. First cut: clip the part off the runner with about 2mm of nub left, using your cheap nippers. Second cut: use your good nippers to trim the remaining nub flush against the part surface. This is where the GodHand shines, because it can get that last cut so clean you barely need to sand.
Then you sand. I use a glass file, specifically the GunPrimer glass file that costs ~$15. It's a flat piece of etched glass that removes plastic faster than sandpaper and leaves a smoother finish. You swipe it across the nub mark in one direction, check your progress, and repeat. It takes about 10 seconds per nub, and it's honestly satisfying in a way that sandpaper never is.
For panel lines and edges, a glass file is the only tool I trust. Sandpaper rounds off edges if you're not careful, and on a kit like the HG Guncannon with its sharp angles, that's a disaster.
What Not To Do
Don't use a hobby knife to scrape nubs. I did this for years, and it works, but it also gouges the plastic if you slip. I've got a drawer full of parts with knife scars hidden in poses that no one will ever see. It's a crutch, not a technique.
Don't use nail clippers. I know someone who did, and the part sheared in half. The plastic is too brittle for that kind of crushing cut.
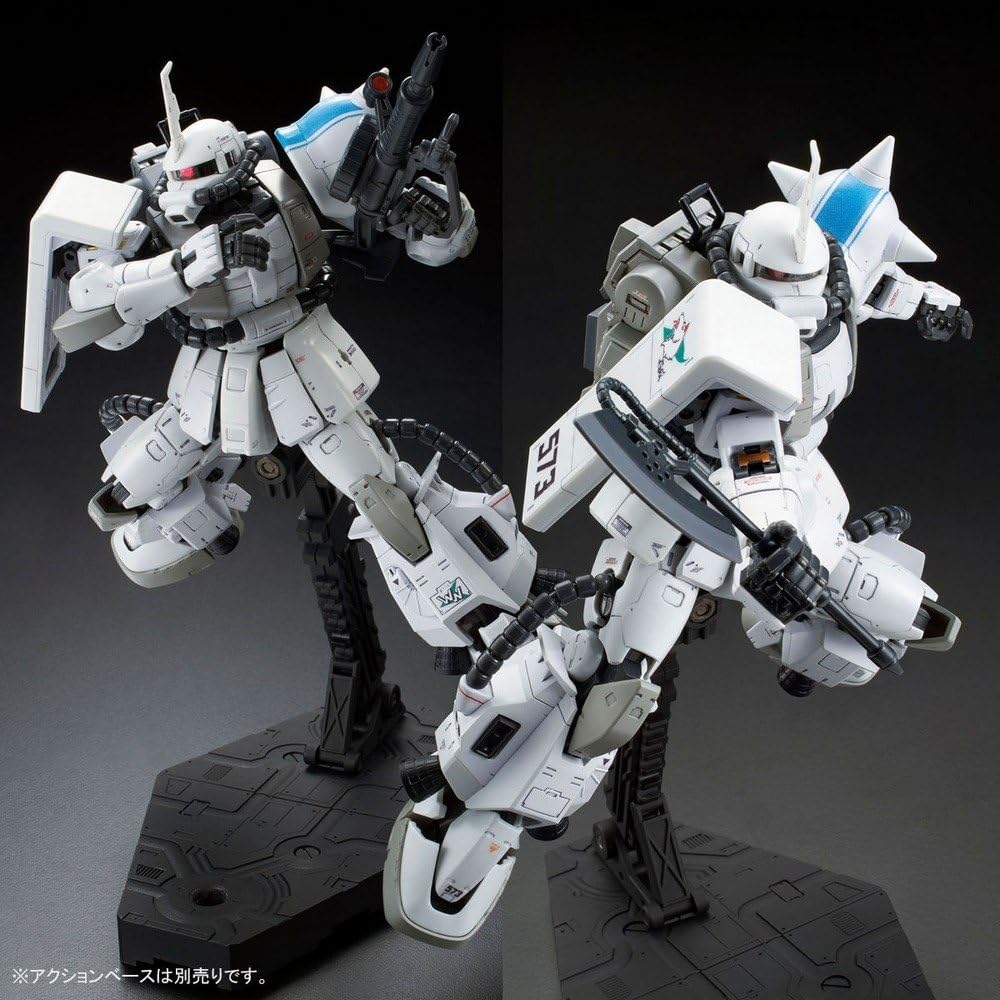
Don't skip sanding on dark plastic. The HGUC Zaku II (Shin Matsunaga Custom) has dark green plastic that shows every single nub mark like a spotlight. I built one without sanding properly and had to go back over the whole kit. That was a weekend I'll never get back.
The Competition
I tested sandpaper in grits from 400 to 2000, and it works, but it's slow and messy. You need three or four grits to get a smooth finish, and you'll generate plastic dust that gets everywhere. The glass file does the same job in one pass with no dust. I also tried the Tamiya sanding sponges, which are gentler but leave a slightly uneven surface if you're not careful. The glass file is the winner.
I also tried the GodHand single-blade nippers against the Tamiya double-blade, and the difference is real. The single blade leaves a cleaner cut, but it's more fragile. If you're building a kit with thick gates, like the MG Ver.Ka Wing Gundam Zero EW, the double-blade is actually safer because you're less likely to snap the blade.
The Bottom Line
Nub marks are the enemy, but they're a defeated enemy if you have the right tools. The GodHand SPN-120 with a glass file is the fastest, cleanest combination I've found in 25 years of building. The Tamiya Fine Nippers are the best value for anyone who isn't ready to commit to the premium price. And the two-cut method with a glass file is the technique that turns a mediocre build into a clean one.
For the price of one MG kit, you can have the tools that make every future kit look better. I've been using this setup for two years, and I haven't had a single nub mark show up on a completed build since. That's worth more than any kit in my backlog.