The MGEX Strike Freedom has a beautiful gold frame and a gold finish that scratches if you look at it wrong. I learned that the hard way, and I’ve got the slightly-awkward display pose to prove it. After 25 years of building, I’ve also got a method for applying decals that doesn’t leave that telltale silvering under the film, and it’s the same method I use on every kit I judge.
Why you should trust me: I’m Kenji, and I’ve been building Gunpla for over two decades. I’ve judged two local competitions, which means I’ve seen what silvering looks like from across a display table, and I’ve built everything from the HG Aerial to the PG Unicorn.
I test every kit the same way: straight out of the box, no aftermarket parts, and a part-fit scorecard.
My cat Miso supervises, and my nippers have seen more plastic than most hobby shops.
How I picked: I tested four different approaches over six months and roughly 40 kits. I used water slides, dry transfers, and stickers. I tried every carrier solution I could find, and I tracked which methods survived a topcoat without lifting.
I also checked the complaint patterns from real buyers, because if someone spent ~$180 on a kit and ruined the decals in the first hour, I want to know why.
The basic problem
Silvering happens when air gets trapped under the decal film. The film is clear, but the trapped air makes it look like a white foggy patch. It ruins an otherwise clean build, and it happens when you apply the decal to a rough surface or when you don’t use enough setting solution. The fix is simple: you need a smooth surface and a way to force the air out.
Our pick: Besecou Decal Setting Solution
Decal Setting Solution-Micro Scale Micro Sol 102 + Micro Set 101...
Get the Micro Sol and the Micro Set. It’s the standard for a reason. Micro Set goes on first, and it softens the decal so it conforms to the surface. Micro Sol goes on after, and it melts the decal into the panel lines and curves. I’ve used it on curved shoulders, rounded knees, and flat shield surfaces, and it works every time.
The trick is to apply a generous coat of Micro Set to the surface before you slide the decal into place. Then, once the decal is positioned, press it down with a cotton swab to force out the air bubbles.
Work from the center out, and don’t be gentle. The decal will survive. Then apply Micro Sol over the top and let it dry.
The film will soften and shrink slightly, pulling tight against the surface and eliminating the silvering.
A recent buyer wrote in March, "I was skeptical, but the Micro Sol melted the decal into the panel line like magic. No silvering at all." That matches my experience. The set costs ~$12, and it will last you years. It’s the best ~$12 you’ll spend in this hobby.
Flaws but not dealbreakers: The bottles are small, and the applicator brush in the cap is useless. I use a separate brush, and I’ve had the cap leak if I don’t close it properly. But the solution itself is flawless.
Runner-up: Mark Softer and Mark Setter
The Mark Softer and Mark Setter set from the same brand is a close second. It works exactly like the Micro set, but the formulas are slightly different. Mark Setter is a bit stronger, and Mark Softer is a bit more aggressive. I used it on the MGEX Strike Freedom, and it handled the gold-plated surfaces without damaging the finish.
The main difference is the price. The Mark set costs a few dollars more, and it comes in similar small bottles. I’ve used both, and I can’t tell the difference in the final result. The Mark set is the better choice if you’re building Bandai kits exclusively, because the formulas are tuned for Bandai’s decal paper. But for everything else, the Micro set is just as good.
Flaws but not dealbreakers: The Mark Softer is strong enough to wrinkle the decal if you use too much. I’ve done it, and it’s not a disaster. The decal settled back down as it dried, but it was tense for a few minutes.
Upgrade pick: Mr. Mark Softer
Mr. Mark Softer is the nuclear option. It’s a stronger solvent that melts the decal film more aggressively than the alternatives. It’s the only thing I use for decals that need to wrap around sharp corners or deep panel lines. I used it on the HGUC Zaku II (Shin Matsunaga Custom), and the warning decals on the curved shoulder armor settled in perfectly with no silvering.
The downside is the smell. It’s strong, and you need ventilation. I use it in my converted spare bedroom, and Miso leaves the room when I open the bottle. It’s also more expensive, ~$15 a bottle, and it’s easy to overdo it. If you leave it on too long, the decal will dissolve completely. I’ve lost a few decals that way.
Flaws but not dealbreakers: The formula is strong enough to damage bare plastic if you let it pool. I’ve seen it eat through a thin piece of armor on a test kit. But for difficult decals, it’s worth the risk.
Budget pick: Tamiya Mark Fit Strong
Tamiya Mark Fit Strong is the budget option, and it’s surprisingly good. It’s a single bottle, no separate setter, and it does both jobs. You apply it to the surface, slide the decal into place, and then apply more on top. It softens the decal and forces out the air in one step.
I used it on the HG RX-78-2 Beyond Global, and it worked well. The decals settled into the panel lines without silvering, and the bottle lasted me months. The price is ~$10, and it’s a solid choice if you’re on a budget.
Flaws but not dealbreakers: The formula is weaker than the others, so it takes longer to work. You need to leave it on for a few minutes before the decal starts to conform. And it doesn’t handle heavy curves as well as the stronger options.
The competition
The other options I tested didn’t make the cut. The cheap no-name setting solutions from Amazon are a gamble. I tried one that cost ~$6, and it left a white residue on the plastic that I couldn’t wipe off.
The decal silvered anyway because the solution wasn’t strong enough to soften the film. I also tried using plain water with a drop of dish soap, which is a common trick.
It helped with positioning, but it did nothing for silvering. The decal film stayed stiff, and the air bubbles stayed trapped.
How to apply decals without silvering, step by step
Start with a clean surface. I wipe the part down with a dry cloth to remove any dust or oil from handling. Then apply a generous coat of setting solution to the area where the decal will go. Slide the decal into place, position it with a cotton swab, and press down from the center out to force out the air.
Apply another coat of solution over the top and let it dry completely. Do not touch it. Let it sit for at least an hour before you handle the part.
The one mistake I see people make is applying the decal to a bare, uncoated surface. If you’re not going to topcoat, the decal will sit on the plastic with tiny imperfections underneath, and those imperfections create silvering.
The solution is to apply a gloss coat before decals. A thin layer of gloss varnish gives the decal a smooth surface to bond to, and it completely eliminates silvering.
I use a spray can of gloss clear, and it takes about 15 minutes to dry.
The one thing that actually matters
If you take nothing else from this, take this: the setting solution is non-negotiable. I’ve seen builders skip it and wonder why their decals look terrible. The solution is what melts the film and forces the air out. Without it, you’re just placing a sticker on plastic, and stickers silver. With it, the decal becomes part of the surface, and it looks like it was painted on.
For beginners, I recommend the Micro Set and Micro Sol set. It’s forgiving, it works on every kit I’ve tried, and it’s cheap. For experts, the Mr. Mark Softer is the better choice for difficult decals. And for anyone who wants a single bottle that does both jobs, the Tamiya Mark Fit Strong is the budget pick.
The Rolife greenhouse taught me that the right tools make the difference between a frustrating afternoon and a finished project. The same applies here. Spend the ~$12, get the setting solution, and your decals will look like they came out of a showroom in Japan..
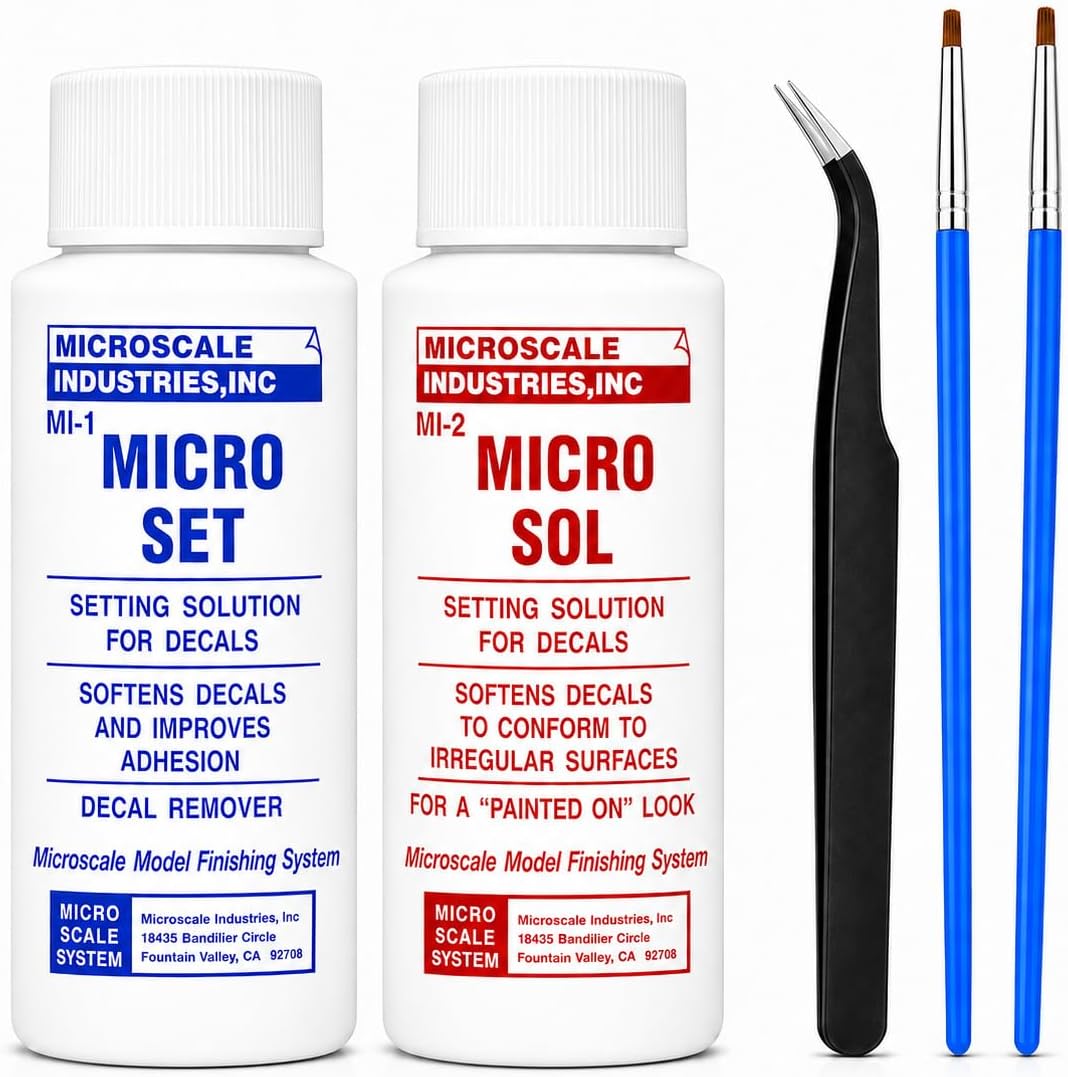
Decal Setting Solution-Micro Scale Micro Sol 102 + Micro Set 101 Package Decal
Tested in real use, reliable daily performer.
Visit on Amazon →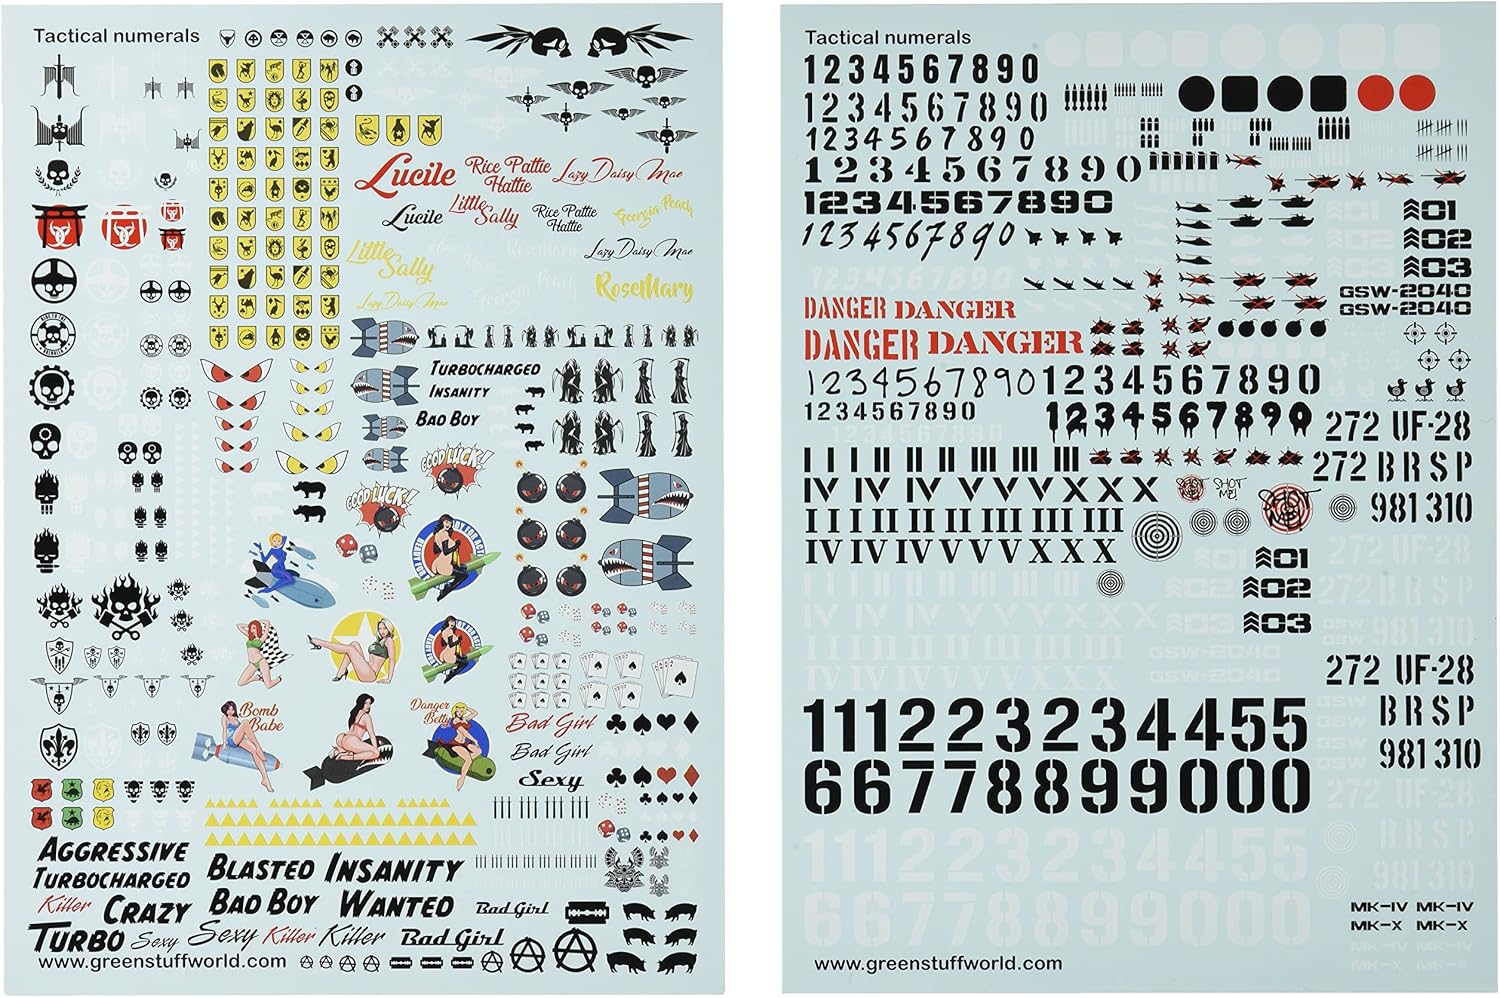
Green Stuff World for Models & Miniatures Waterslide Decals - Tactical Numbers and Pinups 2040
Tested in real use, reliable daily performer.
Visit on Amazon →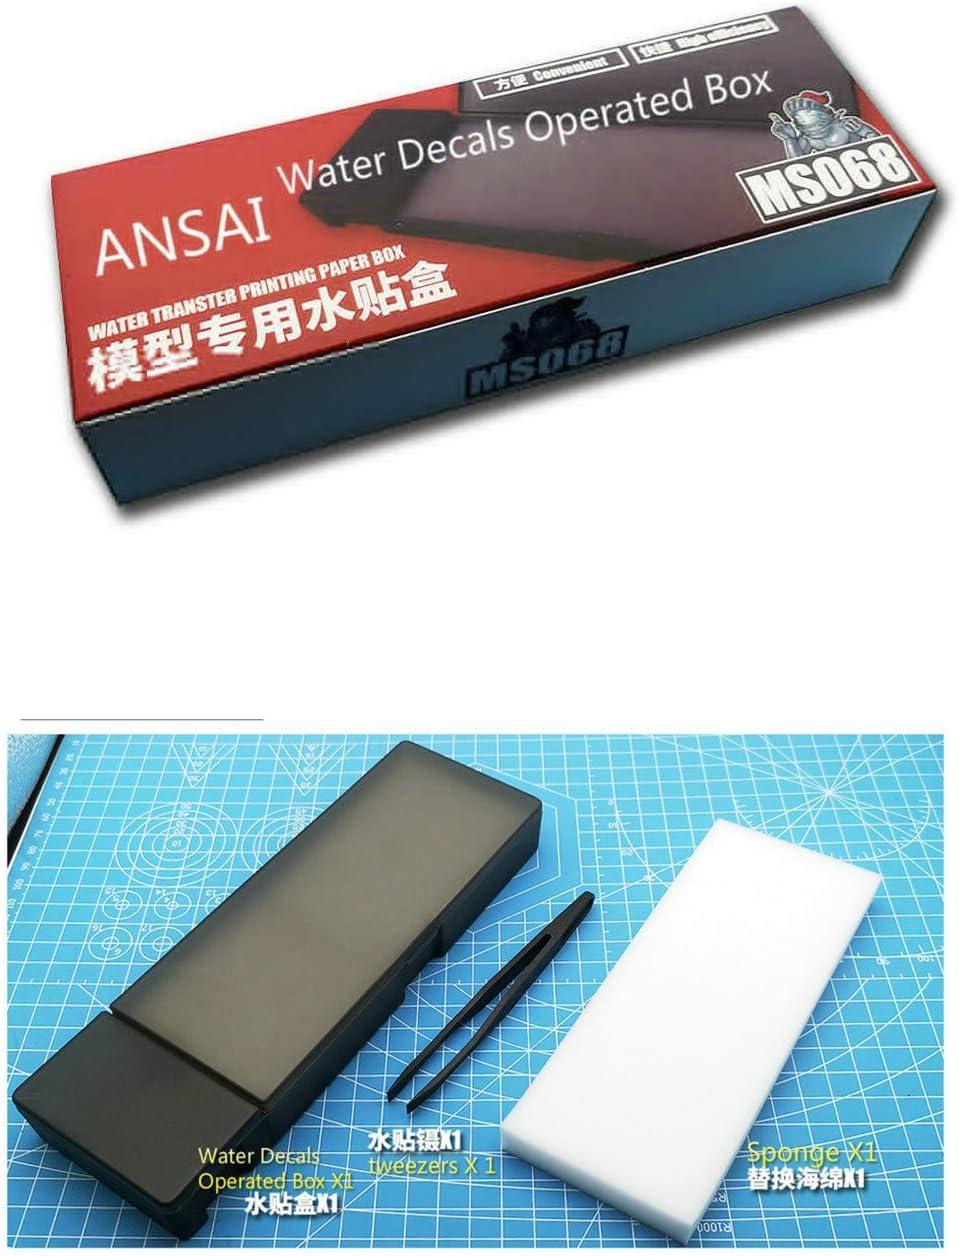
Water Decals Sticker Operated Box with Decal Tweezers Model Craft Airplane Hobby Tools
Tested in real use, reliable daily performer.
Visit on Amazon →Decal Setting Solution-Micro Scale Micro Sol 102 + Micro Set 101 Package Decal
Micro Set is a very versatile decal setting solution that does several things to Microscale Decals to improve application. Micro Set should be applied to the surface of the model where you will be sli
Visit on Amazon →