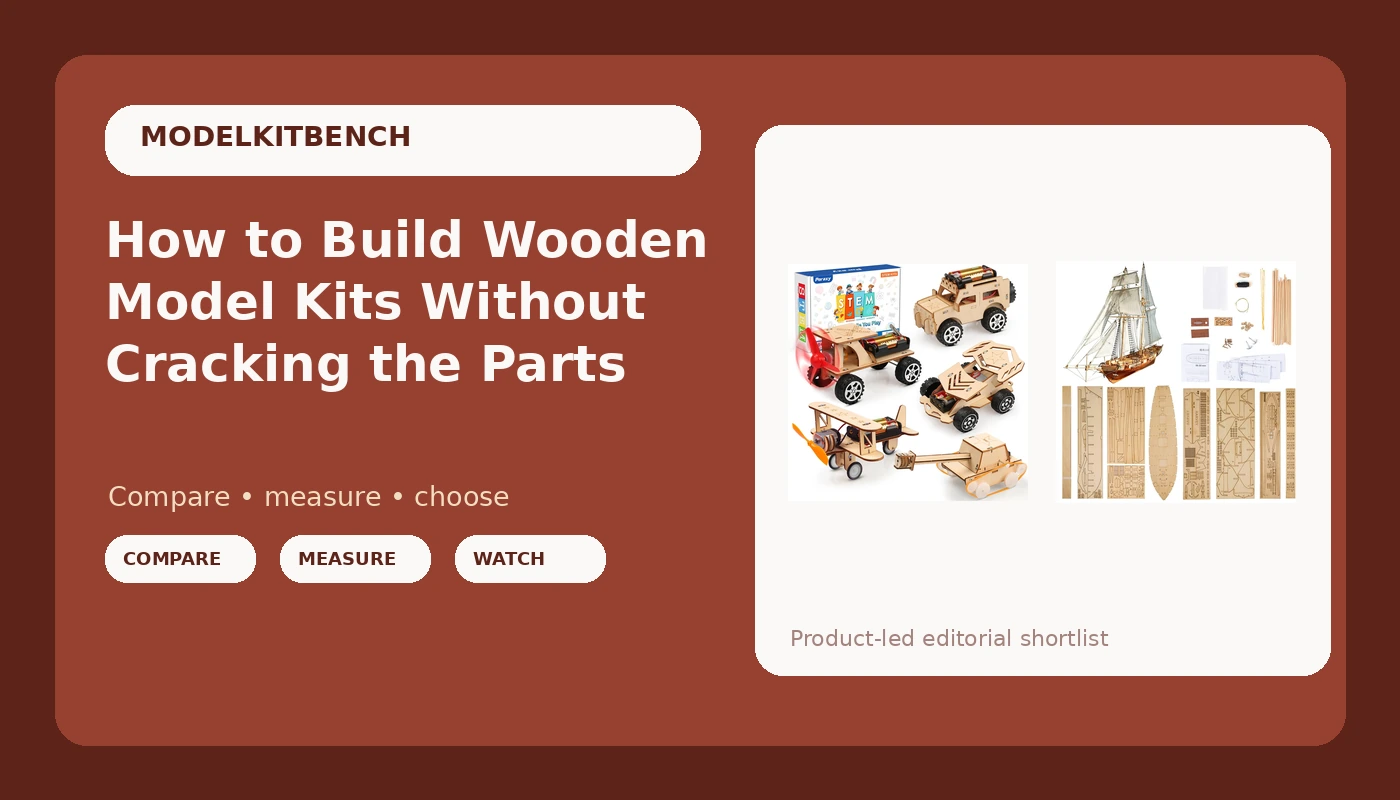
Most first wooden model kits do not die from bad luck. They die in the first ten minutes, when someone punches a laser-cut part out of its sheet and hears the crack. Wooden model kits are a different discipline from the snap-fit plastic most of us grew up on: the material is brittle, the parts are thin, and there is no gate to cut and no peg to snap. The joint is glue, and the order you do things in is the whole game.
This is the workflow I would hand a friend who has built a couple of plastic kits and wants to try wood without wrecking the first sheet. It covers what to check before you start, how to release parts without splitting them, how to keep a hull square, and when to finish the wood versus when to assemble.
Why you should trust me
I have been building since I was 11, which is 25 years of plastic, 15 of it Gunpla and 10 of it with an airbrush in my hand. I have judged local Gunpla competitions twice, and I score kits on engineering before I score them on looks: part fit, gate placement, seam lines, decal behavior.
Wood is not plastic, and I am not going to pretend otherwise. What transfers is the boring part of the hobby: dry-fitting every joint before glue, sanding every mark flat, and never trusting box art over the actual sheet. What does not transfer is speed. A wood kit has no under-gates, no poly caps, and no forgiveness. Every joint is permanent the moment the glue grabs, so the discipline is slower and the payoff is different.
The five things that decide whether a wood kit is worth your weekend
Tab fit. In a good laser-cut kit, a tab slides into its slot with light finger pressure and stays there. If you have to force it, either the tab is oversized or you are about to split the sheet. Force is the enemy.
Sheet labeling. Parts should be numbered on the sheet and on the plan, and the two should match. A kit that numbers its sheets but not its plans is a kit that will cost you an hour of squinting.
Instruction order. The plan should build in the order the structure needs, not the order that was convenient to draw. If step four tells you to attach something that step nine needs you to reach behind, the order is wrong.
Hull method. A solid hull, carved or built from stacked blocks, is beginner territory. Plank-on-frame, where you lay strips over ribs, is the skill wall. Both are legitimate. They are not the same difficulty.
Material consistency. Plywood sheets should be flat and uniform. A warped sheet means clamping and swearing.
One thing to unlearn: in a wooden kit, "no glue required" is not a feature, it is a warning. Glue is the joint. The question is whether the kit tells you which glue and where.
How I picked the two kits in this guide
I picked these two because between them they cover both ends of the beginner curve without overlapping. One is a trainer: five small laser-cut builds that teach tab handling, sanding, and following a diagram without costing you a hull. The other is a real scale project, a 1/96 wooden sailboat that will take a week of evenings and teach you planking, masts, and rigging.
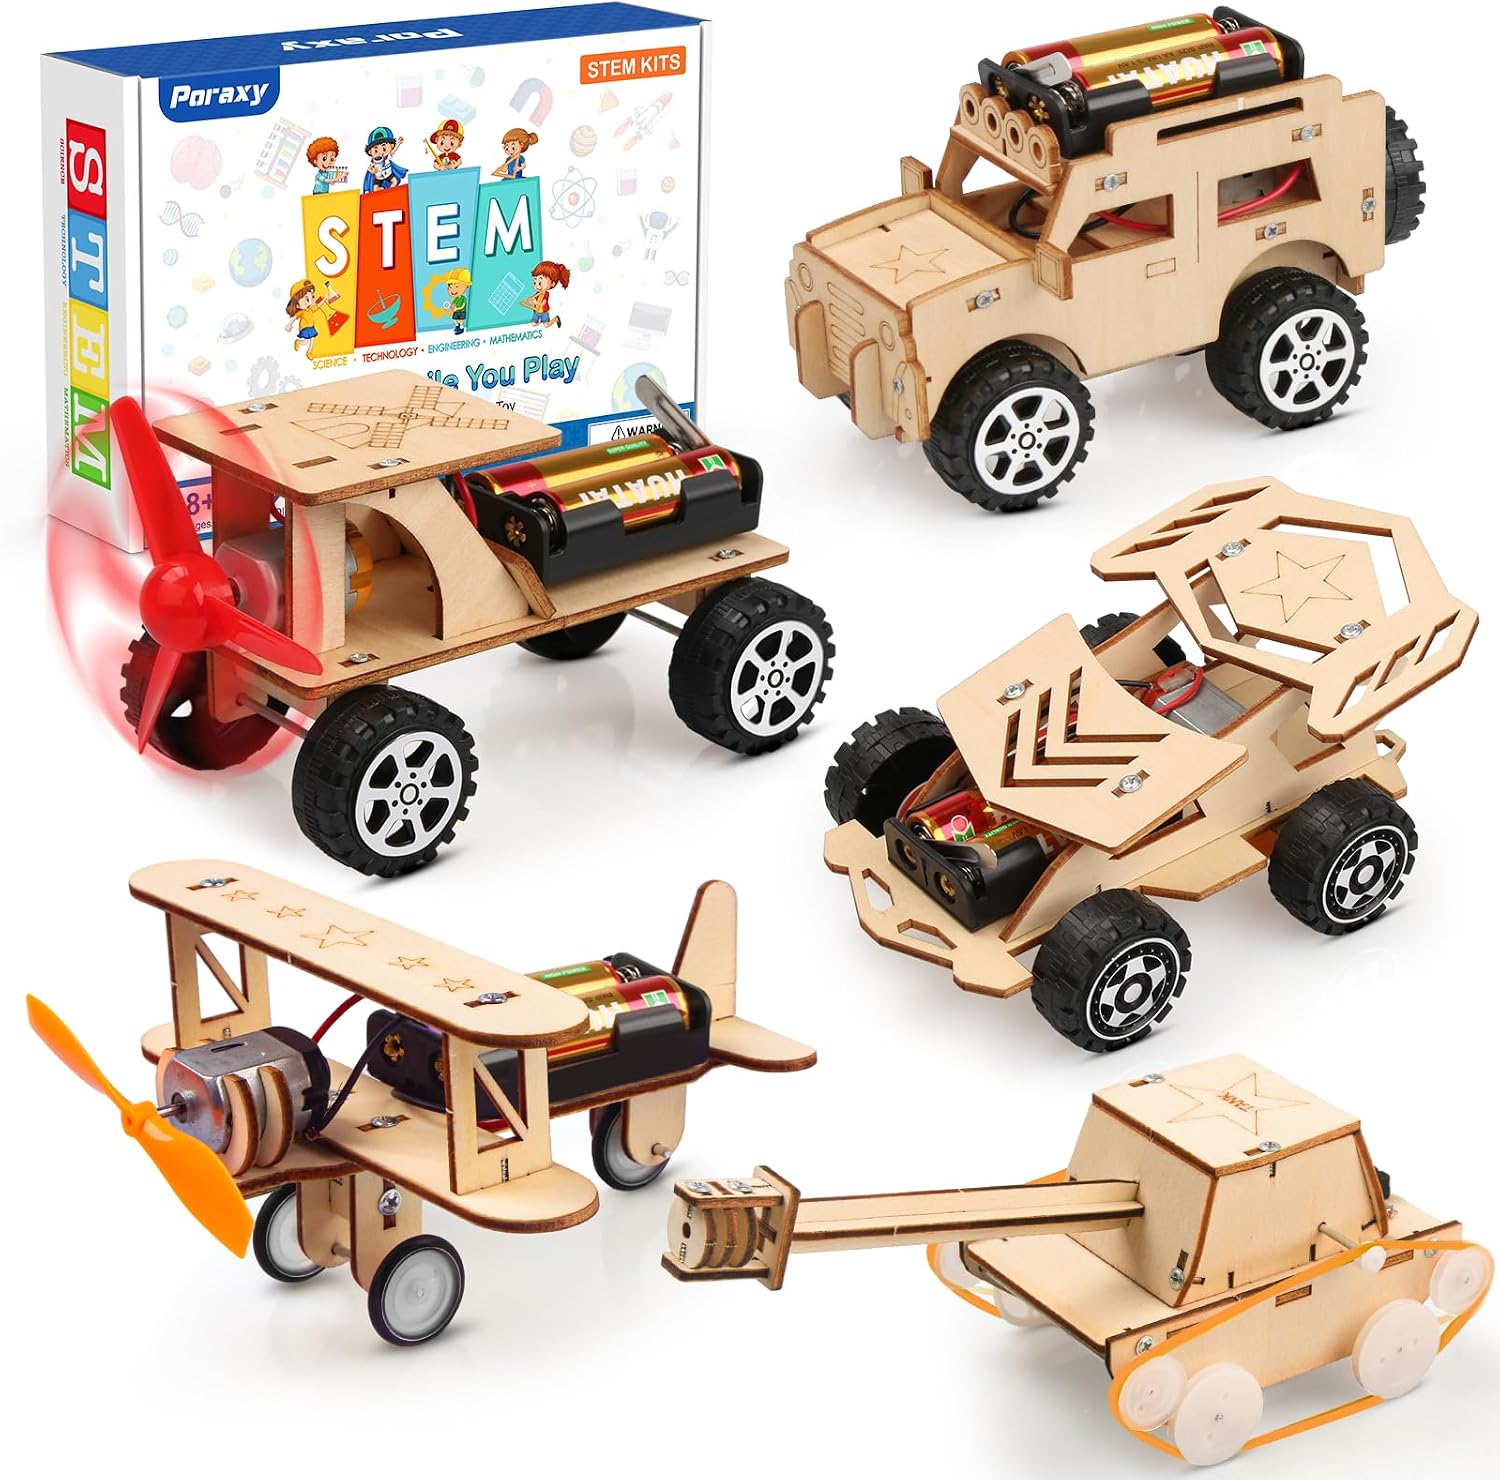
The trainer: Poraxy 5 in 1 STEM Kits for Kids Age 8-10
 Visit on Amazon →
Five builds in one box, all laser-cut wood, including a model car and a set of wooden 3D puzzles. The box frames it at ages 8 to 13, and that is honest for what it is: a skills trainer, not a scale model. That is exactly why it belongs at the front of this article. If you are an adult coming back to the hobby, this is the cheapest way to find out whether you have the patience for wood before you spend a week on a hull.
What it teaches that matters: how much pressure a laser-cut tab takes before it gives, how a fingernail or a sanding stick cleans a burn mark off an edge, and how to read an exploded diagram without guessing. Build all five in one sitting if you want. Then build the fifth one slowly, sanding every edge and dry-fitting every joint, and notice how much better it sits.
Flaws but not dealbreakers: the parts are small and the tolerances are loose by scale-model standards, so do not judge your own ability by how these fit. That is the point. They are practice reps.
Anyone who wants to test their patience for wood before committing to a real kit should start here.
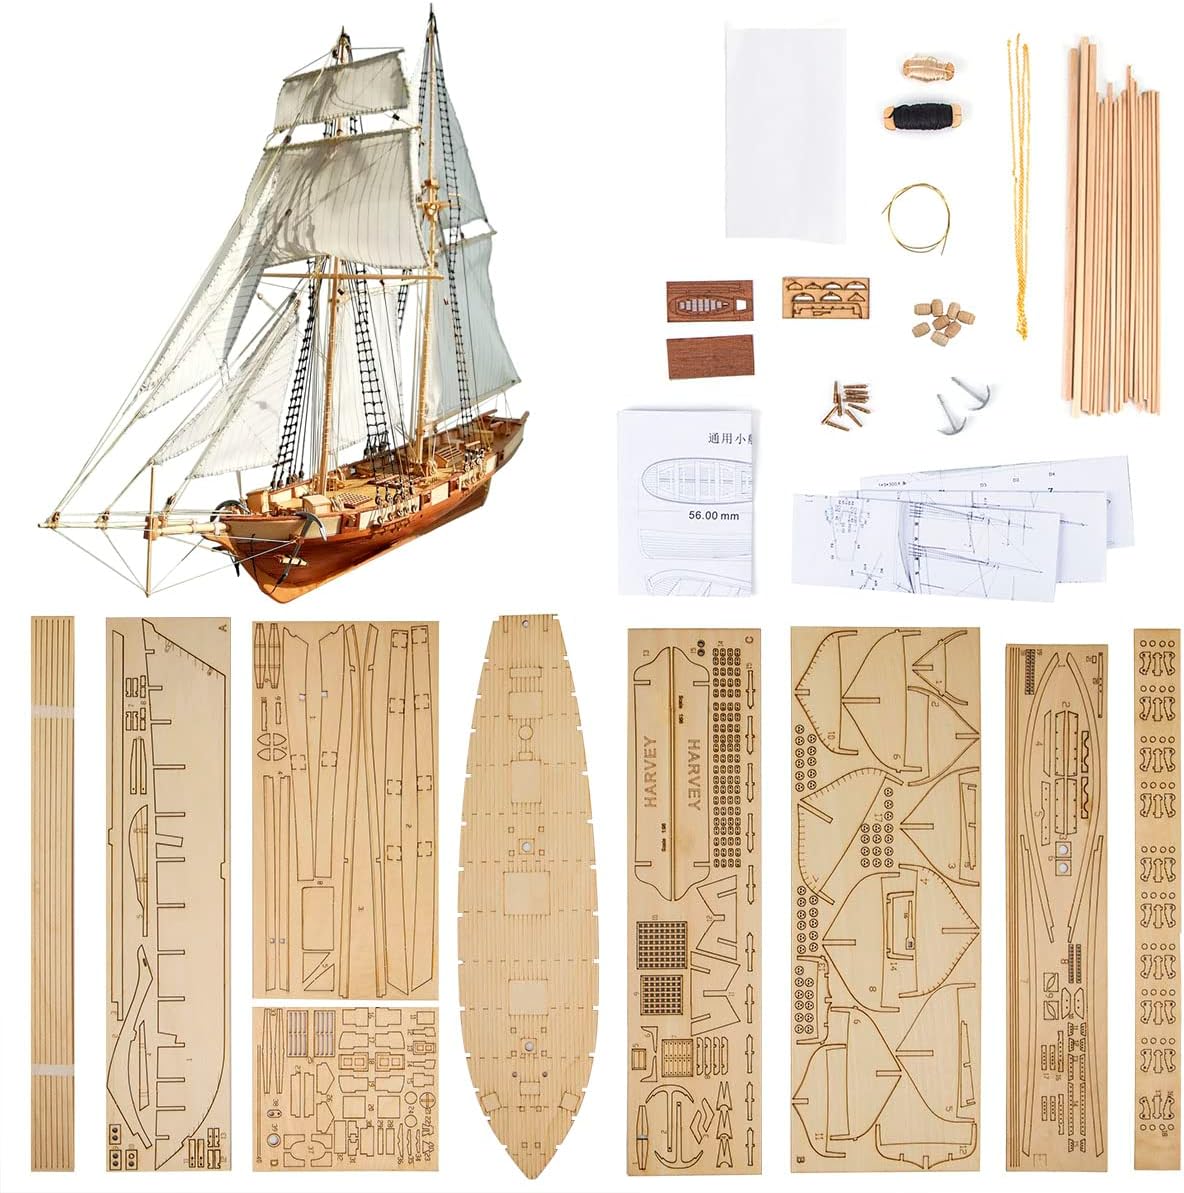
The real build: GAWEGM Ship Model Building Kit - Scale 1/96 Harvey 1847 Wood Sailboat
 Visit on Amazon →
A 1/96 scale wooden sailboat, which means small parts and a lot of them. At that scale everything above the deck, the masts, the yards, the rigging, gets genuinely fiddly. This is the kit you graduate to after the trainer, and it is the kit where the workflow below stops being optional.
Two honest notes before you buy. First, a scale sailing ship is not a two-evening build. Budget a week of evenings and expect the rigging to take as long as the hull. Second, at 1/96 the rigging line is thin enough that tweezers and good light are not luxuries. If your eyes or your patience are short, start with the trainer and come back to this one.
Flaws but not dealbreakers: small scale means small glue surfaces, and small glue surfaces mean alignment errors show up fast. Work on a flat, hard surface and check square at every stage.
Anyone who has built a plastic kit or two and wants a display piece with real craft in it should look here.
The actual workflow
This order works for both kits. Do not skip the boring steps, because they are the whole difference.
Step one: inventory the sheets before you touch anything. Open the box, lay the sheets out, and check them against the parts list. Do this before you release a single part, because a missing sheet is a return, and a missing sheet discovered after you have glued half a hull is a problem.
Step two: read the plan twice, all the way through. Once to see what you are building, once to find the traps. Look for steps that require access to an area you will later close up. Mark those pages.
Step three: never punch parts out. Use a hobby knife to cut the tabs, then sand the nub flat with a sanding stick. Punching is how sheets split along the grain. This is the same rule as cutting a nub off a plastic runner, just with more consequence.
Step four: dry-fit every joint before glue. Every one. A tab that seats dry will seat glued. A tab that needs force dry will split when the glue makes the wood swell.
Step five: glue small and clamp. Wood glue grabs slowly, which is a gift, and it swells the joint as it cures, which is a trap. A thin bead, a light clamp, and a square check beat a heavy bead every time. Wax paper under the joint keeps squeeze-out off the plan.
Step six: build in sub-assemblies. Frame, then hull, then deck, then masts, then rigging. Never attach a finished sub-assembly to an unfinished one. It is the same logic as building a Gunpla inner frame before the armor, just slower.
Step seven: keep it flat and square. The single biggest cause of a twisted wooden hull is working on a soft or uneven surface. A flat board, a machinist square, and a few checks per session will save the build.
Step eight: finish before you assemble where you can. Stain and seal flat parts before they go on the model. Once a mast is rigged you cannot sand it, and masking a finished hull is harder than staining a flat sheet.
Step nine: rig last, and rig patiently. Masts and lines go on after everything else is dry. Work from the center outward, keep tension even, and do not rush the last ten percent, because the last ten percent is what people actually look at.
Where beginners wreck a build
Punching parts out of the sheet. Too much glue, which squeezes out and dries as a visible bead. Painting before dry-fitting, which is the same mistake as painting plastic before you check the fit. Working on a soft surface. Rigging with wet glue still on the masts. Skipping the sanding, because wood shows every mark under a finish, more than plastic ever does. None of these are talent problems. They are order problems.
What else is on the shelf and why it is not in this guide
Bandai's modern high-grade plastic kits are still the best value in the hobby, and they are still what I would hand a total beginner who wants a guaranteed first win. Real grades are engineering showcases but fragile in the hands of a beginner. Master grades are the sweet spot for detail and stability. Tamiya is the gold standard for automotive and military plastic. Revell is hit or miss depending on which tooling you get.
None of them are wood, and none of them teach the thing this article is about. If you want snap-fit and a kit that falls together, that is a different guide, and honestly, that is a fine place to start.
What this all costs
The kit is the cheapest part of a wooden build, which surprises people. The line items that add up are the tools: a sharp hobby knife with spare blades, a set of sanding sticks, a sanding block, wood glue, a few clamps, wax paper, and a flat board to build on. If you already build plastic, you own half that list.
Then there is the invisible cost, which is time. A trainer kit is an afternoon. A 1/96 scale sailboat is a week of evenings if you are honest about the rigging. That math is the real reason to start with the trainer: it tells you whether you enjoy the slow parts before you find out on a ship.
Check current Amazon price on both kits, pick the one that matches your patience, and build the first one slowly. The hobby rewards the person who dry-fits. That is the whole secret, and it is the same secret as plastic.