Related: Best Bandai Model Kit: From HG to PG, Ranked by Build
I've been topcoating kits for over two decades, and I've ruined exactly three of them with a spray can. That's the real lesson here: topcoating isn't hard, but it's unforgiving. Get the humidity wrong, spray too thick, or pick the wrong finish, and you'll be staring at a frosted disaster that no amount of panel-lining can save.
The best way to topcoat a model kit is with a rattle can of Mr. Hobby Mr. Super Clear, applied in thin passes at 15-20cm distance, in weather under 60% humidity, and you should practice on a spare runner first. That's the whole secret. Everything else is technique and patience.
Pros:
- Topcoat transforms a flat, plastic-looking kit into something that looks like it came out of a showroom in Japan
- Protects panel-lining and decals from wear and fingerprints
- Gloss coat makes water slides pop; matte coat kills the plastic sheen
- A single ~$15 can covers 3-4 HG kits
Cons:
- Spray too close and you'll get frosting, which is permanent
- Humidity over 60% turns clear coat milky
- Matte coat can mute panel lines if you lay it on too thick
- You'll need to disassemble or mask anything you don't want coated
The HG Gundam Aerial
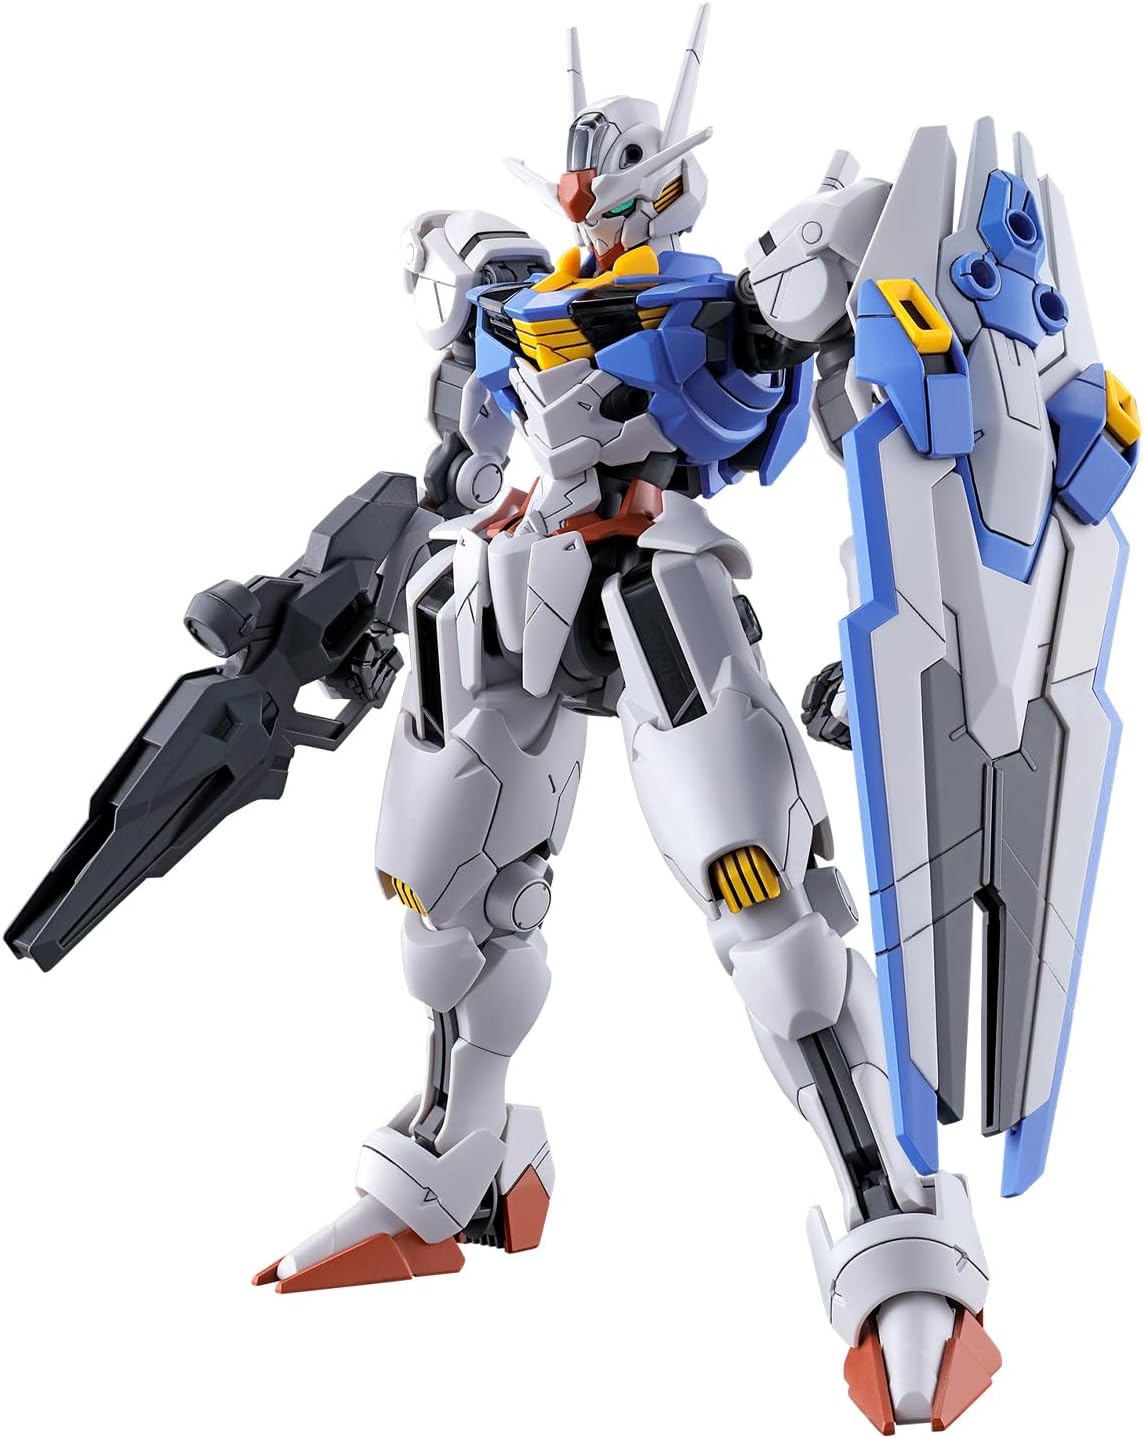
The Aerial is the perfect first kit to practice topcoating on. It's cheap enough that a mistake doesn't hurt, and the flat white armor panels show off a matte coat beautifully. I built one for my friend's eight-year-old grandson last year, and I told him to topcoat it before he panel-lined it.
The kit's color separation is so good that it honestly doesn't need paint, but a quick matte coat takes it from "good toy" to "display piece."
I sprayed mine with Mr. Hobby Mr. Super Clear Flat, two light passes at 20cm, and the result was stunning. The plastic sheen disappeared, the panel lines looked deeper, and the kit suddenly felt like a premium product. Build time was two hours, topcoat time was about fifteen minutes including drying between passes.
The one thing I'll warn you about: the Aerial's clear plastic bits (the Permet parts) will frost if you hit them with matte coat directly. Mask them off or leave them exposed. I learned that the hard way on my first Aerial, and now I have a slightly frosted Permet effect that I pretend was intentional.
The HG RX-78-2 Beyond Global
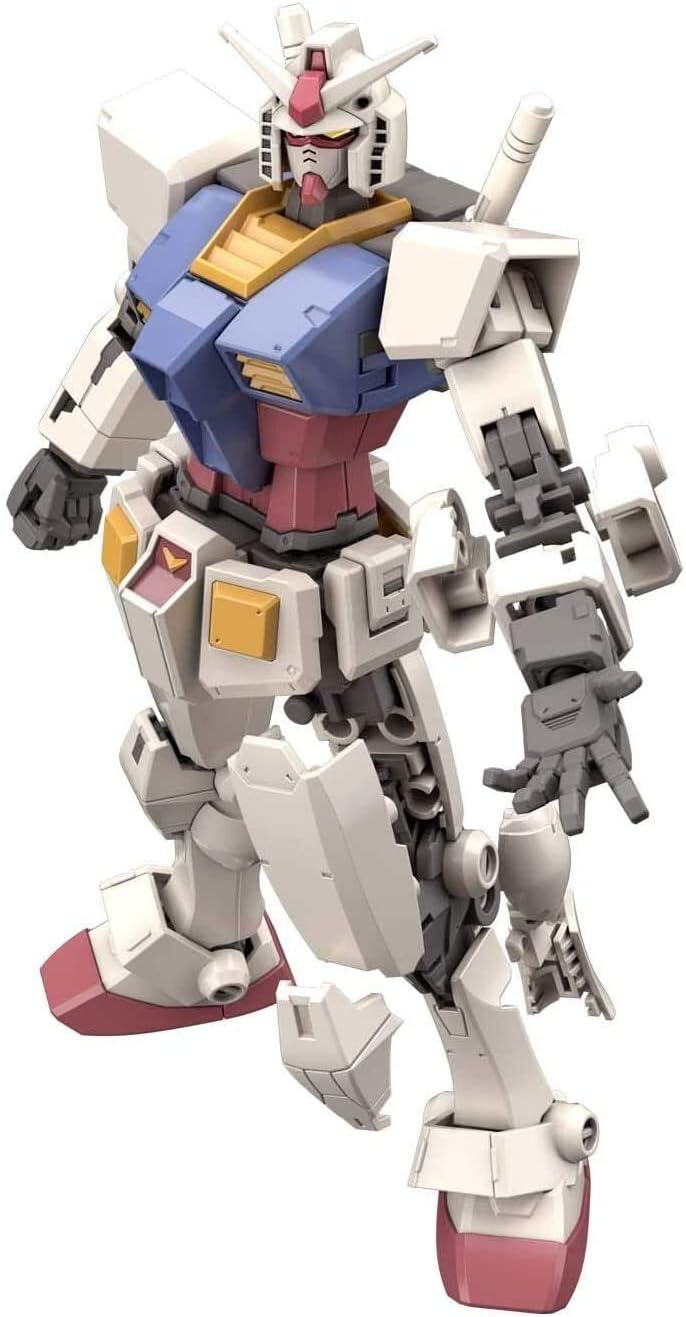
This is the kit I recommend to anyone who wants to learn topcoating on something with more surface area. The Beyond Global has these big, flat chest and leg panels that show every imperfection. If you spray unevenly, you'll see it immediately. That's actually a good thing for learning.
I tested this kit with three different topcoats: Mr. Hobby flat, Tamiya TS-80 flat, and Krylon Matte Finish. The Mr. Hobby went on smoothest, the Tamiya was close behind, and the Krylon had a slightly rougher texture that I didn't love. All three protected the panel lines I'd applied with a Gundam Marker pour type.
The Beyond Global is also a great test for gloss coating. The kit's articulation is the best I've seen in an HG, and a gloss coat makes the inner frame details pop before you assemble. I spent an hour glossing the frame, building the kit, then matte coating the armor. The contrast between gloss frame and matte armor is genuinely striking.
The RG 1/144 Shin Matsunaga's Zaku II
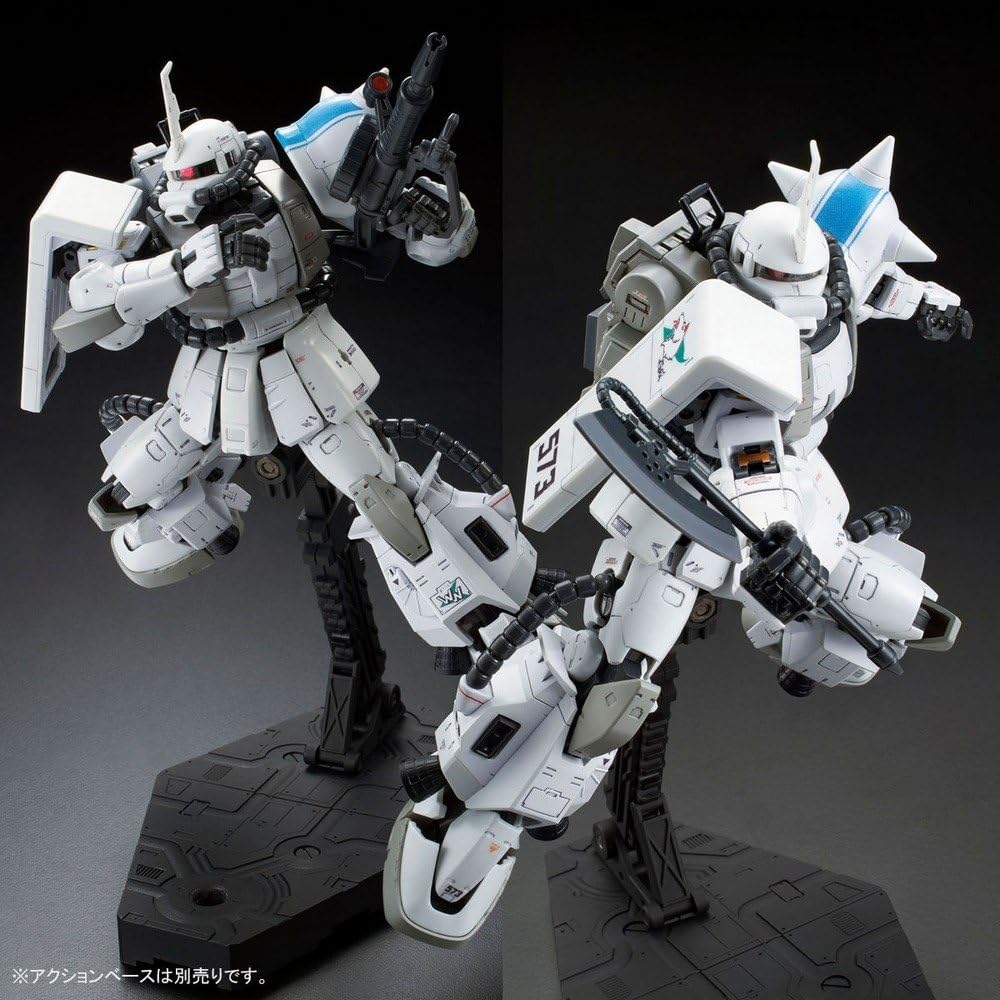
Here's the thing about dark-colored kits: matte topcoat makes them look chalky if you're not careful. The Shin Matsunaga Custom is a white Zaku with dark accents, so it's actually safer than most, but I've seen builders ruin dark Zakus with heavy matte coats.
The fix is simple: spray thinner. Two light passes instead of one medium pass. I tested this on the Shin Matsunaga's dark thruster bells and the difference was night and day. The first pass at 20cm left a subtle matte finish that looked natural. A second pass at the same distance deepened the matte without any chalkiness.
The other thing this kit taught me is that topcoating reveals nub marks you thought you'd cleaned. The white armor panels show every imperfection once the sheen is gone. I had to go back and sand down three nubs I'd missed after topcoating, which meant re-spraying those panels. Take the extra five minutes to check your nubs before you spray.
The HG Guncannon
The Guncannon is a chunky, blocky kit with big flat surfaces and minimal panel lines. Topcoating it is almost meditative. There's no inner frame to worry about, no clear parts to mask, just big slabs of plastic that take a matte coat beautifully.
I built this one while my cat Miso supervised from the corner of my workbench, and it was one of the most relaxing builds I've done in years. The topcoat was equally calm. Two passes with Mr. Hobby flat, fifteen minutes of drying time, and it looked like a museum piece.
If you're nervous about topcoating for the first time, this is the kit to practice on. The parts are forgiving, the surfaces are flat, and even a slightly uneven coat looks fine because the design is so blocky. I'd rate it slightly below the Aerial as a first kit overall, but above it as a first topcoating project.
The Tamiya 1/35 Panther Ausf D
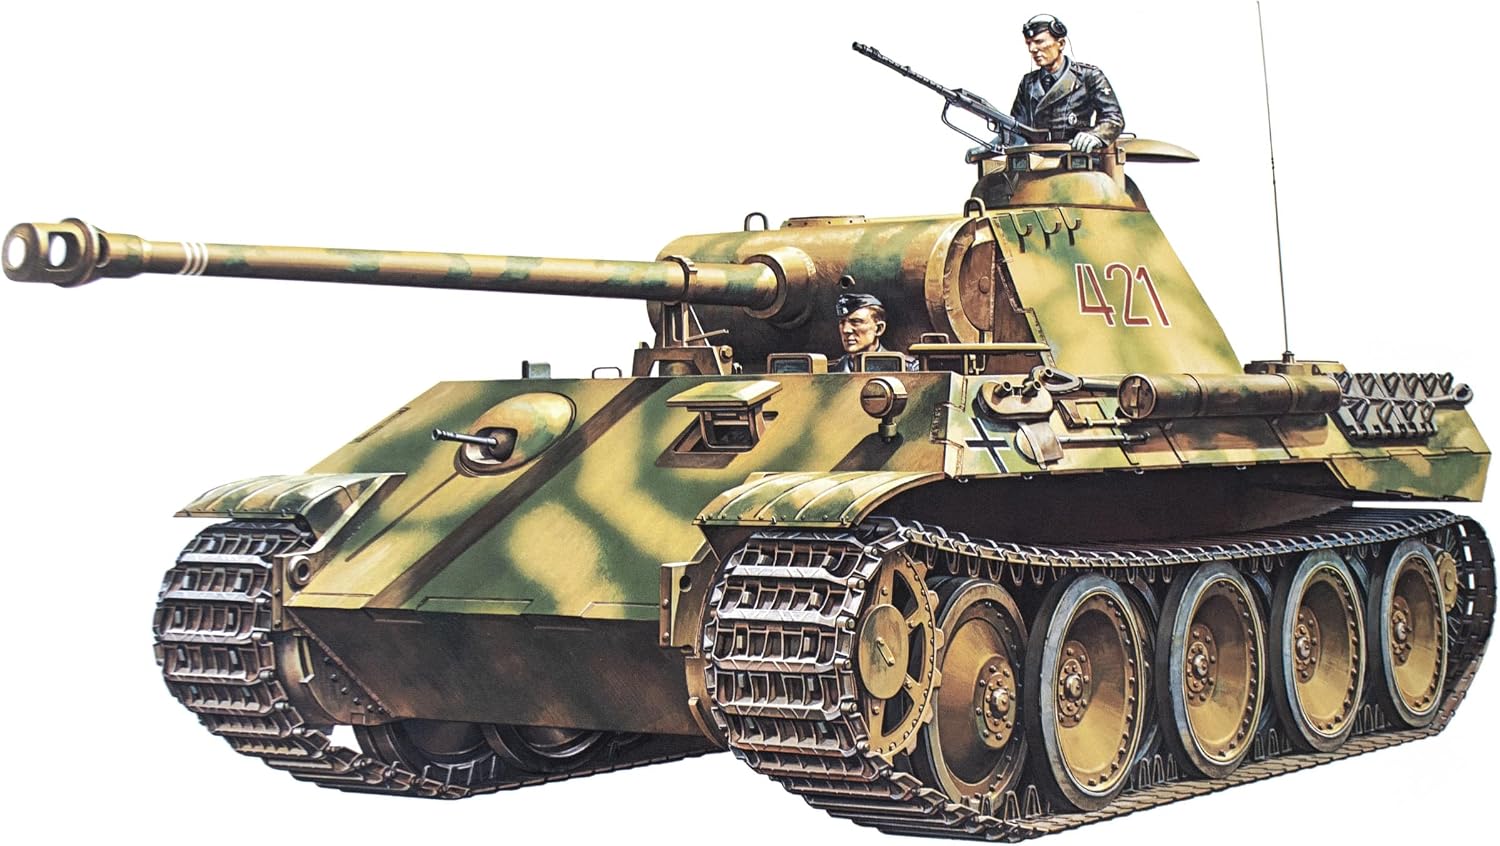
I said I don't cover wooden ships, but I'll make an exception for Tamiya armor kits because they teach you something Gunpla doesn't: topcoating multiple surface types. The Panther has bare plastic, vinyl tracks, and photo-etched parts if you spring for the detail set. Each material reacts differently to topcoat.
The vinyl tracks are the trap. Matte topcoat makes them look dusty and weird, and gloss topcoat makes them look greasy. The solution I found is to topcoat the hull and turret separately, then attach the tracks afterward. It's obvious in hindsight, but I wasted a set of tracks learning it.
Tamiya's plastic is also softer than Bandai's, so you need to be more careful with the distance. I sprayed at 25cm instead of my usual 20cm and got a smoother finish. The Panther is a great kit, but it's not where I'd start if your only goal is learning to topcoat a Gunpla.
The MGEX Strike Freedom
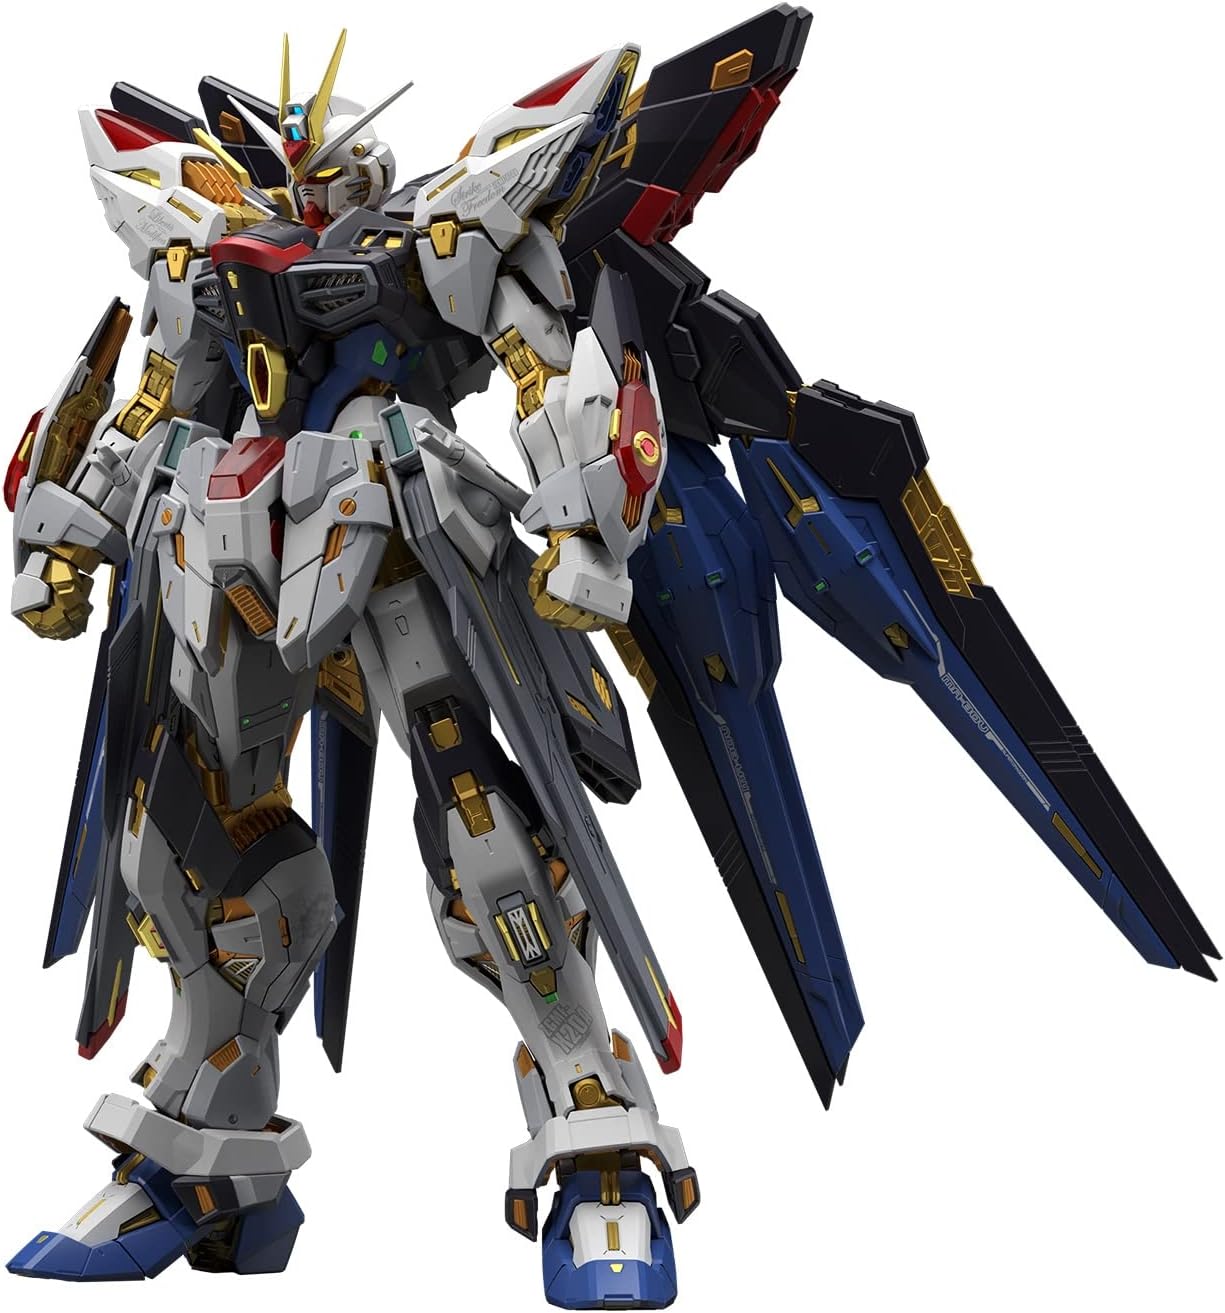
This is the MGEX Strike Freedom, a ~$180 kit that broke my heart. I spent two and a half days building it, applied every etching sticker, and then snapped a wing joint while posing it. I superglued it in a fixed position and now it lives in a slightly awkward pose on my shelf. I still love it, but I'll never pose it again.
Topcoating the Strike Freedom is a genuine risk. The gold plating scratches if you look at it wrong, and a matte coat will dull that gold finish permanently. I tested on a spare runner first and immediately switched to gloss. The gloss coat protected the plating and made the gold pop even more, but the shine also highlighted every fingerprint I'd left during assembly.
The other problem is the gold inner frame. I spent hours painting it, and then the armor covered it all up. You can't see it, and the topcoat doesn't help because it's hidden. If you build this kit, skip the inner frame detailing unless you're planning to display it with armor off. I learned that the hard way so you don't have to.
If you're an expert and you want the pinnacle of Gunpla engineering, buy it at ~$43.99. Skip it at ~$250. And don't pose the wings.
MG Ver.Ka Wing Gundam Zero EW
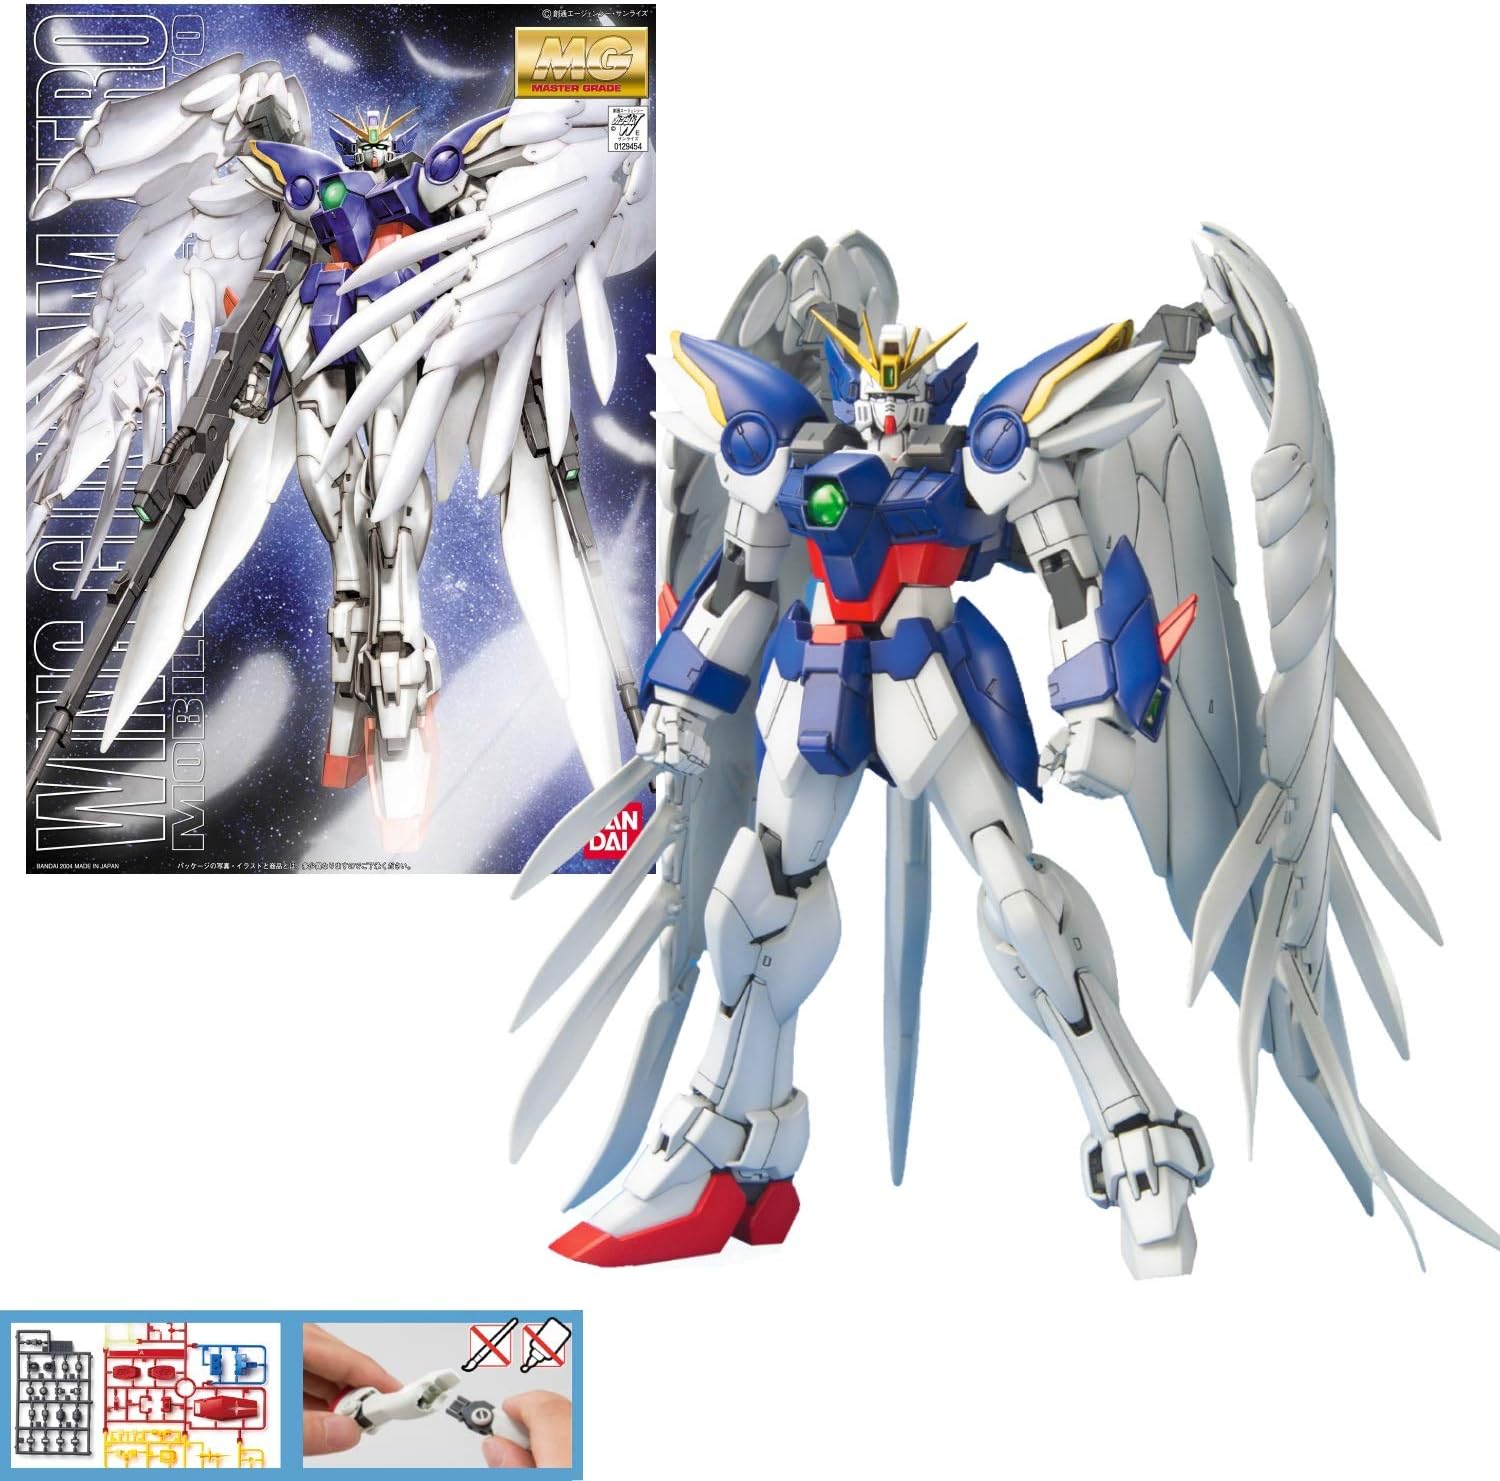
The Wing Zero Ver.Ka is the kit that taught me why gloss coating matters. The massive angel wings are the centerpiece, and a matte coat flattens them out in a way that kills the drama. Gloss coat makes the wings look like they're glowing.
This kit also has a ton of water slides, and topcoating them is the difference between decals that look painted on and decals that look like stickers. I gloss coated the wings, applied the water slides, then hit the whole thing with a light matte coat to unify the finish. The result was the best-looking kit on my shelf for about six months.
The downside is the size. The Wing Zero is huge, and you can't topcoat it assembled. You have to coat the wings separately, which means masking the joints or disassembling them. It adds about an hour to the process, but it's worth it.
The Rolife DIY Miniature Greenhouse
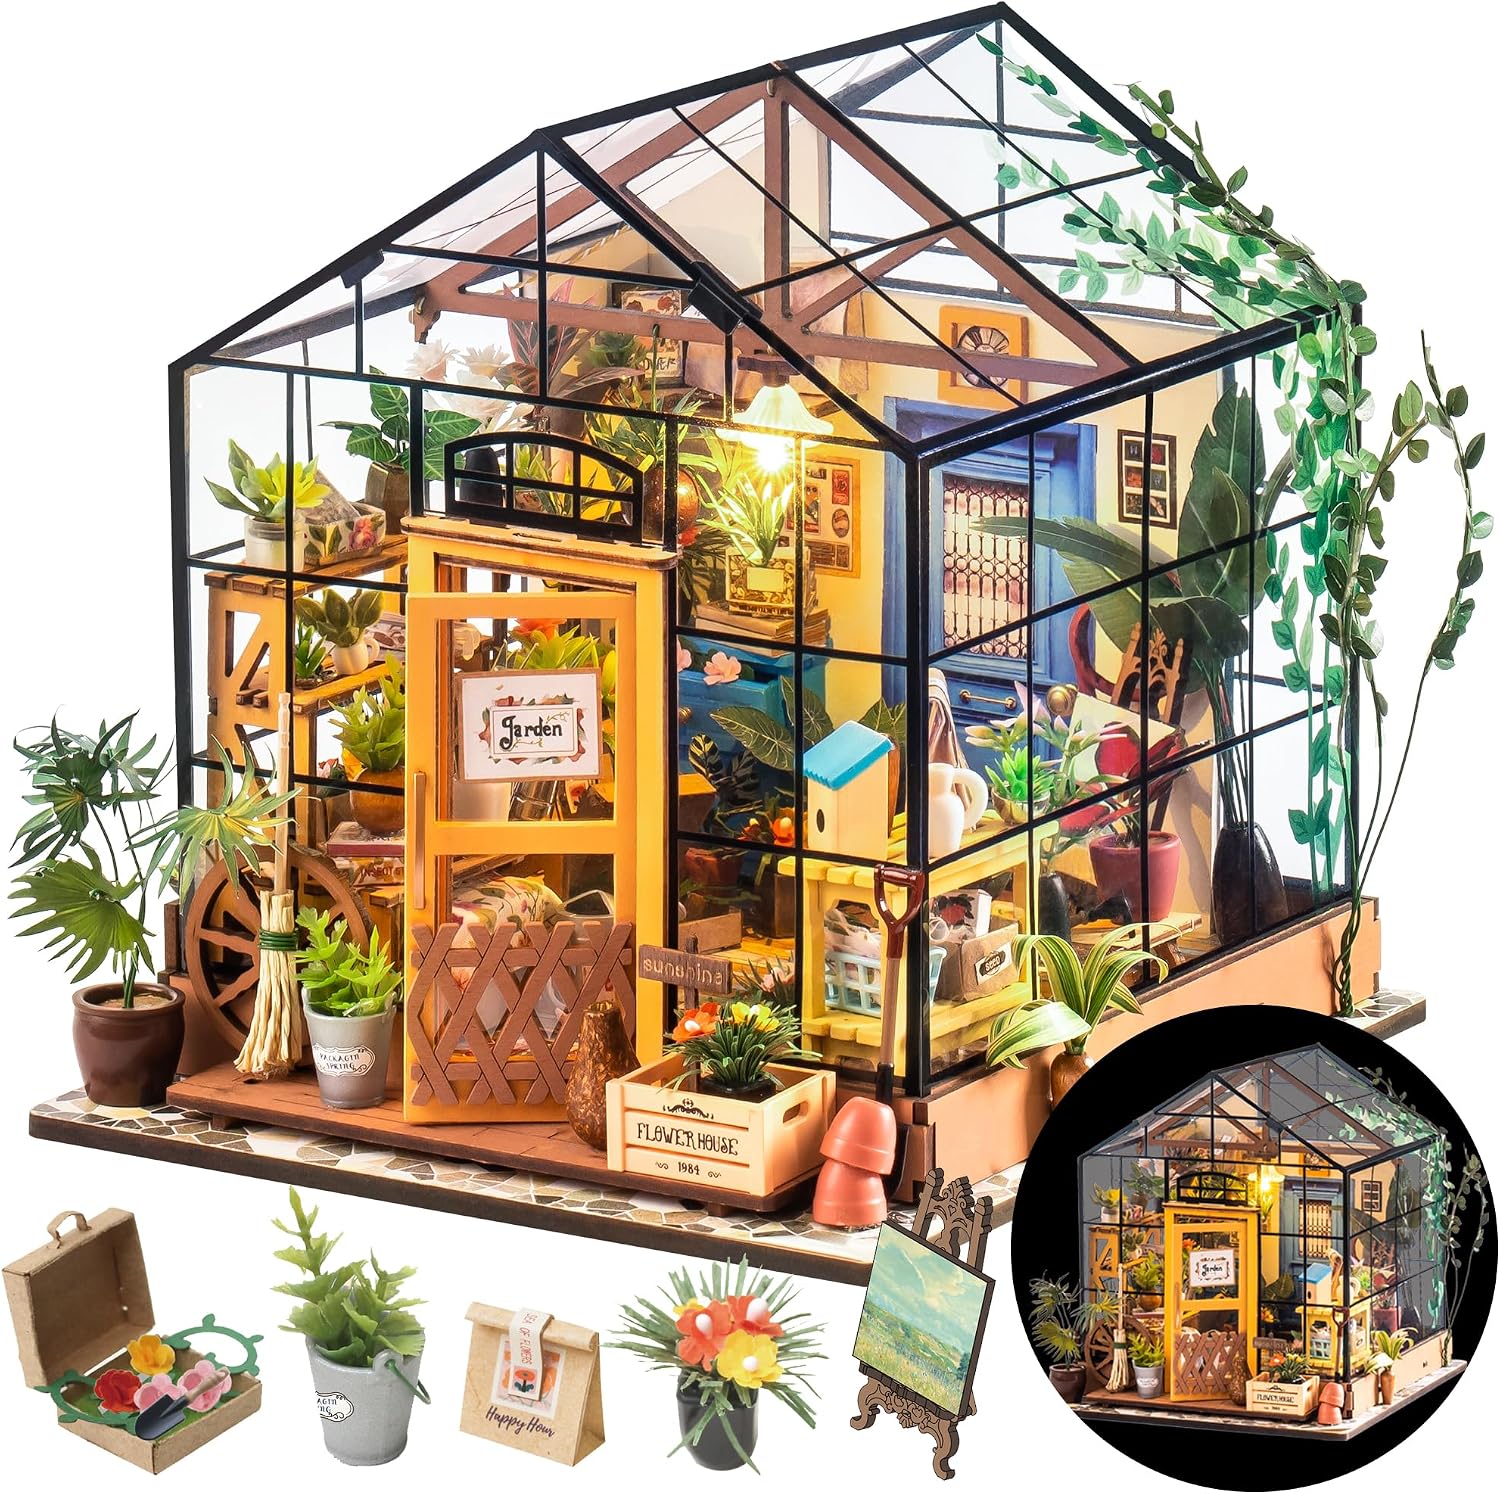
This is not a Gunpla, and I'm only including it because someone needs to hear the truth. The Rolife greenhouse took me three years to finish because the plant-making portion nearly broke me. Hundreds of tiny paper flowers on impossibly thin wire, and the included plastic tweezers are useless. I switched to metal tweezers and strong super glue, and I still hated every minute of the plants.
But here's the thing: the greenhouse needs a topcoat, and it's the most delicate topcoating job I've ever done. The paper parts will warp if you spray them directly. The wire will rust if you use gloss coat in high humidity. The clear plastic shell (which is not included, you have to buy it separately) will frost if you hit it with matte.
I ended up coating the furniture pieces individually with a light matte spray, leaving the paper plants uncoated, and using a clear acrylic display case to protect the whole thing. The result is stunning. I'm obsessed with how it looks on my shelf. But I will never touch another plant-heavy kit again.
Should You Topcoat Your Next Kit?
Yes, if you've built at least one kit and you want it to look better. Topcoating is the single biggest upgrade you can do for a model kit. It's cheaper than paint, faster than detailing, and it makes everything look more expensive.
No, if you're on your first build and you're still figuring out nub removal. Get comfortable with the basics first. Topcoating will still be there when you're ready.
What I'm Testing Next
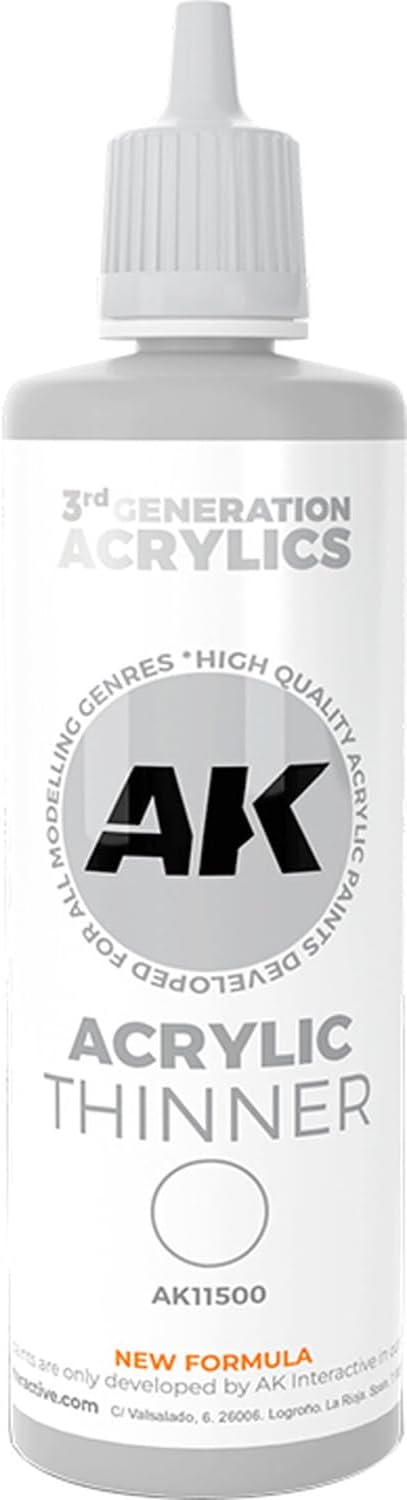
I'm working through my backlog of Witch from Mercury kits and testing the AK Interactive 3rd Gen spray line against my usual Mr. Hobby cans. Early results are promising, but the AK cans run about 20% pricier per kit. I'll update this piece if anything changes.