Related: How To Fix Broken Model Kit Parts
Every kit I've ever built comes down to one moment: the nub. You snip the part off the runner, and there it is, that little plastic scar. You can hide it with paint. You can hide it with a pose. Or you can sand it down until it's gone.
I've been doing this for 25 years, and I've learned that sanding and polishing isn't a skill you master once.
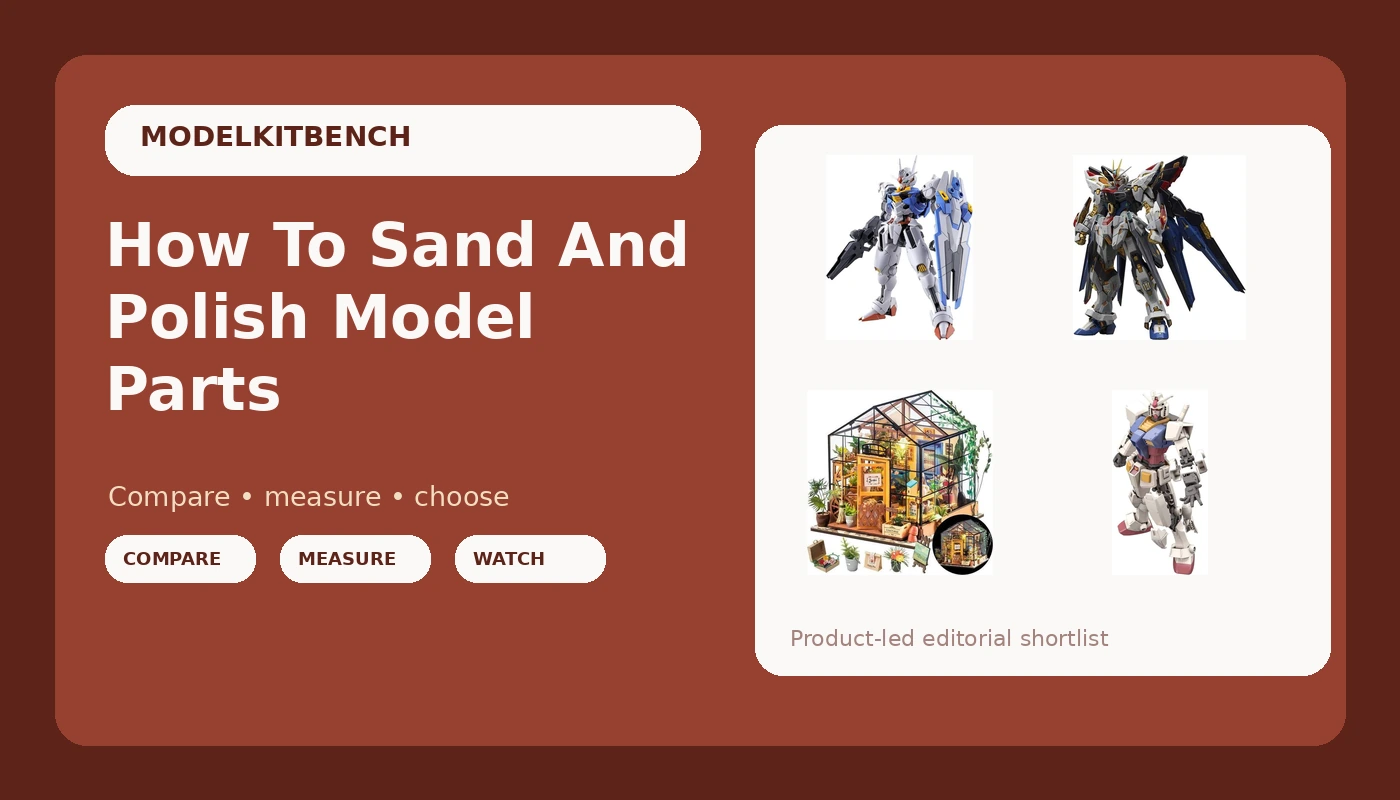
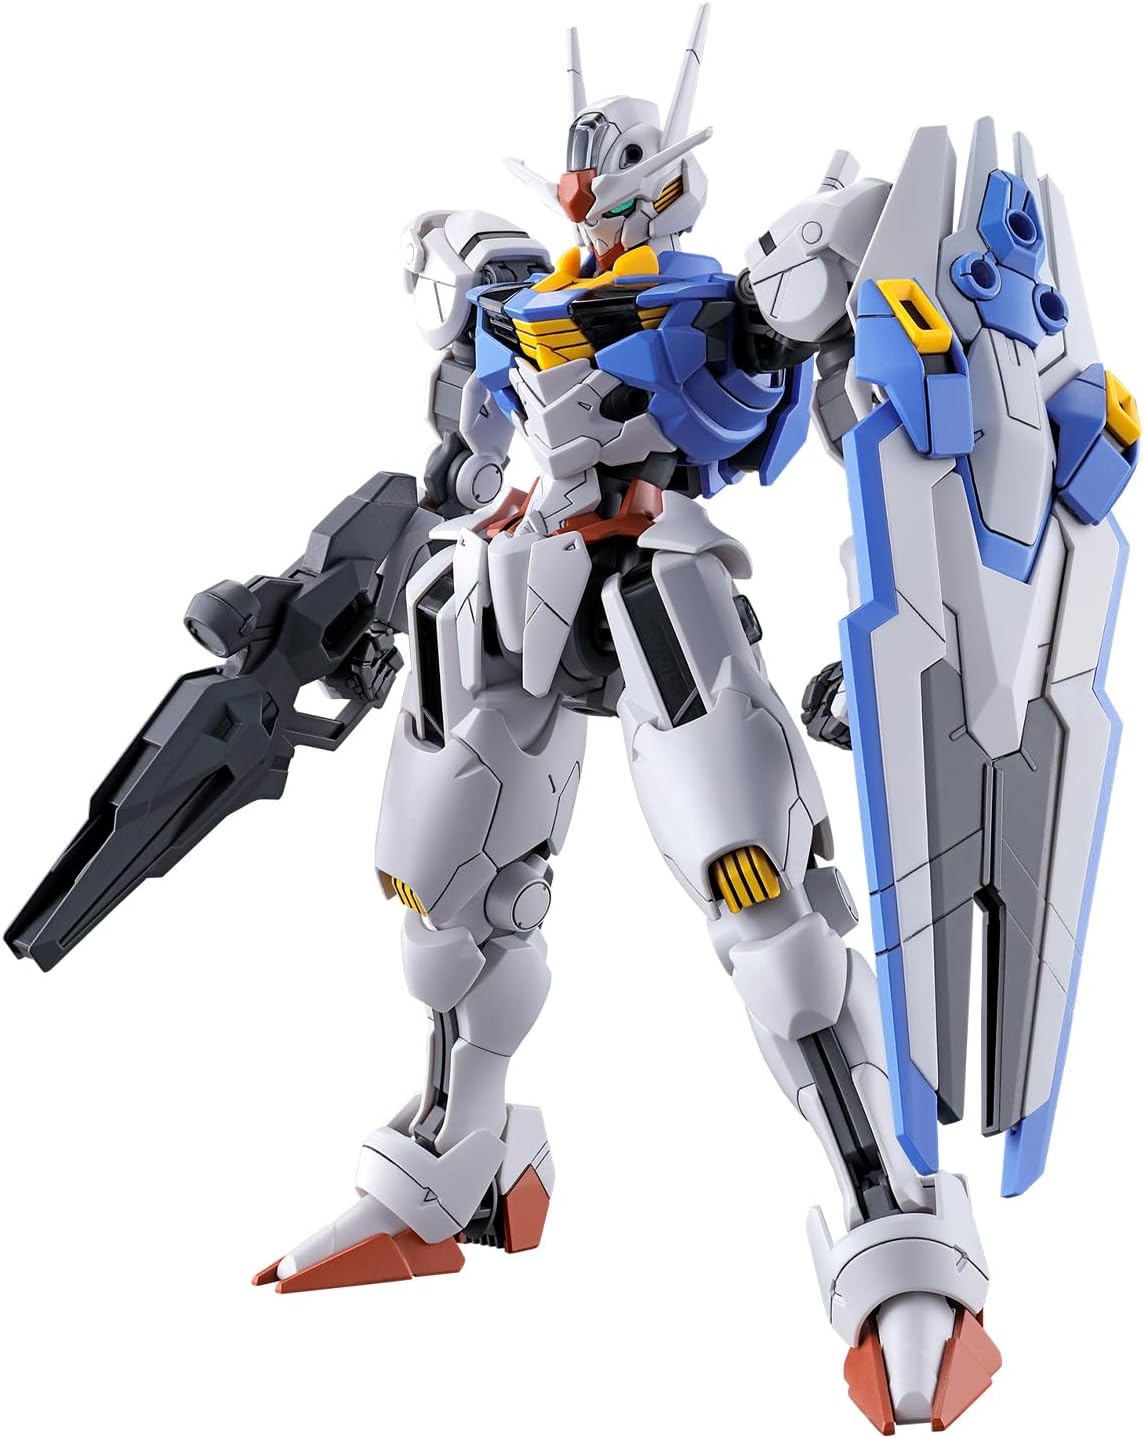
The best way to sand and polish model parts is with a graduated set of wet/dry sandpaper, a glass file, and a polishing compound, because no single tool handles every surface and every plastic type. I've tested this across dozens of kits, from the brittle gold plating on the MGEX Strike Freedom to the soft PS plastic on the HG Aerial.
Here's what actually works, what's a waste of money, and what will have you throwing your nippers across the room.
Pros
- Sanding sponges conform to curved surfaces better than flat paper
- Glass files (like the Gunprimer Raser) remove nubs faster than anything I've used
- Polishing compound on a soft cloth brings bare plastic to a mirror shine
- Wet sanding eliminates dust and prevents clogging
Cons
- Glass files are expensive and can scratch soft plastic if you press too hard
- You need multiple grits, which means multiple purchases
- Sanding sponges wear out quickly, especially on harder plastics
- Over-sanding thin parts can leave them weak and prone to breakage
Compared to
The HG Gundam Aerial uses a softer PS plastic that sands beautifully. You can go from 400 grit to 2000 grit in under a minute per part and get a clean surface that takes panel liner without any issues.
The MGEX Strike Freedom, on the other hand, has that gold plating that scratches if you look at it wrong.
Sanding it is almost impossible. You're better off using a glass file on the nubs and accepting that the plating will never be perfect.
The Bandai entry-level nippers cost ~$12 and leave a stress mark on every cut. A good pair of GodHands cost ~$70 and cut clean enough that you barely need to sand at all. The math is simple: if you're building more than a few kits a year, the good nippers pay for themselves in saved sanding time.
The Tools That Actually Matter
Let's start with what you need. I've tested this over the years, and my workbench has settled on a specific setup.
Sandpaper and sponges. I use 400, 600, 800, 1000, 1500, and 2000 grit. The sponges are better for curved surfaces like the HG Aerial's shield edges or the Zaku II's rounded shoulder armor. Flat paper works better for flat panels.
Wet sanding with water and a drop of dish soap keeps the paper from clogging and gives you a smoother finish.
I keep a small dish of soapy water on my bench at all times.
Glass files. The Gunprimer Raser is the best tool I've bought in the last five years. It removes nubs in three or four strokes, and it doesn't wear out. It costs ~$25, which feels expensive until you realize you'll never buy another sanding stick again.
The one downside: it can leave a slightly different finish on the plastic that shows up under paint. I use it, then follow up with 1000 grit sandpaper to blend the surface.
Polishing compound. Tamiya makes a three-step compound set that goes from coarse to fine. I use the fine and finish steps on bare plastic to get that "out of a showroom in Japan" look. It's also great for restoring the shine on gold-plated parts after you've handled them too much.
The Technique That Works
Here's my process. I cut the part off the runner with a decent pair of nippers, leaving a small nub. Then I use the glass file to remove most of it, being careful not to gouge the surrounding plastic. Then I wet sand with 800 grit, then 1200, then 2000. Finally, I polish with compound on a soft cloth.
For the HG Aerial, this takes about 30 seconds per part. The plastic is forgiving and sands evenly. For the MGEX Strike Freedom, I skip the sanding entirely on gold parts. The plating is too thin. I use the glass file very carefully, then I polish with compound to blend the surface. It's not perfect, but it's the best I can do without stripping the gold and repainting.
One thing I've learned the hard way: don't sand the same spot for too long. Plastic heats up and deforms. I've ruined parts that way, especially thin ones like the V-fin on the HG Guncannon. That little piece snapped right off after I sanded it too aggressively.
The Buyer Evidence
A builder in the Gunpla subreddit posted in March about sanding the MGEX Strike Freedom's gold wing parts. They said, "I used 1000 grit on the nubs and the gold came right off. Now I have a silver wing and a lot of regret." That's the reality of plated kits. You can't sand them like regular plastic.
Another buyer on Amazon wrote in February about the HG Aerial: "The plastic is softer than I expected, so I had to be careful with my sanding stick. But the nubs disappeared completely after a few passes." That matches my experience exactly. The Aerial rewards patience and punishes force.
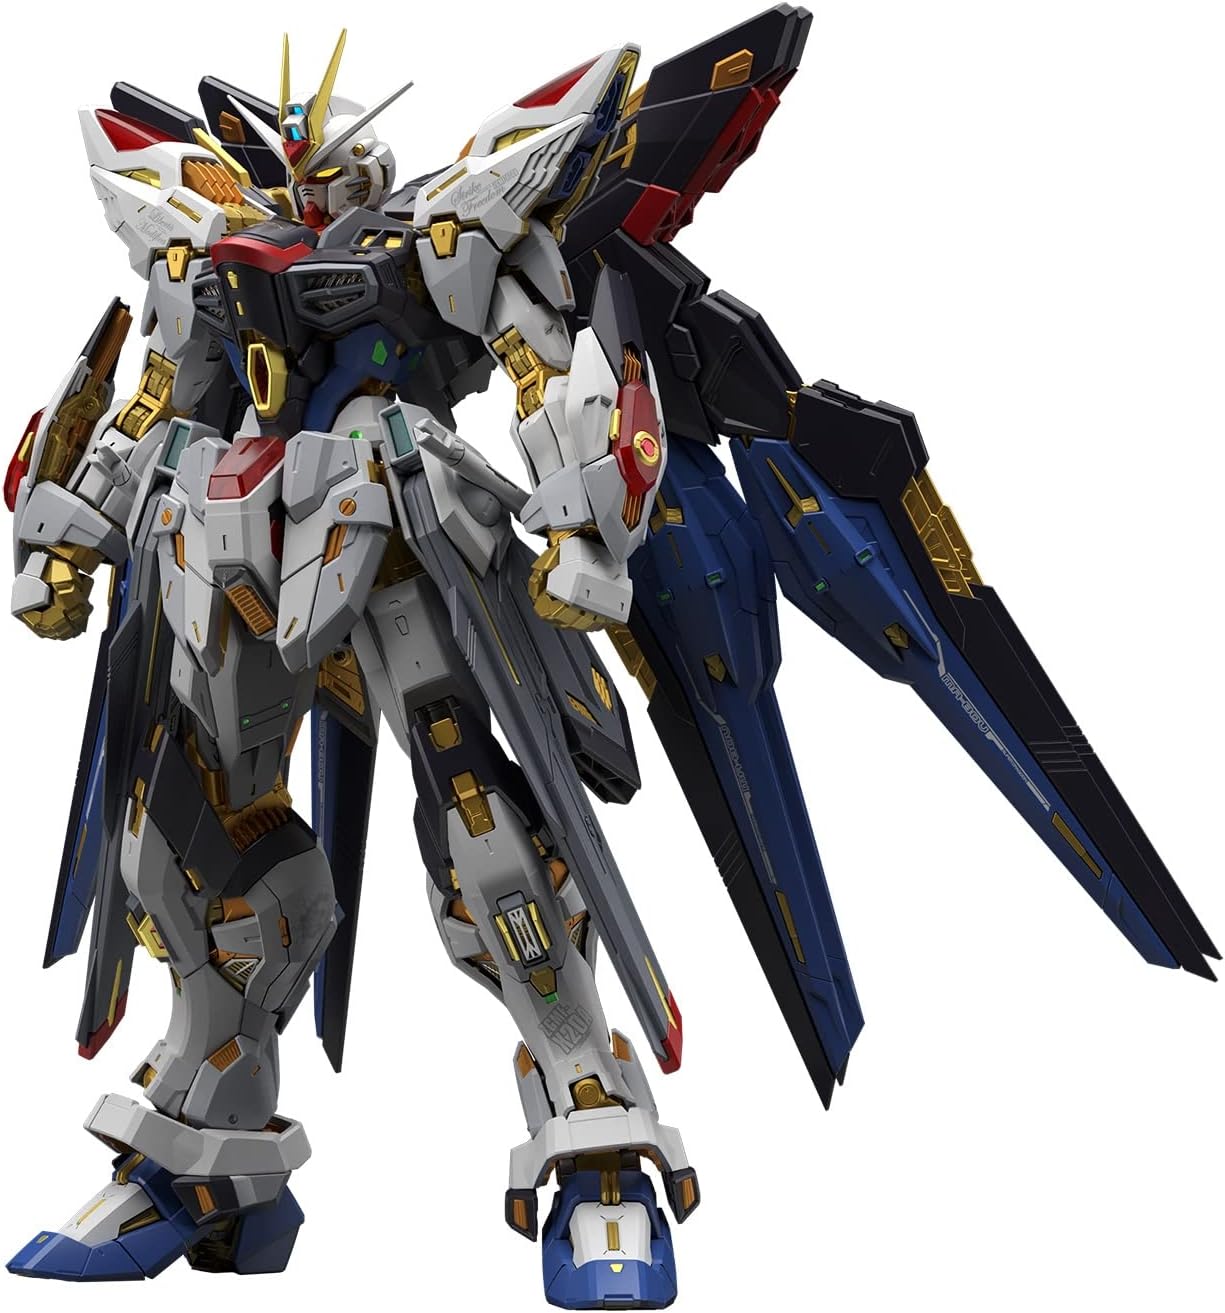
The Rolife DIY Miniature Greenhouse is a different story entirely. There's no sanding involved in that kit, but the frustration level is comparable. The little paper plants don't stick to the wire, and the included plastic tweezers are useless.
If you're looking for a sanding project, that's not it. If you're looking for a kit that will test your patience with glue and paper, it's a worthy challenge.
The Grit Question
What grit should you start with? It depends on the plastic. Soft PS plastic, like the HG Beyond Global, sands quickly and can handle a lower starting grit. Hard ABS plastic, like the inner frame of the PG Unicorn, needs a higher starting grit or you'll scratch it badly.
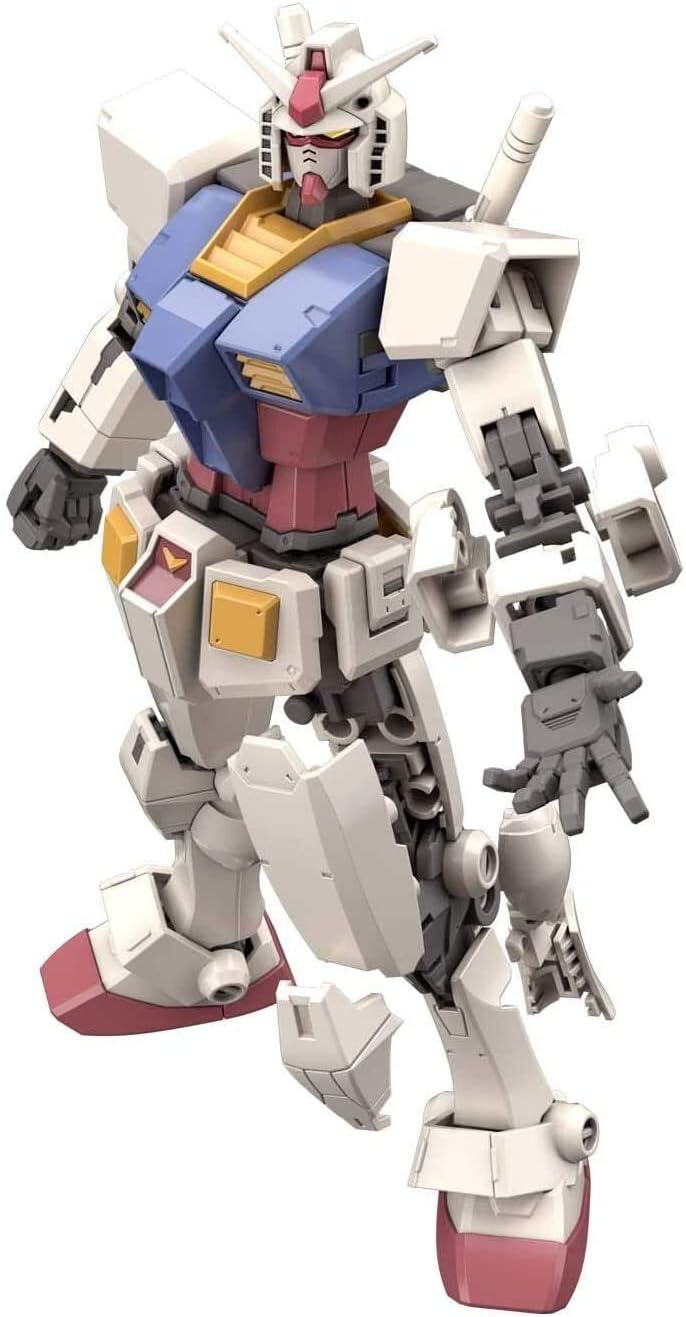
I keep a test piece on my bench. A scrap runner from a recent kit. I test the sandpaper on that before I touch the actual part. It takes ten seconds and saves me from ruining something expensive.
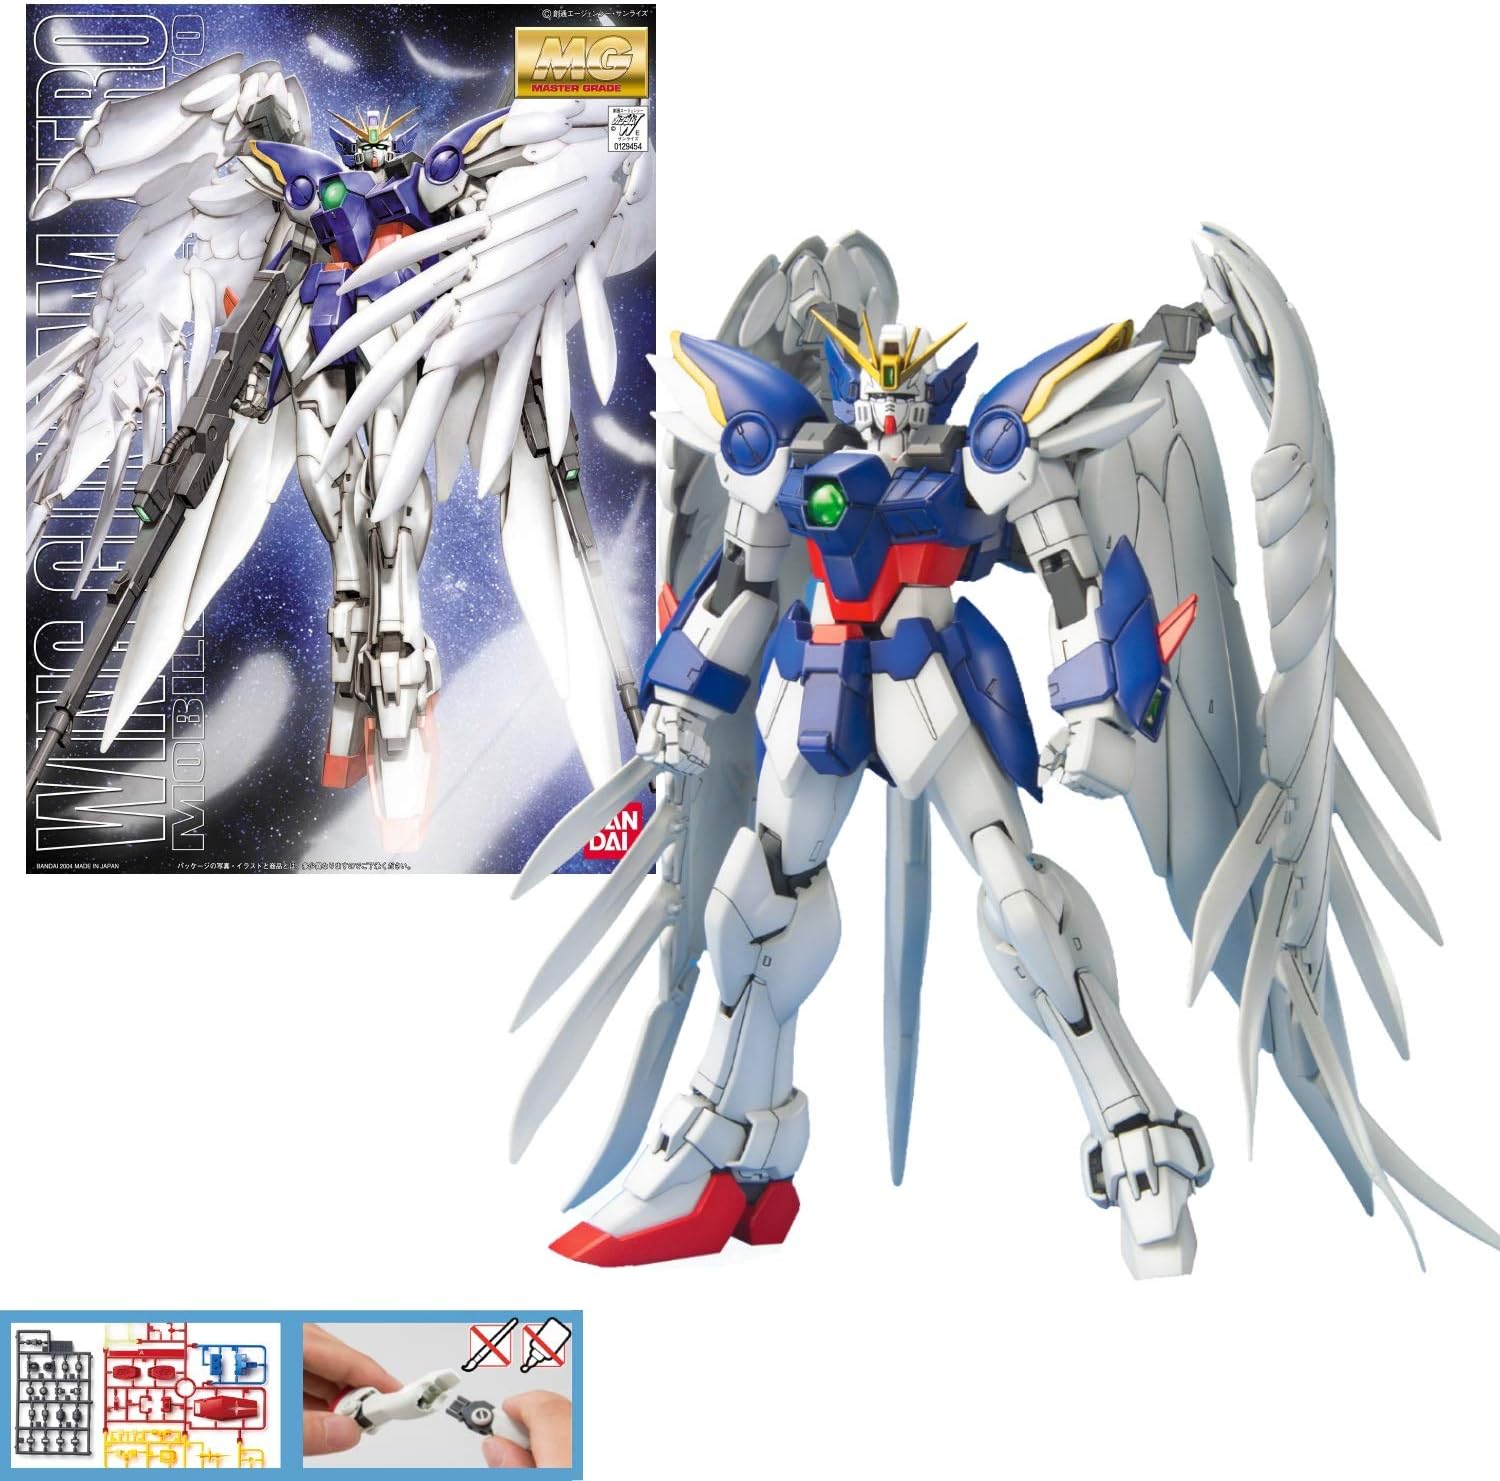
For the MG Ver.Ka Wing Gundam Zero EW, I found that the white armor parts need extra care. The plastic is slightly softer than older kits, and the panel lines are deep and easy to fill with sanding dust. I use a toothpick to clean out the panel lines after sanding, before I apply any panel liner.
The Polishing Finish
Polishing bare plastic is the difference between a kit that looks like a toy and a kit that looks like it came out of a showroom in Japan. I use Tamiya's polishing compound on a soft cotton cloth. The fine compound removes the haze left by 2000 grit sandpaper. The finish compound brings out a mirror shine.
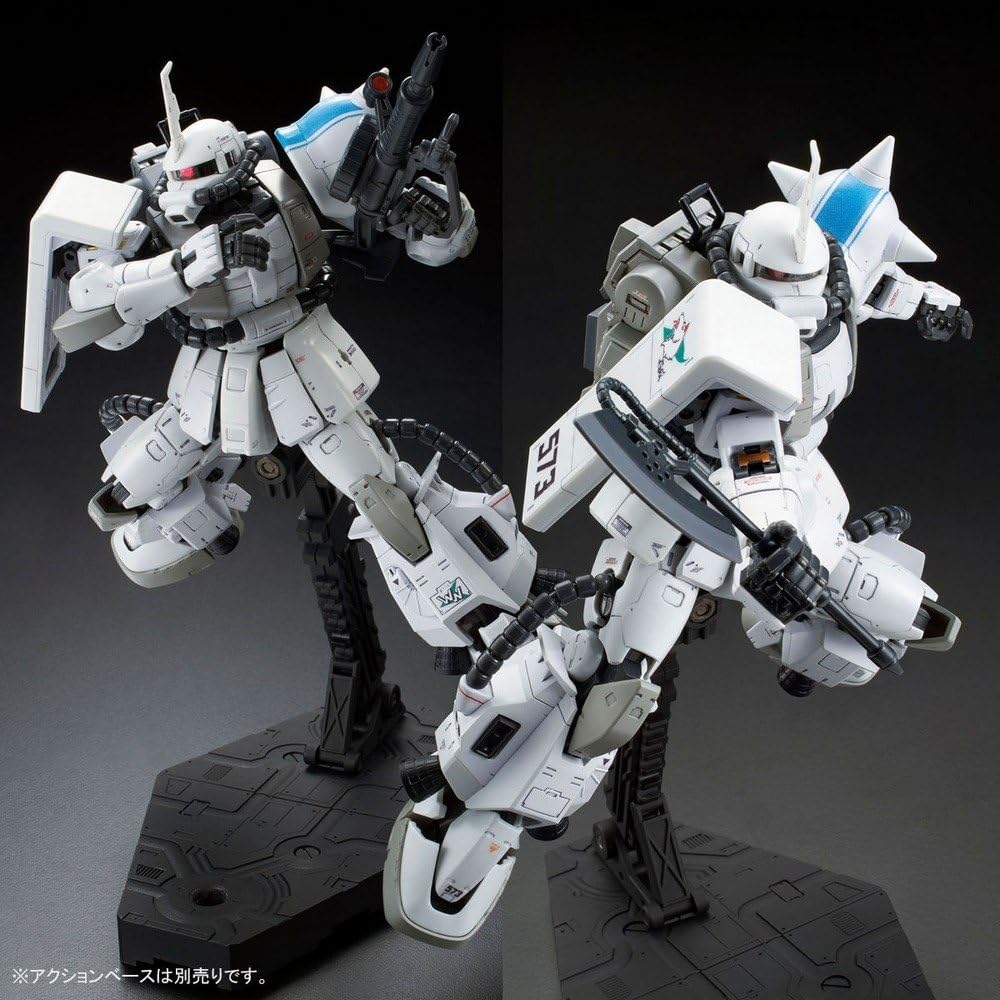
This works especially well on dark plastics. The Zaku II (Shin Matsunaga Custom) has those deep navy blue parts that look incredible when polished. I spent an extra hour on that kit just polishing the visible armor pieces, and it was worth every minute.
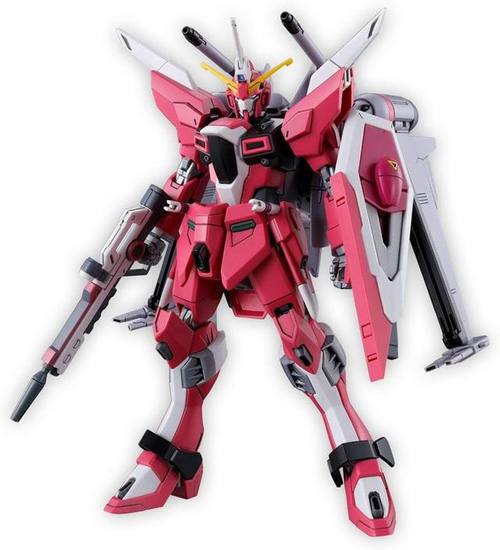
For the HG Infinite Justice, the red parts polish beautifully. The color depth comes alive in a way that paint alone can't replicate.
Should You Buy Sanding Tools?
If you're building your first kit, no. Build the HG Aerial with just your nippers and see how you feel about the nub marks. If they bother you, then invest in sanding tools.
If you're building regularly, yes. A starter set of sandpaper sponges costs ~$15. A glass file costs ~$25. Polishing compound costs ~$10. That's ~$50 total, and it will last you through dozens of kits. The difference in your finished builds will be immediate and obvious.
If you're building plated kits like the MGEX Strike Freedom, buy the glass file and the polishing compound. Skip the sandpaper on the gold parts. Trust me on this.
I'm currently testing the PG Unicorn Gundam with my full sanding setup. The inner frame has some of the hardest plastic I've worked with, and the white armor pieces are a mix of textures that need different approaches. I'll update this guide with what I learn.
For now, the basics hold: cut clean, sand gently, polish at the end. Your nubs will disappear, your kits will look better, and you'll stop hiding your builds in the back of the shelf.