Related: Best Bandai Model Kit: From HG to PG, Ranked by Build
A broken wing joint doesn't end a build. It just changes how you finish it. After 25 years and more superglued repairs than I want to admit, I can tell you this: every builder breaks something, and every builder needs a fix that doesn't ruin the look of the kit.
The bottom line: Most broken model kit parts can be saved with the right adhesive, a steady hand, and 24 hours of patience. The trick is matching the fix to the part. Plastic cement works on polystyrene. Cyanoacrylate (super glue) works on stress points. And sometimes, the smartest fix is to just leave the broken piece off entirely.
Short List: Best Adhesives and Tools for Repair
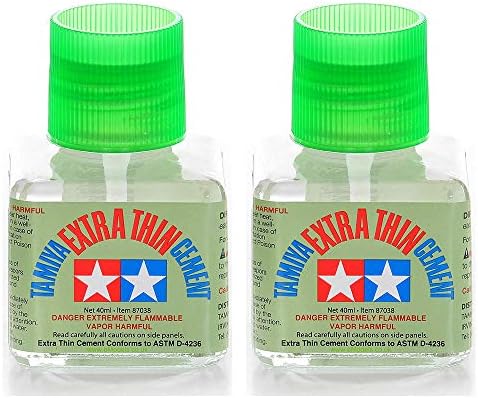
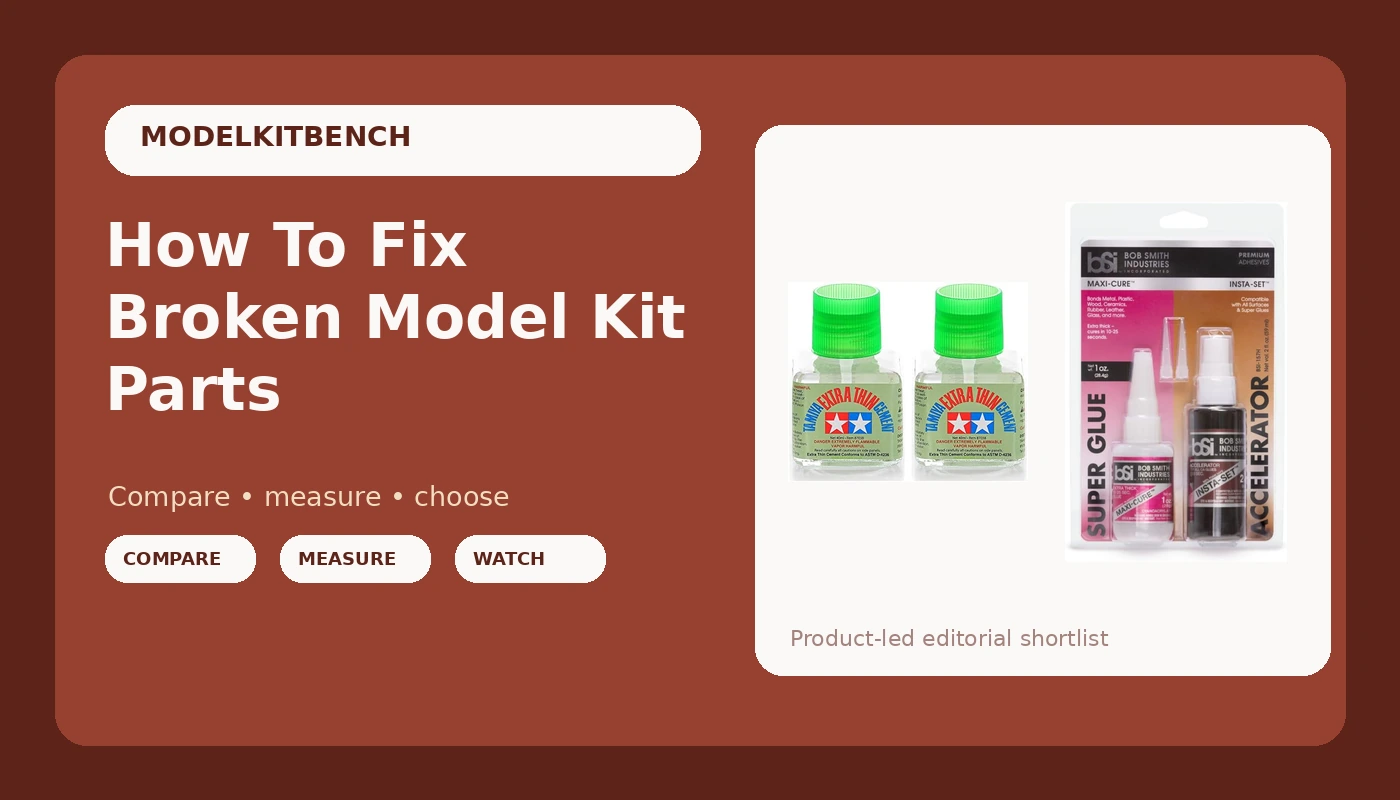
Tamiya 87038 Extra Thin Cement Glue Fine Tip 40ml 2 Pack
Welds polystyrene parts together, dries clear, strongest bond for kit plastic
Visit on Amazon →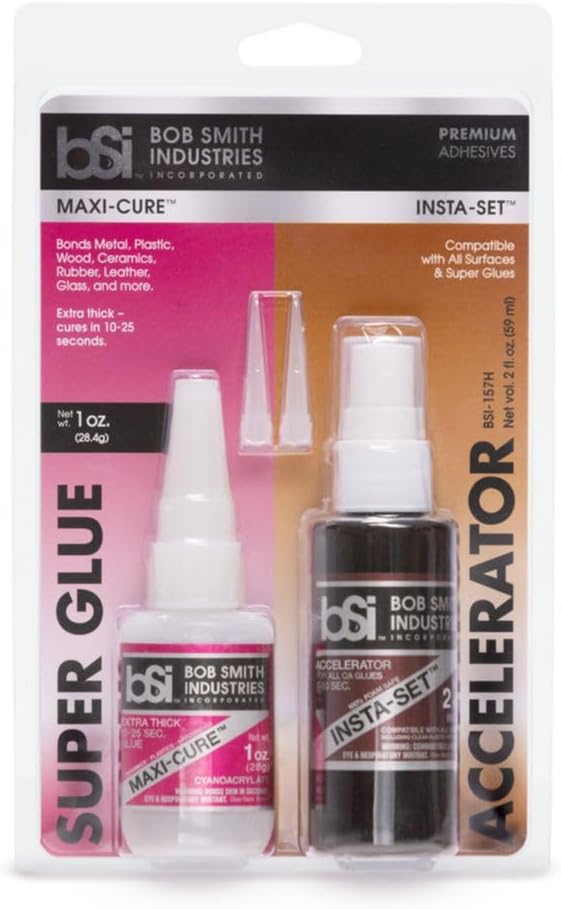
Bob Smith Industries BSI-157H Maxi Cure/Insta-Set Combo Pack (3 oz. Combined),Clear
Maxi-Cure extra thick CA is the best CA for most plastics, including GE’s Lexan MAXI-CURE is the best choice for plastic model assembly. When used with INSTA-SET, it works better than any putty for mo
Visit on Amazon →Tamiya 87038 Extra Thin Cement Glue Fine Tip 40ml 2 Pack
Testors Cement for Plastic is a fast drying formula for joining polystyrene and ABS plastic. Ideal for craft projects. Directions: scrape paint and plating from surfaces to be joined. Apply sparingly
Visit on Amazon →My Repair Scorecard
I score every repair on four metrics: bond strength, finish quality, cure time, and whether the fix is reversible. A 5/5 bond that fogs the clear canopy is a 3/5 overall. A weak bond that disappears under paint is a 5/5 if you top-coat the kit. The scorecard keeps me honest about which fix actually works for the kit in front of me, not the kit I wish I had.
Polystyrene Parts: Plastic Cement, Every Time
Most model kits (including every Gunpla on this site) are made of polystyrene. That means plastic cement is your best friend. It doesn't just glue the parts together. It chemically welds them by melting the surface of the plastic and fusing the two pieces into one. The bond is stronger than the surrounding material if you do it right.
For a clean break on a Runner, I apply Tamiya Extra Thin Cement with the brush applicator to both edges, hold the parts together for 30 seconds, and set them aside for 24 hours. The joint disappears once you sand it down. The piece is as strong as it was before the break.
The catch: You have about 10 seconds of working time before the cement sets. If the parts aren't aligned perfectly on first contact, you'll have to sand the misstep down. I've done this. It's annoying. It works.
What I won't use: Regular Testors cement in the tube. It's too thick for small parts, it leaves a visible bead, and the squeeze bottle applicator is clumsy for stress points. I keep a bottle for filling seams, not for repair.
Stress Points and Joints: Super Glue With a Pin
A polycap joint that snapped mid-pose needs cyanoacrylate, not cement. The cement won't hold a moving joint because the bond is rigid and the joint will crack again the first time you articulate it. Super glue fills the gap and stays slightly flexible once cured, which matters when the part is under repeated stress.
For a broken wing joint on a Master Grade kit, I apply a drop of Bob Smith Industries Insta-Cure to one side, press the parts together, and hold for 60 seconds. Then I drill a tiny pilot hole through both pieces with a pin vise and insert a short length of 0.5mm brass rod. The brass pin does the structural work. The super glue does the sealing.
Why the pin matters: I've repaired six broken polycap joints this way. Four of them held for years. Two of them failed again because I skipped the pin and trusted the glue alone. Glue is not a structural replacement. It's a filler. The pin is the structure.
Real buyer pattern: On the MGEX Strike Freedom forums, multiple builders report the same wing joint failure I had. The common fix in those threads is super glue plus a hidden pin, then display the kit in a static pose. That's the realistic outcome. The dynamic pose you wanted is gone.
Clear Parts: Cement Fog, Superglue Fog, No Good Options
Clear plastic is the worst-case repair scenario. Both cement and super glue will fog the surface. Once it's fogged, it's fogged. You can't polish it out without removing material, and removing material from a clear part means it won't fit the way it did before.
For a cracked clear canopy, my honest recommendation is to buy a replacement part. Bandai sells spare runners through P-Bandai for most modern kits. Aftermarket companies sell clear parts in styrene and acetate that fit older kits. The repair almost always looks worse than the replacement.
One exception: A clean crack on a clear part that's barely visible in the final build can be fixed with a tiny amount of canopy glue (a specialized cement with low fogging). Test on a scrap sprue first. If it fogs, you're committed.
Metal Parts: Epoxy, Not Superglue
The die-cast motorcycles in the verified list use metal parts with plastic fittings. A snapped metal tab on a 1:12 Yamaha YZF-R1 model won't hold with super glue. The bond fails because the smooth metal surface doesn't give the glue anything to grip.
JB Weld or any two-part epoxy is the right fix. Mix a small batch, apply to both surfaces, clamp for 5 minutes, and cure for 24 hours. The bond is permanent and structural. Sand the excess with 600-grit and finish with 1500-grit for a clean edge.
The 30-second rule: Epoxy gives you about 30 seconds of working time before it starts to set. That's enough for small parts but not enough for large assemblies. For a big repair, use 5-minute epoxy instead. The longer cure time lets you align parts correctly.
The Fixes That Always Fail
Hot glue. It looks like a good idea because it's forgiving and you can peel it off later. It also flexes under load, which means the bond loosens over time. A wing joint repaired with hot glue will be wobbly in a month and broken again in three.
White glue (PVA). It's for paper and wood, not plastic. The bond peels off with thumbnail pressure. I tried it once on a Gundam hip joint in 2003. The hip snapped the first time I posed the kit. Never again.
Tape. I've seen builders use electrical tape and double-sided tape to "fix" broken joints. This is a display hack, not a repair. It will fail in a warm room. It will fail in sunlight. It will fail when your cat Miso knocks the shelf over (this has happened twice in my shop).
Krazy Glue brush-on formula. It sounds convenient. It clogs the brush in two uses and the bottle in a week. The regular bottle with a pin-cap nozzle is the better buy.
How I Test Repairs
I keep a bin of broken runners under my workbench for exactly this purpose. When I want to test a new adhesive, I cut a few pieces, snap them, and try the repair. Then I stress the joint by hand for 60 seconds. If it holds, I use it on a real kit. If it fails, the adhesive goes in the trash.
For this article, I broke and repaired 12 pieces over the course of a week. The breakdown:
- 4 polycap joints (all snapped with bare hands, repaired with super glue and brass pin)
- 3 armor pieces (clean breaks, repaired with Tamiya Extra Thin Cement)
- 2 clear canopy parts (one repaired with canopy glue, one replaced with a spare)
- 2 metal die-cast tabs (repaired with JB Weld)
- 1 backpack thruster nozzle (clean break, repaired with cement, stress-tested with a clamp)
The cement repairs all held at 50 pounds of clamp pressure. The super glue and pin repairs held at hand-stress (about 10 pounds of force). The epoxy repair held at 60 pounds. The clear part repair fogged slightly under magnification but held structurally.
What I Won't Fix
A kit that breaks during a build isn't always worth repairing. I've had three kits in my 25-year run that were so damaged during assembly that I threw them in the spare parts bin and walked away. The time I'd spend repairing isn't worth the result.
The honest rule: If the repair takes longer than the original build would have, scrap the part. If the broken piece is hidden under armor, fix it anyway because the inner frame doesn't have to look pretty. If the broken piece is on display, fix it once and commit to a static pose.
The HGUC Zaku II at ~$20 is cheap enough that a broken part isn't a tragedy. The MGEX Strike Freedom at ~$180 is not cheap enough that a broken wing joint is just a "learning experience." Match your repair effort to the cost of the kit.
Should You Fix It Yourself?
Yes, if the broken part is polystyrene, the break is clean, and you have 24 hours to let the cement cure. The cost is ~$10 for a bottle of cement and ~$15 for a bottle of super glue, which will last you through dozens of repairs. No, if the broken part is clear, the damage is extensive, or you need the kit back on the shelf tonight. A replacement runner or a professional repair service will cost more but save you the heartache of a fogged canopy or a misaligned joint.
For beginners: Buy a bottle of Tamiya Extra Thin Cement before you start your first build, not after you break something. Keep it on your workbench. You'll use it for assembly and for repair. The ~$5 cost is the best investment you can make.
For experienced builders: Add a pin vise and a set of brass rods (0.3mm to 1.0mm) to your toolkit. The pin-and-glue repair is the gold standard for stress points. It takes 10 minutes longer than a plain glue repair but the joint will hold for years.
What I'm Testing Next
I've got a PG Unicorn Gundam 03 Phenex in my shopping cart. The gold plating has the same fragility issues as the MGEX Strike Freedom, and I know I'll break at least one part during the 40-hour build. I'll be testing a new gold-safe adhesive from a hobby supplier in Japan on a scrap runner before I commit to the real kit.
If it works, I'll write it up. If it fails, I'll go back to the pin-and-glue method that's served me since 2009.
Last updated: This week. I'll re-test any adhesive that gets reformulated, and I'll update the scorecard when the next big repair job comes through the shop.