A model car body straight off the bench looks flat. The shut lines on the doors, the gap around the hood, the recess around the grille, all of it reads as one continuous surface because there is no shadow in any of those grooves. Panel lining a model car kit is the cheapest fix in the hobby: one bottle, one brush, about half an hour of work, and the whole body suddenly has depth.
The AMT 1967 Chevy Impala 4-Door Supernatural 1:25 Scale Model Kit is a perfect candidate for this. It is a four-door sedan with long slab sides, so it has more shut lines than a two-door coupe, and every one of them is a place where a little black ink turns a flat panel into a panel with an edge.
The technique itself is not complicated. What trips people up is the order of operations. Panel line accent is a pre-thinned enamel, and enamel does not care about your feelings, your color coat, or the three evenings you spent getting the paint smooth. Get the order right and the job takes 15 minutes. Get it wrong and you are repainting a body.
Why you should trust me
I am Kenji. I built my first kit at 11 and never stopped, which is 15 years of Gunpla and 10 years behind an airbrush, plus a backlog that will outlive me. I work in IT to fund the hobby and I have judged local Gunpla competitions twice.
The rule I build by is simple: fit is the soul of a kit, and seam lines are the honesty test. That is why I like teaching panel lining more than almost anything else. It is the one finishing step where a first-timer and a veteran use the exact same tool and get the exact same result. There is no airbrush technique to learn, no masking to fight. You touch a brush to a groove, the ink runs down it, you clean up the overflow. The only skill is patience, and the only failure mode is rushing the prep.
How I picked what goes on this list
Two things make a panel lining job possible, and both of them have to be right before you open the bottle.
The first is a kit with honest recessed detail. If the shut lines are shallow, or if they are raised instead of recessed, the ink has nowhere to sit and you will spend your evening chasing smears. The second is an ink that actually capillaries. A good panel line product flows on contact, pulls itself down the groove, and stays there. A bad one pools on the surface, dries with a chalky halo, and refuses to wipe out of the corners.
So the criteria are: real recessed lines on the body, ink that flows by itself, cleanup with a mild thinner that will not lift the layer underneath, and an applicator fine enough that you are not decanting into a separate cup. That last one matters more than people expect. If the bottle does not have a brush in the cap, you are adding a step and a mess to a job that should be simple.
The kit and the ink you'll need before you start
You need a body to line and something to line it with. Everything else is technique.
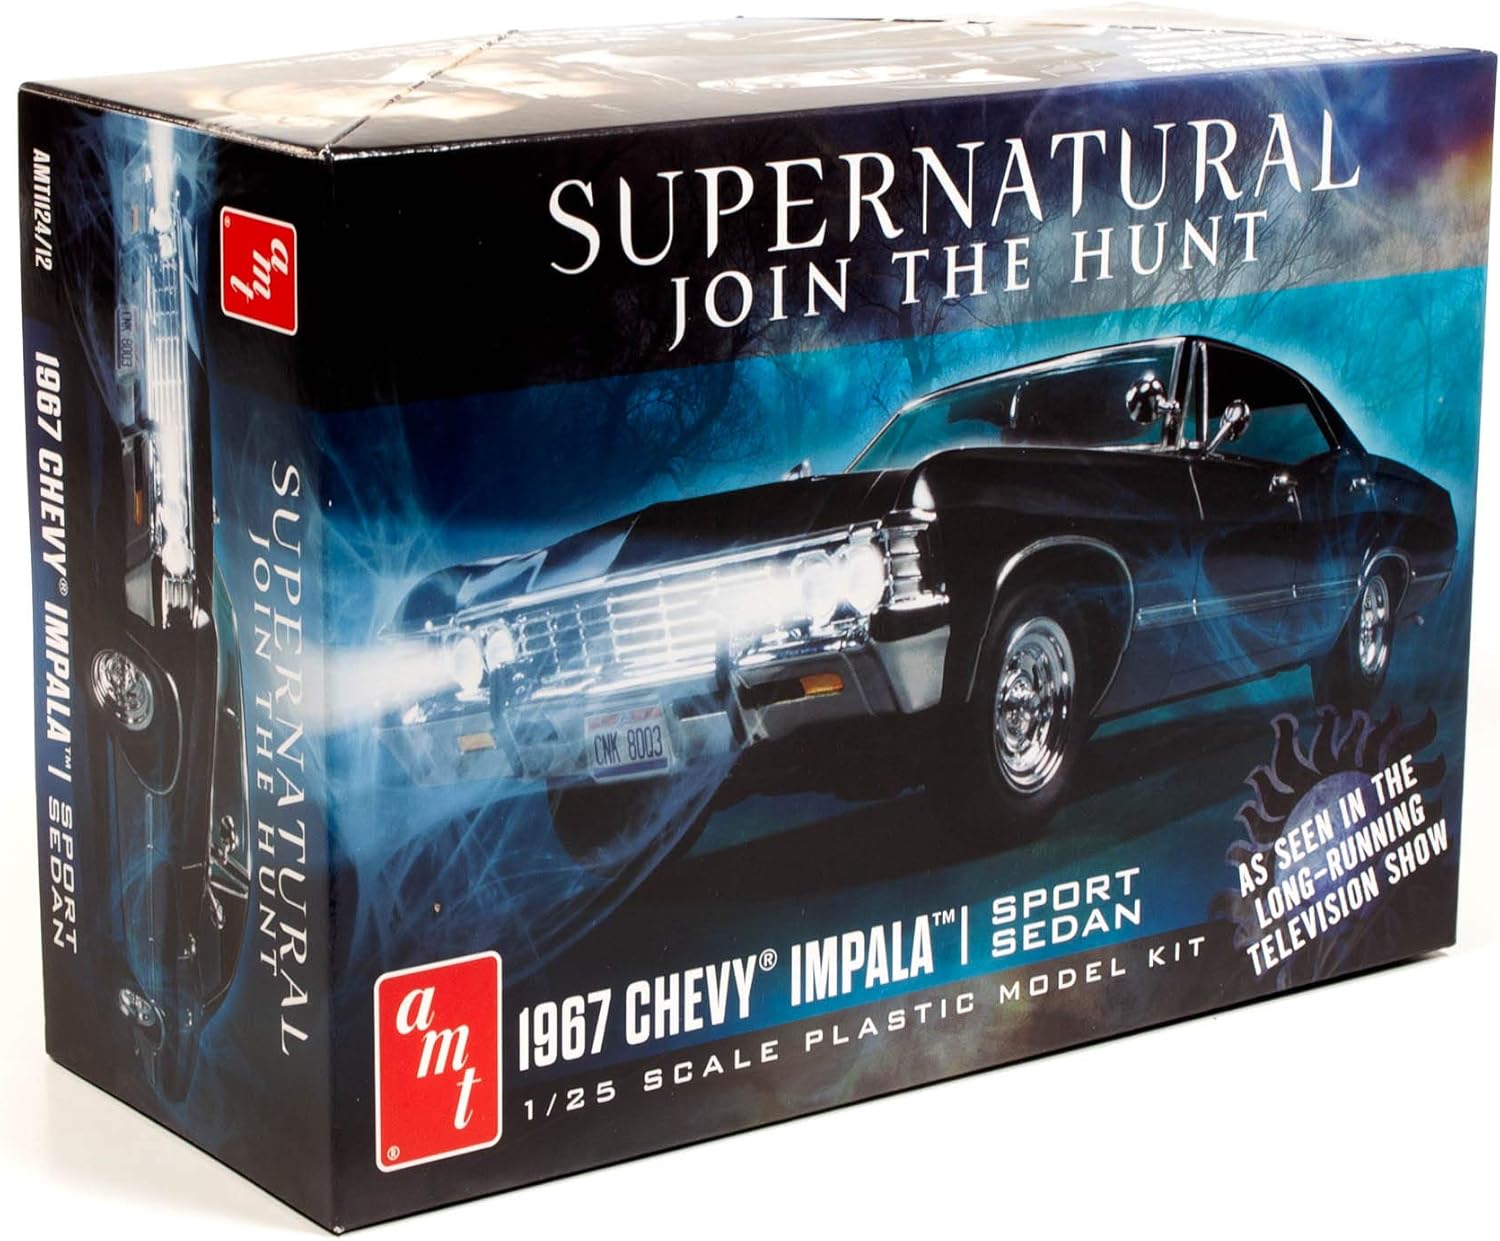
The kit: AMT 1967 Chevy Impala 4-Door Supernatural 1:25 Scale Model Kit
 Visit on Amazon →
This is the car from the show, a 1967 Impala four-door in 1:25 scale, and it is the kind of subject that rewards panel lining more than a curvy sports car does. Four doors means four door shut lines, two more on the front fenders, the hood and trunk gaps, the wheel arch lips, the drip rails, and the recesses around the grille and lights. That is a lot of grooves, and every one of them is a chance to make the body look like it was stamped from real steel instead of molded in one piece.
The catch is that this is a traditional styrene kit, so it is a glue and paint build, not a snap-fit weekend project. Plan on primer and a color coat before you ever think about ink. That is not a flaw, it is just the genre. AMT tooling also varies by release, so dry-fit the body panels before you commit to paint. If a hood sits proud of the fenders, fix that with sandpaper first. Panel lining a bad panel gap just makes the bad gap more visible.
Flaws but not dealbreakers: The four-door body has more surface area to paint and more shut lines to keep consistent than a coupe, so budget a little more time. If you want a faster first panel lining project, a two-door kit will get you to the finish line sooner. If you want the car from the show, this is the car.
Anyone building their first glue kit with an airbrush or a decent rattle can will get a lot out of this body.
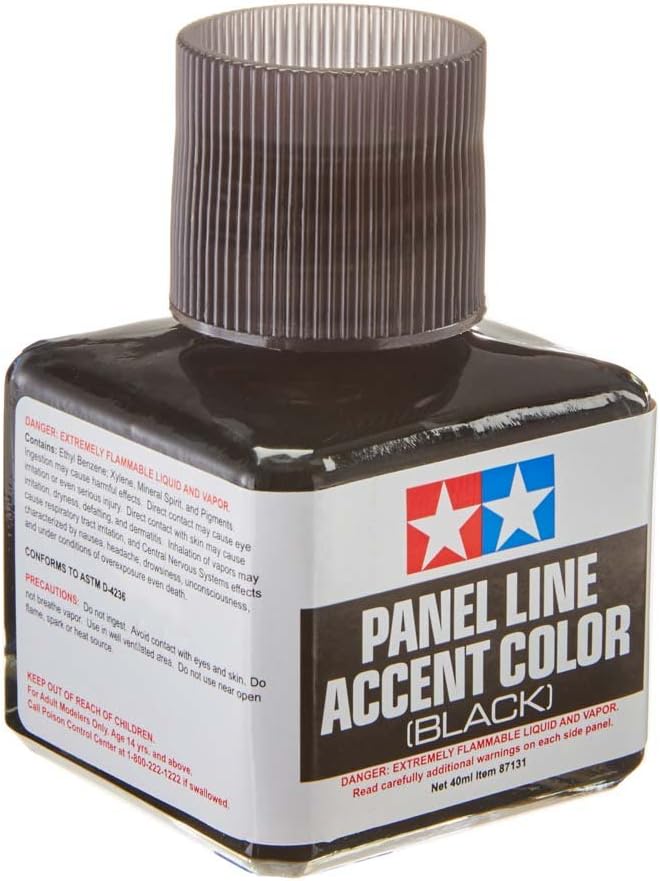
The ink: Tamiya Panel Line Accent Color 40ml Black TAM87131 Plastics Paint Enamels
 Visit on Amazon →
This is the tool the whole article is about. It is a 40ml bottle of pre-thinned black enamel with a fine brush built into the cap, and it is already at the consistency you need. You do not dilute it, you do not decant it, you do not mix it. You shake it, you touch the brush to the top of a groove, and capillary action pulls the ink down the line for you.
Because it is an enamel, it behaves differently from an acrylic wash. It flows further and settles tighter, which is exactly what you want in a shut line. It also stays workable long enough to clean up, which is the other half of the job. A bottle this size covers a lot of kits, so the per-kit cost is small, and it will outlast several builds.
Flaws but not dealbreakers: Black is the harshest accent in the line, and on a white, silver, or pale car it can read as a cartoon outline instead of a shadow. For light bodies, the gray and brown versions of the same product give a softer, more realistic line. Black is the right call for the Impala because the car is dark, but know why you are picking it. And remember this is enamel: it needs a cured clear coat underneath, which the workflow below covers.
Anyone who has ever looked at a finished model and thought "something is missing" is the person this bottle is for.
The actual panel lining workflow
Here is the order that works. Do not rearrange it.
Step one: build and paint the body first. Panel lining is a finishing step, not a construction step. Assemble the body, deal with the seams, prime it, paint it. Ink goes on near the end, after the paint is done and before the final flat coat.
Step two: clear coat the paint and let it cure. This is the step people skip, and it is the step that saves the paint job. A gloss or satin clear coat gives the enamel a smooth, sealed surface to sit on. It protects the color coat from the thinner in the ink, and it gives you something to wipe against without cutting through to primer. Acrylic clear needs a full day to cure. Enamel clear needs longer. Do not rush this.
Step three: test on a hidden area. Flip the body over and hit the inside of a fender or the underside of the hood with a single line of ink. Wait ten minutes, then wipe it. You are checking two things: does the ink flow the way you expect, and does your cleanup method lift the clear coat. If the test smears your clear, stop and add another coat of clear.
Step four: shake the bottle properly. Enamel pigment settles. Shake for a full 30 seconds, and if you have not used the bottle in a while, shake longer. Thin, watery ink at the top of the bottle will flood a panel line and stain the surrounding paint.
Step five: touch the brush to the top of the groove, not the middle. Capillary action does the work, so you only need to start the flow. Touch the tip at one end of a shut line and let the ink run. If the line is long, reload and touch again further down rather than trying to push a puddle the whole length.
Step six: work one panel at a time. Do the front door, then the rear door, then the trunk gap. Do not flood the whole body and come back later. Ink that has sat too long is much harder to clean up without smearing.
Step seven: let it dry, then clean the overflow. Give it 15 to 30 minutes. Then take a cotton swab, dip it in enamel thinner or lighter fluid, and blot most of it off on a paper towel. The swab should be barely damp, never wet. Wipe perpendicular to the line you just filled, not along it, so you do not pull the ink back out of the groove.
Step eight: seal it. Once the ink is dry and you are happy with the lines, hit the body with a clear coat. That locks the enamel in place so handling the model does not lift it, and it unifies the finish so the lines look like shadow instead of paint.
Where beginners wreck the paint
Almost every panel lining disaster comes from one of four mistakes.
Lining bare plastic. Enamel thinner on raw styrene can stain the plastic and leave it brittle. There is no fix for that beyond repainting. Clear coat first, always.
A wet cleanup swab. A soaked swab floods the panel line, reactivates the ink, and pushes it across the paint. Damp, not wet. Blot it, then wipe.
Lining over a matte finish. Matte clear has texture, and ink wicks into texture and will not wipe out cleanly. Do your panel lining over gloss or satin, then apply your flat coat afterward.
Lining raised detail. Ink pools on top of a raised ridge instead of sitting in a groove. If the detail is raised, a panel line product is the wrong tool. Use a pin wash or skip it.
One more: do not line every single groove on the body. Pick the shut lines, the hood and trunk gaps, the wheel arches, the grille recess, and stop. The goal is depth, not a coloring book.
The competition and why it lost
There are other ways to get a panel line, and they all have a place.
A thinned oil wash gives you more working time and a softer, more gradual edge, and it is the better choice when you want a weathered look rather than a crisp shut line. It also takes longer, needs white spirit for cleanup, and demands a gloss coat just like this does. It is a technique, not a shortcut.
A fine-tip liner marker is the fastest option and the one most people start with. The problem is consistency. The tip wears, the line width changes as you go, and the result tends to look uniform and flat, like a drawing instead of a shadow. It is great for small details and recessed panel lines on a mech kit. For long car shut lines, it is hard to keep even.
A home-mixed acrylic wash is the cheapest route, and acrylics are forgiving. But acrylic washes do not capillary the way enamel does, they dry with a chalky edge, and you often need a drop of dish soap to break the surface tension. You save money and spend time.
Pre-thinned enamel accent wins because it removes the mixing step, flows better than the alternatives, and cleans up with one damp swab. That is the whole argument.
What this all costs
There is no big math here. A bottle of panel line accent covers a lot of models, so the per-kit cost of this technique is small, and the bottle does not go bad on the shelf. The kit is the real spend, and you would be buying that anyway.
Check current Amazon price on the Impala, and check current Amazon price on the accent color. Compare that total to the cost of one repaint after a bad cleanup job, and the clear coat step stops feeling like a delay and starts feeling like insurance.
The work itself is the cheapest part: a clear coat you were going to apply anyway, 15 minutes with a brush, and one damp swab. Do it once and the shut lines on the body stop being grooves in plastic and start reading as gaps between panels. That is the whole trick, and it is the same trick whether you are building your first glue kit or your fiftieth.