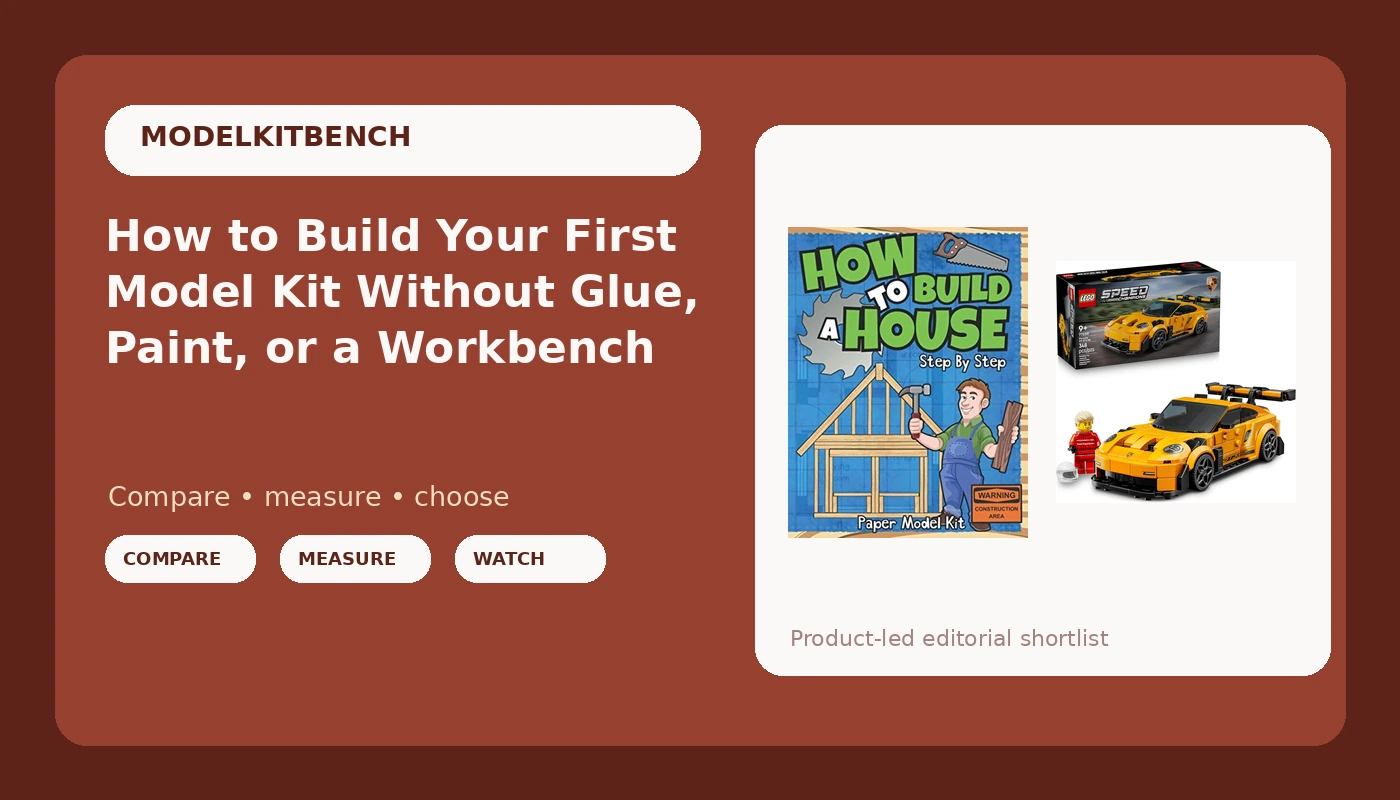
Every week somebody walks into the local shop and asks the same question: what should I build first? The answer they want is the biggest box on the shelf. The answer they need is smaller, cheaper, and finished before dinner, because a first kit is not a display piece. It is a lesson in order of operations. Snap-fit model kits for beginners exist for exactly this reason: parts that hold without glue, color that comes molded in, and an instruction sheet you can follow in one sitting without a single trip to the hardware store.
Here is the filter I use. A first kit has to be finishable in an afternoon. It cannot need glue, paint, a hobby knife, or a compressor. It should survive being picked up and handled by a nine-year-old without shedding parts. And it should teach something that carries into a real scale model later: how to read a plan, how to dry fit before you commit, and how to keep your hands steady when it actually matters.
Two kits pass that filter for me, and they pass it for different reasons. One is paper. One is plastic brick. Neither is a Gunpla, and that is the point.
Why you should trust me
I built my first Gundam kit at eleven and never stopped. That is fifteen years of Gunpla, ten of them behind an airbrush, and a backlog that will outlive me. I work in IT to fund the habit, I have judged two local Gunpla competitions, and I score every kit the same way: a full build with no aftermarket parts, a part-fit scorecard, and a seam line honesty check.
That scorecard is simple. Does it fit without glue where the box promises no glue? Where do the gates sit, and do they land on visible surfaces? Are the decals usable, or do they shatter in warm water? And the last question, the one that matters most: would I build it again for fun?
I am not going to pretend that a paper craft kit and a brick car are scale models. They are not, and I will say so plainly in the caveats below. What they are is the on-ramp. If you can follow a paper plan and click a brick car together without breaking anything, you have already practiced the two habits that decide whether your first Gunpla is a triumph or a glue-smeared regret.
How I picked and how I tested
For this guide I ran both kits through the same four filters I apply to anything I recommend as a starter.
First, glue. If the kit holds together without adhesive, it stays on the list. If it needs glue where the box says it does not, it is out, no matter how good the box art looks.
Second, paint. If the model only looks finished after a coat of paint, it is not a first kit. It is a second kit wearing a beginner's price tag.
Third, tools. Hands only, plus a pair of nippers at the absolute most. The moment you need a knife, a file set, or a compressor, the entry cost triples and the intimidation factor goes through the roof.
Fourth, forgiveness. A beginner will make mistakes. The kit has to let them undo those mistakes, or at least not punish them for a whole weekend.
I also weighed the instructions, because a great kit with a bad manual is a bad first kit. Numbered steps, clear diagrams, and a parts callout that matches the bag in your hand matter more at this stage than detail density does. Both kits below clear all four filters.
Two kits worth your first afternoon
You do not need both. Pick the one that matches the person. If the goal is learning how parts become a structure, start with paper. If the goal is feeling what a good part fit is like, start with brick.
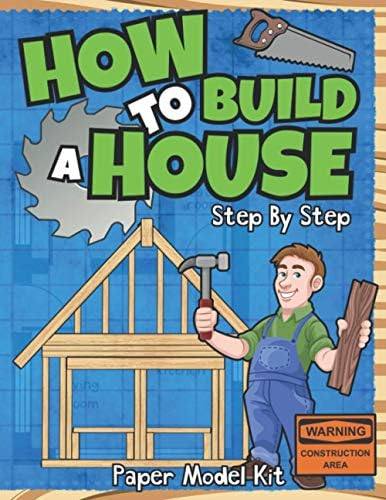
The paper-craft starter: How To Build A House: Step By Step Paper Model Kit | For Kids To Learn Construction Methods And Building Techniques With Paper Crafts (How To Build Things)
 Visit on Amazon →
Paper is the cheapest place in this hobby to learn construction thinking. There is no sprue, no nub, no gate, so the only skill left is the one that matters most early on: reading a plan and dry fitting before you commit. This kit walks a kid through how a house actually goes together, the walls, the openings, the roof planes, in a sequence that mirrors how a real build is staged. Check current Amazon price.
Flaws but not dealbreakers: paper moves with humidity. Build it on a dry day, keep the sheets flat in a folder until you need them, and do not expect razor-sharp edges. A paper model rewards a light hand and punishes a rushed crease. Press a fold before the tabs line up and you will see that mistake forever. It is also a craft project, not a display model. It will not survive a toy bin, and it is not supposed to.
Anyone who has never built anything, kid or adult, gets the most out of starting here. It is also the honest way to find out whether you enjoy following a plan before you spend real money on a scale kit.
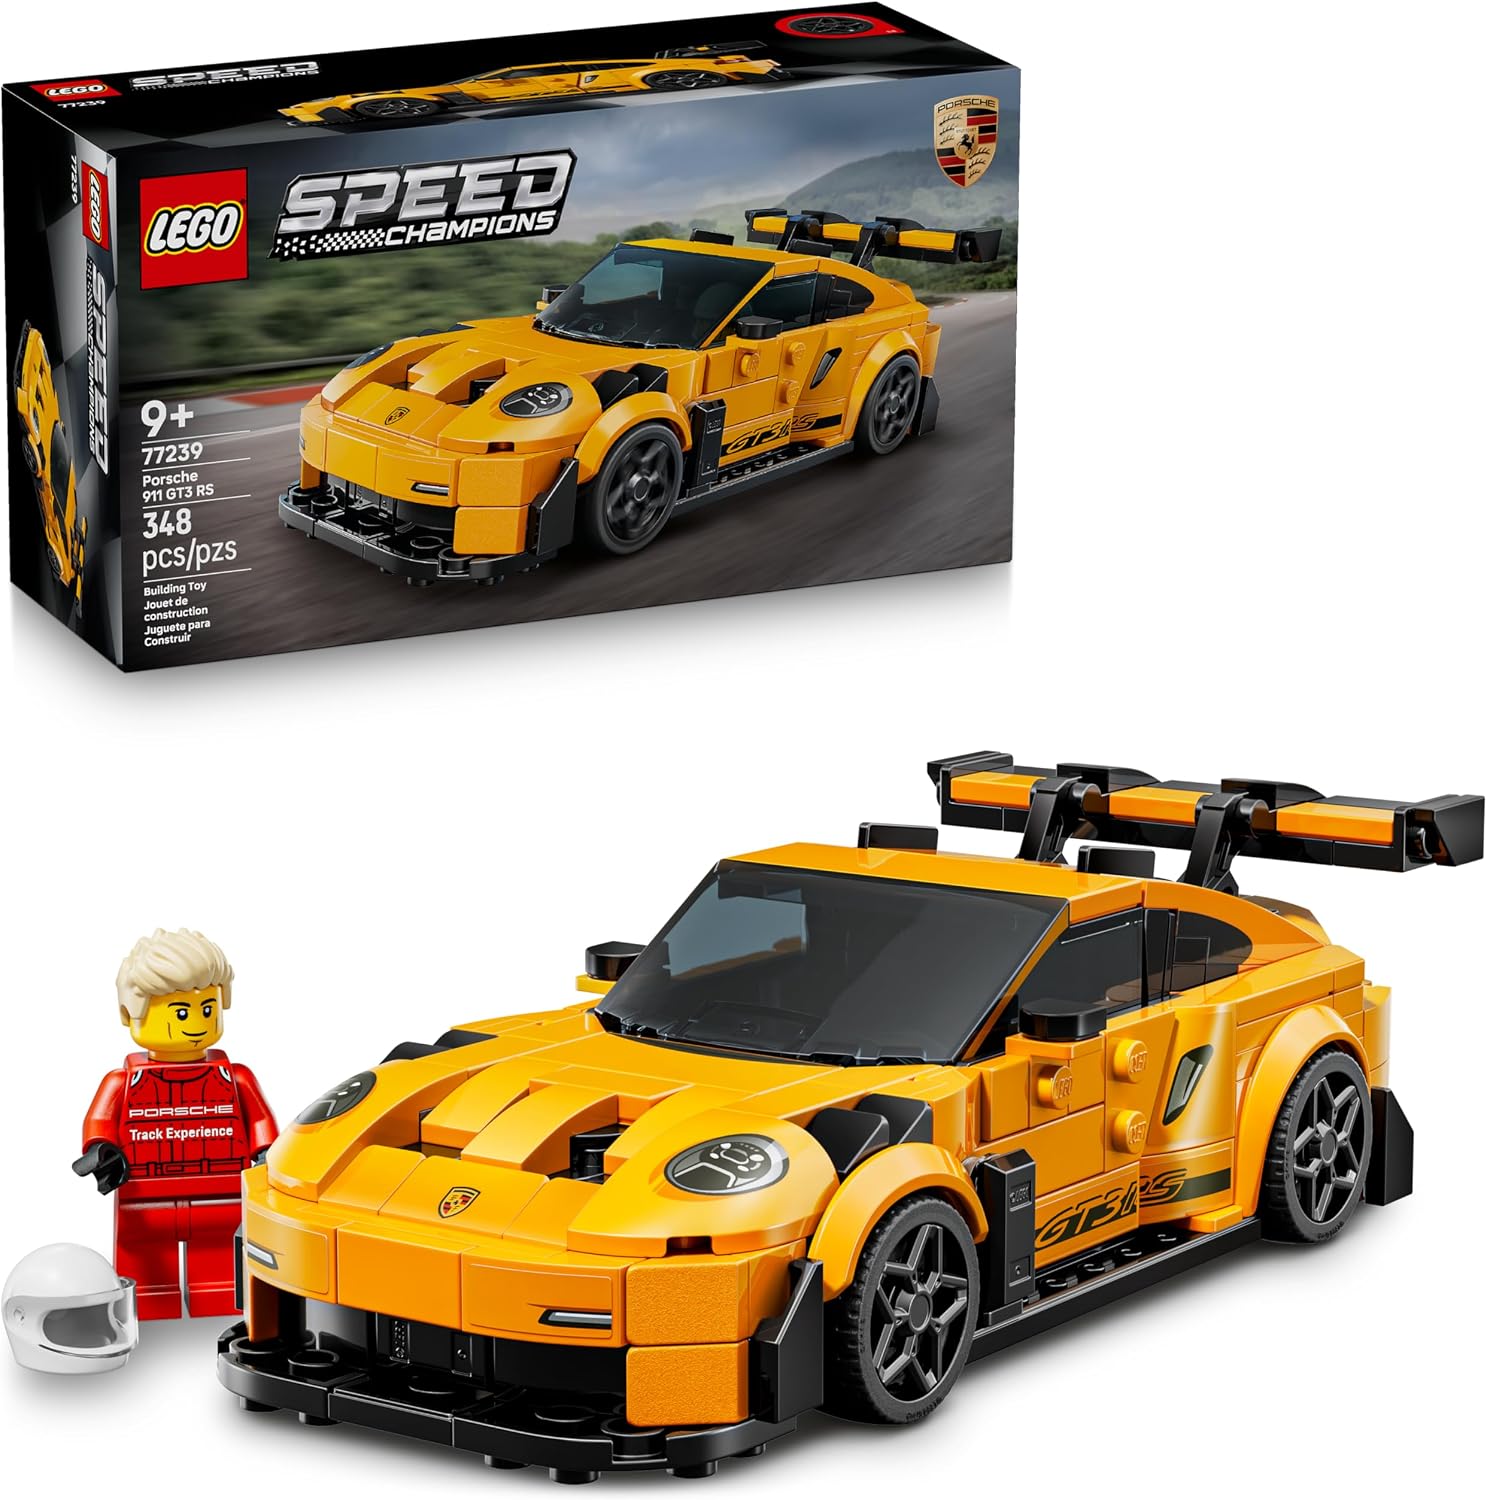
The brick build: LEGO Speed Champions Porsche 911 GT3 RS Super Car Toy - Model Kit & Pretend Play Toy for Boys & Girls, Ages 9+ - Sports Car Building Set for Kids & Racing Fans - Gift Idea for Birthdays - 77239
 Visit on Amazon →
This is the step from craft to engineering. A brick-built car is genuine snap-fit design: the parts are made to hold by friction, the manual is staged in numbered bags, and the set is rated for ages nine and up because the clutch force is calibrated for young hands. Check current Amazon price.
What it teaches is the click. Once you have felt a brick seat properly, you know what a good part fit feels like, and you will notice immediately when a scale kit does not give you that feeling. It also teaches order. Skip a step in a brick car and you will be pulling the roof off to fix it, which is exactly the lesson that keeps you from skipping steps on a 300-part Gunpla later. And it is fully reversible, which is the single best property a beginner kit can have. Build it, tear it down, build it again. Mistakes cost you nothing.
Flaws but not dealbreakers: stickers are the fiddly part of any brick-built car, so do them last, with clean hands, and press them flat with the edge of a brick rather than your thumb. And be honest about what this is. It is a toy that looks like a Porsche, not a scale model of one. The panel gaps are part of the design language, not a defect.
Anyone who wants to feel real part fit, and wants a kit that survives being rebuilt a dozen times, should start here.
The eight-step first-build routine
The routine is the same whether you are folding paper or clicking bricks. Learn it once and it carries into every scale kit you touch afterward.
Step one: build on a tray, not a bench. You do not need a workbench. You need a rimmed baking sheet and good light. Use two trays if you have them: one for parts, one for waste. Carpet is where small parts go to die, and a dropped paper tab is gone the moment it slides under a couch.
Step two: open everything and sort once. With paper, keep the sheets flat and in order, and do not pre-fold anything the plan has not asked for yet. With brick, the numbered bags are a schedule, not a suggestion. Do not dump all of them into one pile.
Step three: read the whole manual before you touch a part. Ten minutes, that is all. You are looking for the awkward step, the one where orientation flips or a sub-assembly gets rotated. Knowing it is coming is the difference between patience and panic.
Step four: build in order and do not skip ahead to the fun part. The cool-looking step is almost always the one that depends on the boring step before it. Out-of-order assembly is the number one cause of rework on a first build.
Step five: dry fit before you commit. With paper, line the tabs up without creasing anything yet. With brick, press lightly to check alignment, then seat the part. If a part resists, something is rotated or one stud off, and forcing it will only hide the problem.
Step six: use even pressure, not force. Paper creases cleanly under a fingernail; brick seats with a firm push. Force is what breaks tabs, bends plates, and snaps thin parts. If it will not go, stop and check the previous step.
Step seven: do the surface details last. Stickers, decals, and any applied markings come after the structure is finished, with clean hands and tweezers if you have them. Handling a completed model to apply markings is how you knock a wall loose or smear a print.
Step eight: stop and look at it under a lamp. Then write down the one thing you would do differently next time. That note is your first scorecard, and keeping scorecards is how you actually get better instead of just accumulating finished kits.
One caveat that applies to everything above: do not rush the last ten percent. Almost every ruined first build I have seen was destroyed by someone trying to finish in the final five minutes.
Where this leads
The natural next step is a modern high-grade Gunpla. It snaps together without glue, the color is molded into the plastic, and the part fit on a good one is the closest thing this hobby has to a guarantee. From there the skills stack in a predictable order: nub cleanup with sanding sticks, panel lining to make the recessed detail pop, a topcoat to unify the finish, and only then paint.
Here is the part most beginners miss. Everything you learned above transfers. Reading a plan before you start is the same skill. Dry fitting before committing is the same skill. Doing the surface details last is the same skill. The paper kit and the brick car are not a detour from real model building. They are the first two rungs of it.
Kits that are the wrong first build
Plenty of good kits are terrible first kits, and it is worth naming the categories so you can avoid them.
Old tooling that needs glue, putty, and patience is a bad first build, even when it is cheap and even when the subject is cool. So is anything with hundreds of tiny parts and photo-etched metal. So is anything whose box art shows a heavily weathered masterpiece, because that paint job is forty hours of work the box does not show you.
Model rockets need launch gear, recovery wadding, and a field, which is a different hobby with a different shopping list. Resin kits need saws and respirators. Kits with individual link tracks will teach you nothing except regret on a first afternoon.
The biggest trap is part count. A giant display kit feels like value, but every extra part is another chance to lose momentum. Start small, finish something, and let the shelf fill up over a few years instead of one frustrated weekend.
What this all costs
Both of the kits above are listed at Check current Amazon price, and that is the entire entry cost. No nippers required, no paint, no glue, no topcoat. One kit, one afternoon, one finished object.
The money shows up later, and it shows up gradually. A decent pair of nippers, a set of sanding sticks, a panel line marker, and a can of matte topcoat are the usual first purchases once you move into scale kits. An airbrush and a compressor are a separate decision entirely, and they are not a decision anyone needs to make in their first month.
Run the math the way I do. If a kit keeps you busy for two afternoons and then sits on a shelf where you look at it every day, the cost per day over a year is pennies. If it teaches you to dry fit and read a plan, it pays for itself the first time it saves you from wrecking a more expensive model.
That is the job. You do not need a bench, a compressor, or a stash. You need one kit that fits together the way the box promised, a tray, and a lamp. Start there, finish it, and then decide whether this hobby has its hooks in you. For most of us, it does.