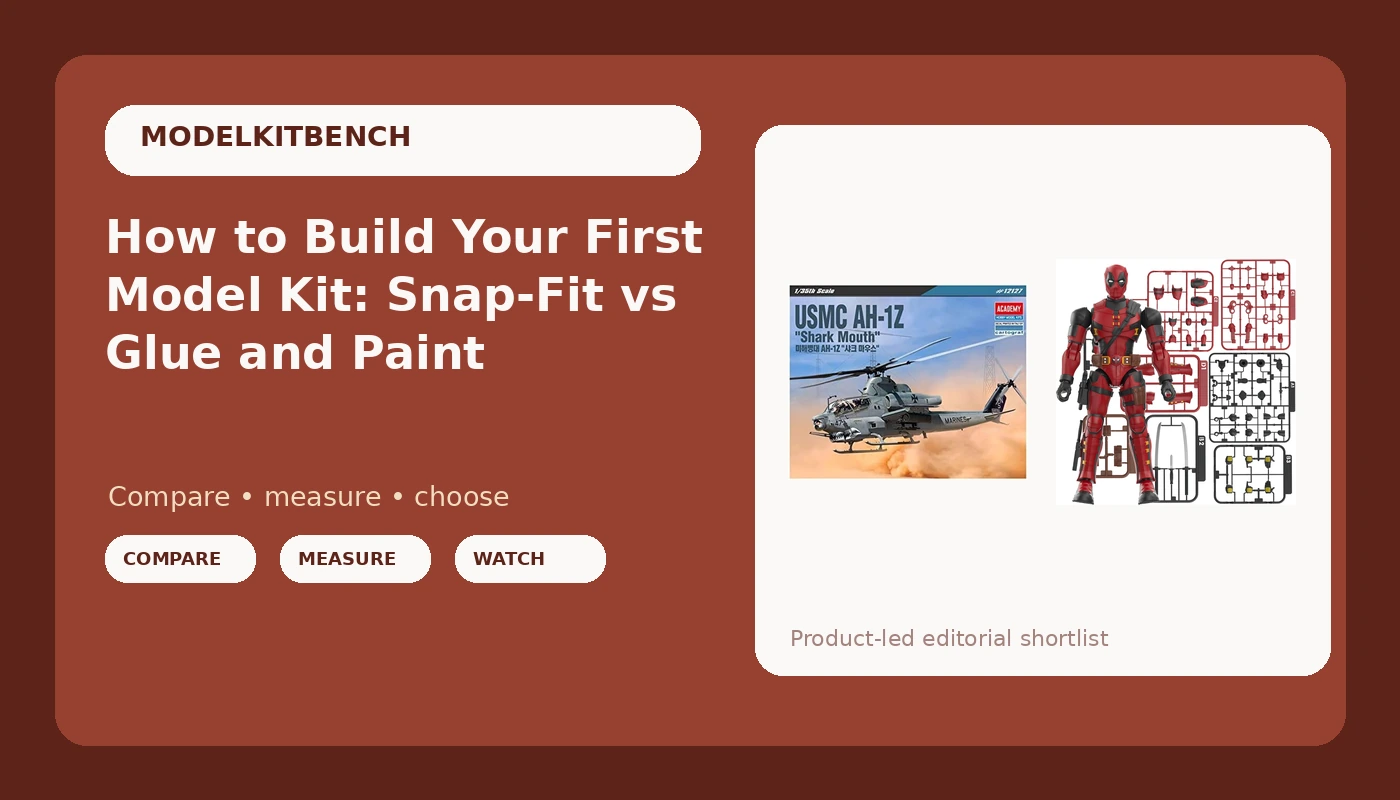
Most people who ask me how to start in this hobby are really asking which box to buy, and they expect one answer. There is not one. There are two doors. Snap-fit model kits for beginners need one evening and nothing but your hands. Traditional scale kits need glue, paint, and a pair of nippers, and the skills you pick up along the way are the whole point.
I have walked both. The kit that got me back into building after a two-year break was a press-fit figure I finished in one sitting. The kit that taught me to sand a nub properly was a 1:35 military subject with a seam line running down the middle of the fuselage. If you know which door you want, everything below gets easier, because the rest is just the work.
Why you should trust me
I started building at 11, which is 25 years of plastic at this point: 15 of those in Gunpla, 10 of them with an airbrush running. I have judged local competitions twice, and I score on the same card I use at my own bench. Part fit first, because a kit that needs glue where it should snap is a bad kit no matter how good it looks on the shelf. Gate placement second, because gates on visible surfaces mean extra sanding and extra risk. Decal behavior third, because a waterslide that shatters in warm water is a design failure, not a user error. And last, the only question that really matters: would I build it again for fun?
How I picked these two kits
The two boxes below are the two doors into this hobby, and I picked them on the four things I score every kit on. Part fit first. Gate placement second. Decal behavior third. The fun test last.
One of these kits is a press-fit build where the spec sheet says no tools, no cutting, no glue, and no paint. The other is a 1:35 scale military subject where every one of those jobs is on you. That is not a ranking. It is a fork in the road, and both roads end with something on the shelf you can point at and say you made.
The two doors
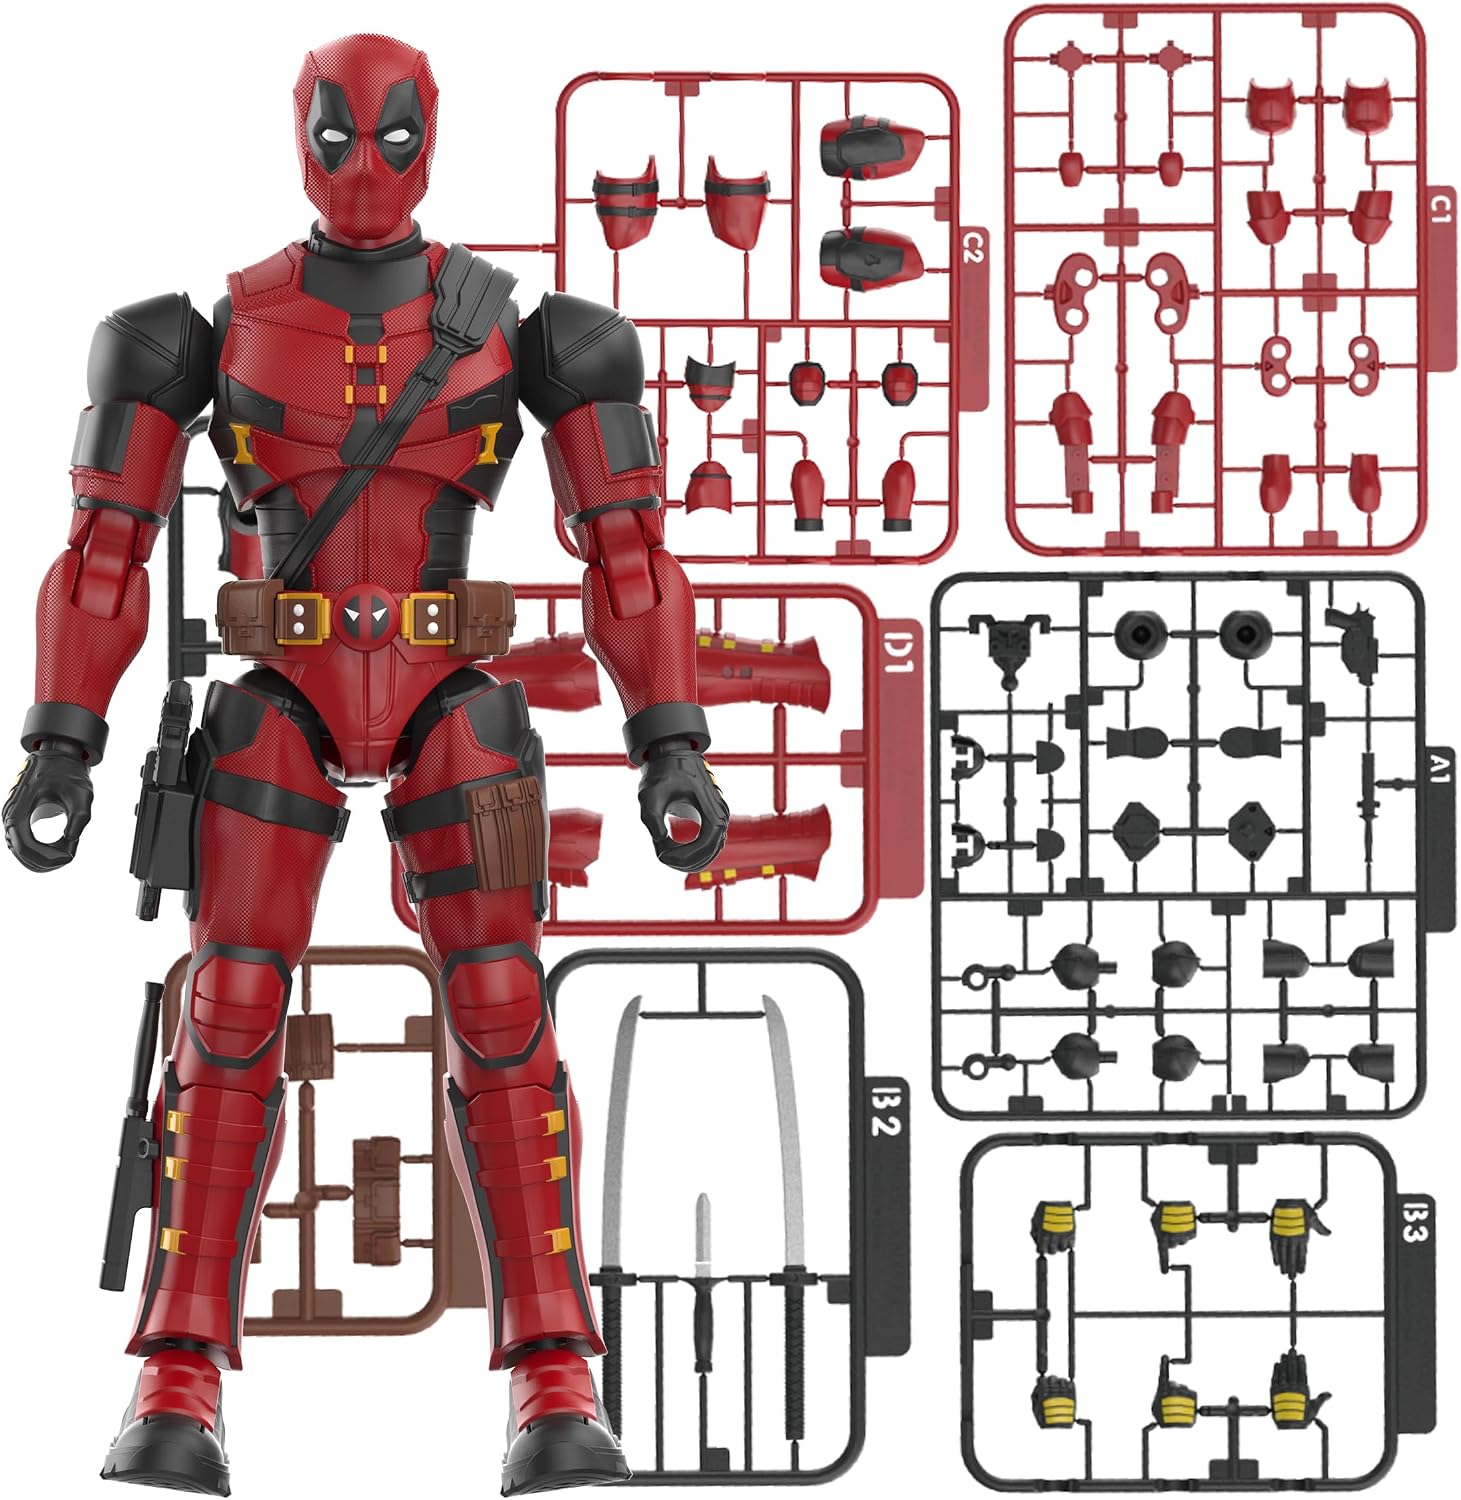
The no-tools pick: BLOKEES Marvel Deadpool & Wolverine Champion Class 04 Deadpool Model Kit - Assembly Required - No Tools - No Cutting - No Glue - No Paint - Age 14+
 Visit on Amazon →
This is the box I hand to someone who has never snapped a part off a runner and is not sure they will enjoy it. The product name is the spec sheet, and it is worth reading twice: assembly required, no tools, no cutting, no glue, no paint, age 14 and up. That list tells you exactly what the build is. The parts come pre-colored, so color separation is engineering rather than painting. The parts press together, so there is no cement and no drying time. Nothing needs to be cut, so you can sit down at a kitchen table with no nippers, no hobby knife, and no sanding sticks, and still finish the thing.
The age line is not marketing fluff. Snap-fit joints that hold a pose need real pressure to seat, and small parts plus tight joints is not a combination for a seven-year-old. If you are buying this for a younger builder, plan to sit with them and do the pressing.
Flaws but not dealbreakers: No glue means no forgiveness for a joint that sees constant load. If you plan to re-pose the figure every week, expect some joints to loosen and need a snug press. And the no-paint promise is about the plastic, not the finish. The colors are molded in, so if you want shading and weathering, you are airbrushing anyway, and this kit will not stop you.
Anyone who wants to find out whether they enjoy this hobby before spending money on tools should start here.
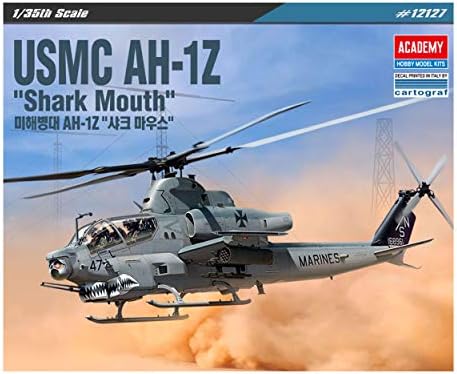
The step-up pick: ACA12127 1:35 Academy USMC AH-1Z Cobra 'Shark Mouth' [Model Building KIT]
 Visit on Amazon →
This is the other door, and it is the one that teaches you to build. The 1:35 designation means a traditional scale kit of the USMC AH-1Z Cobra, and a traditional scale kit means glue, paint, and tools are yours to supply. There is no press-fit shortcut on an airframe with this much surface detail. The Shark Mouth in the name refers to the nose art, and markings like that are exactly why you learn decal work instead of avoiding it. Big, graphic, high-contrast decals are unforgiving. A silvered edge or a wrinkle shows up from across the room.
Expect a build in stages rather than one sitting. Airframe first, then the subassemblies that make a helicopter interesting, then the finish work that makes it look like something. This is the kit where you learn to dry-fit before you commit, to scrape a nub instead of tearing it, and to plan your paint order before anything gets cemented shut.
Flaws but not dealbreakers: It is a 1:35 scale kit, which means real shelf presence and a lot of surface area to paint. If you have never masked a canopy or chased a seam line down a fuselage, your first attempt will show. That is not a reason to skip it. It is the reason to buy it.
Anyone who already knows they like building, and wants the skills that separate a snap-fit from a scale model, should buy this one.
What you actually need on the bench
For the press-fit kit: nothing. That is the entire tool list. You need a table, decent light, and clean hands, because molded color shows fingerprints.
For the 1:35 scale kit, budget for a starter bench and buy it once. Nippers for cutting parts off the runner. A hobby knife with fresh blades, because a dull blade tears plastic. Sanding sticks or wet sandpaper in a few grits, roughly 400 up to 1000, for nub cleanup and seam work. Liquid cement with a fine applicator, applied sparingly. Masking tape, a gloss clear coat, and a flat clear coat. Paint and a brush, or an airbrush if you already have one. That is the honest list, and none of it is exotic.
You do not need aftermarket detail parts, photo-etch, or resin to build a good model. The kit in the box is the kit.
The build, step by step
Now the part you came for. These steps work for either kit. Where they differ, I say so.
Step one: Read the manual twice before you touch anything. Once for the sequence, once for the parts you will need later. Most first-build mistakes are sequencing mistakes, not technique mistakes. You glue a bay shut because you assembled the fuselage halves before the interior.
Step two: Lay out the runners and check the parts against the map. A missing part found on day one is a return. A missing part found on step nine is a trip to the hobby shop.
Step three: Cut, do not twist. On the Cobra, use nippers to cut the gate, then trim the nub with a knife and sand it flush. On the press-fit kit you can skip the nippers entirely, but if any part arrives attached to a runner, the same rule applies. Cut the gate, do not twist the part off. Twisting tears plastic and leaves a white stress mark that paint will not hide.
Step four: Dry-fit before you commit. This is the single habit that separates a clean build from a frustrating one. Press parts together with no glue. If they gap, find out why before cement enters the picture. If they need force, find out why. Part fit is the soul of a kit, and dry-fitting is how you learn what your kit is telling you.
Step five: Glue only where the kit asks. The Cobra gets cement at the joints, applied sparingly with a fine applicator, because too much cement melts detail and squeezes out onto visible surfaces. The press-fit kit gets no cement at all. Adding it is how people ruin a snap-fit. Press until it clicks, then stop.
Step six: Handle the seams. Seam lines are the honesty test of any kit. Good engineering hides them for you, and the press-fit kit is designed around that. On a 1:35 airframe you will meet seams, and you will putty, sand, and re-prime them. Work in thin layers, let them cure, and sand wet. Rush this and you trade a seam for a scratch.
Step seven: Give decals their own session. Do not start decals when you are tired. Gloss coat first, then decals with a drop of setting solution, then a flat coat to seal everything down. The nose art is the payoff on the Cobra, and it only looks right if the surface underneath is smooth.
Step eight: Panel lines and a topcoat, if you want them. One pass of panel line ink into the recessed detail and a flat clear coat is the cheapest upgrade in this hobby. It takes about 20 minutes and changes a kit more than any other single step. On the press-fit kit it is optional. On the Cobra it is close to mandatory.
Where beginners go wrong
They buy tools before they buy a kit. A press-fit build needs no tools at all, which makes it the cheapest possible way to find out whether you like this. Buy the box first. Buy the tools when a kit demands them.
They skip the dry-fit. Every gap, every seam, every part that will not sit flush is a message. Dry-fitting is how you read it.
They start with the biggest kit they can afford. Grade is not quality, and scale is not skill. A small, well-engineered kit built cleanly beats a giant one built badly, every time. The Cobra is a step up because of the skills it demands, not because of its size.
They treat decals as an afterthought. Decals are engineering, and they either behave or they do not. Gloss coat, setting solution, patience.
They paint over a bad seam. Paint does not hide seams. It highlights them. Fix the seam first, then paint.
What each path costs you
I am not going to quote prices, because they move. Check current Amazon price at the links above and decide with today's numbers in front of you. What I can give you is the shape of the cost.
The press-fit kit is the cheaper of the two and the only one that needs nothing else to be finished. The 1:35 scale kit is the larger investment in both money and time, because it is the door that comes with a tool list: nippers, a knife, sanding sticks, cement, paint, and a clear coat.
Both are worth it, and they answer different questions. The snap-fit build answers: do I like this? The scale build answers: do I want to get good at it?
Pick the door that matches the question you are actually asking, and either way, start tonight.