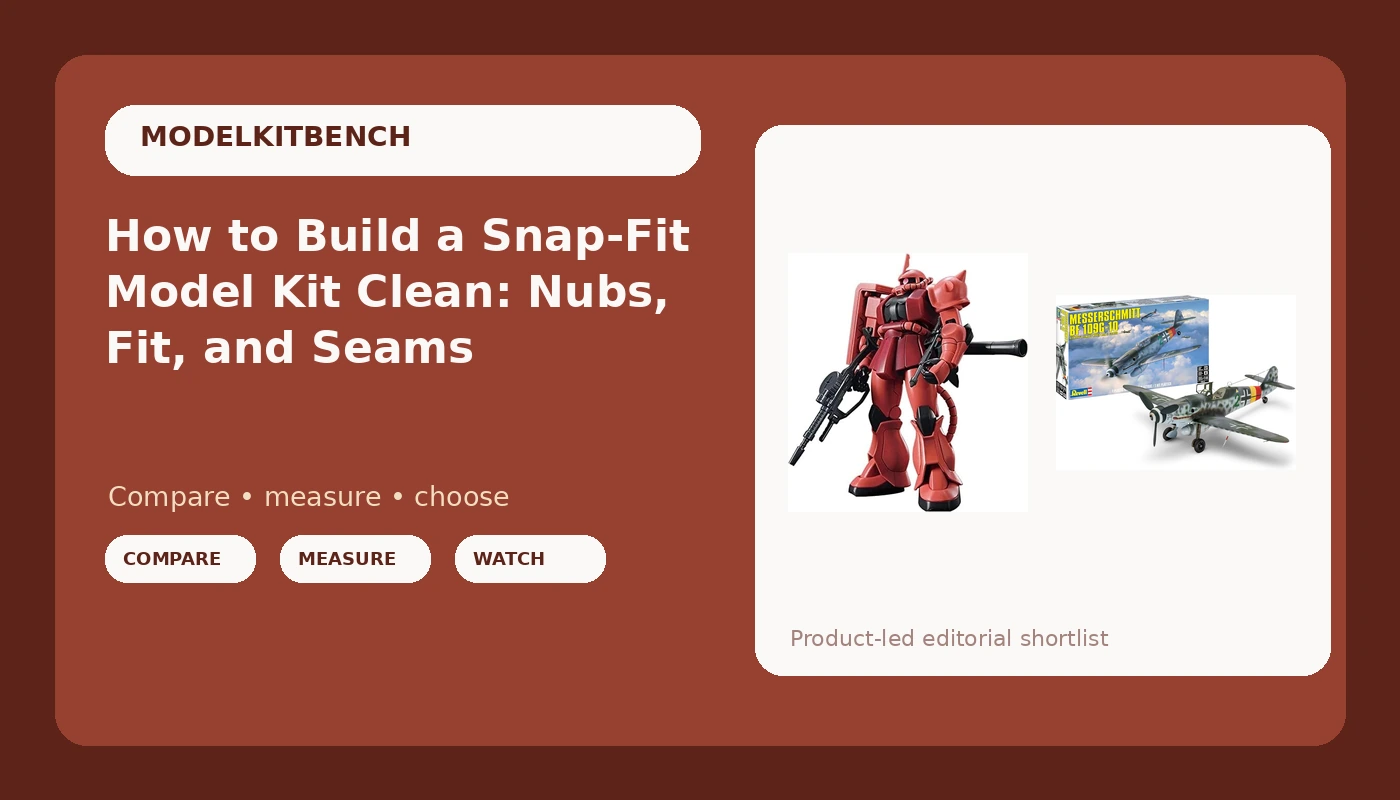
There are two ways to build a snap-fit model kit. The first is to twist the parts off the runner, jam them together, and wonder why the shoulders gap and the chest plate sits proud. The second is a clean snap-fit model kit build: nippers, a sanding stick, and enough patience to let the kit's own engineering do the work. The difference between the two is maybe an hour spread across an entire build, and it is the difference between something that looks like the box art and something that looks like a toy.
I have been building Gunpla for fifteen years and airbrushing for ten, and I still build every kit the same way. No aftermarket parts, no resin, no third-party hands. Just the plastic in the box and the tools on my bench. That constraint is the whole point. If a kit needs help to look right, I want to know that before I tell you to buy it.
This guide is the order I do things in, start to finish. It works on a Bandai High Grade that snaps together with no glue at all, and it works on a skill level 4 aircraft kit where every joint is your responsibility.
Why you should trust me
I am Kenji, I live in San Jose, and I have been building since I was eleven, when my first Gundam kit came home from a hobby shop along with a pair of nippers I had no idea how to use. Fifteen years of Gunpla later, I have judged local Gunpla competitions twice, and I keep a part-fit scorecard for every kit I finish: does it hold without glue, where are the gates, do the decals behave, and would I build it again for fun.
My day job is in IT, which funds a backlog that will outlive me. My rules have not changed. Part fit is the soul of a kit. A kit that needs glue where the box says no glue is a bad kit, no matter how good the details are. Seam lines are the honesty test, because good engineering hides them and bad design makes you reach for the putty.
How I test a kit before I recommend it
Every kit gets a full build with no aftermarket parts, and I score four things.
Part fit. Does it hold together without glue? Snap-fit is the standard, not a bonus. If I have to chase a loose polycap or shave a peg to get a shoulder to seat, that goes on the scorecard.
Gate placement. Where the nippers meet the plastic matters. Gates on a visible surface mean extra sanding and a risk of flat spots. Under-gates, where the gate tucks beneath the part, are the mark of good engineering.
Decal behavior. A waterslide that shatters in warm water is a design failure, not a user error. I want markings that slide off the backing paper and stay where I put them.
Would I build it again? That is the real test. A kit can score well on the first three and still be a chore.
The two kits below sit at opposite ends of this method. One is snap-fit engineering at its most forgiving. The other is a skill level 4 build where the fit is only as good as your cleanup.
Two kits that teach the whole method
Here is the honest split. If you are learning the hobby, start with the kit that forgives your mistakes. If you already know how to sand a nub flat, take on the kit that punishes sloppy ones.
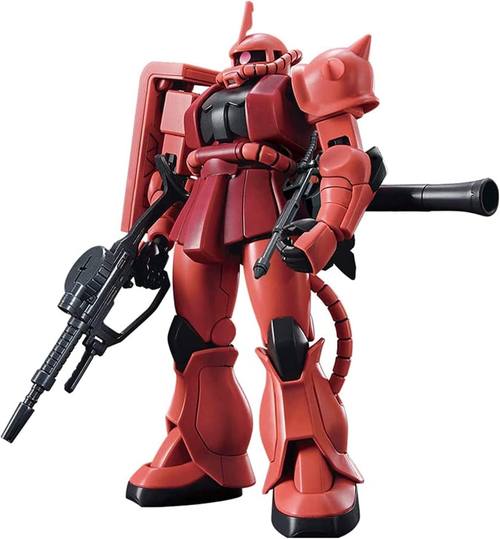
The one to learn on: Bandai Hobby - Mobile Suit Gundam - #234 MS-06S Zaku II HGUC 1/144 Model Kit
 Visit on Amazon →
The HGUC line is where I send every beginner, and the Zaku II is the right subject to learn on. High Grade means 1/144 scale, a build that fits in an afternoon, and modern Bandai engineering that snaps together with zero glue. The plastic comes in the right colors out of the box, so you can end up with something that looks finished without owning a single bottle of paint. That matters more than people admit, because a beginner who reaches the end of a build keeps going.
What you learn here is nub discipline. The Zaku's armor is mostly curved plates, which means every nub you leave proud is visible from across the room. Cut, trim, sand, and you will see the difference on the shoulder shield immediately. If you want to practice a paint technique before risking it on an expensive model, this is the kit to practice on.
Flaws but not dealbreakers: 1/144 is small. The finished suit fits in your hand, and the fine surface detail that makes a Master Grade sing is simplified here. The markings are tiny at this scale, so plan on a steady hand. Check current Amazon price before you commit, because Bandai restocks move around.
Anyone who has never built a kit, and anyone who wants a low-stakes way to learn the fundamentals, should start here.
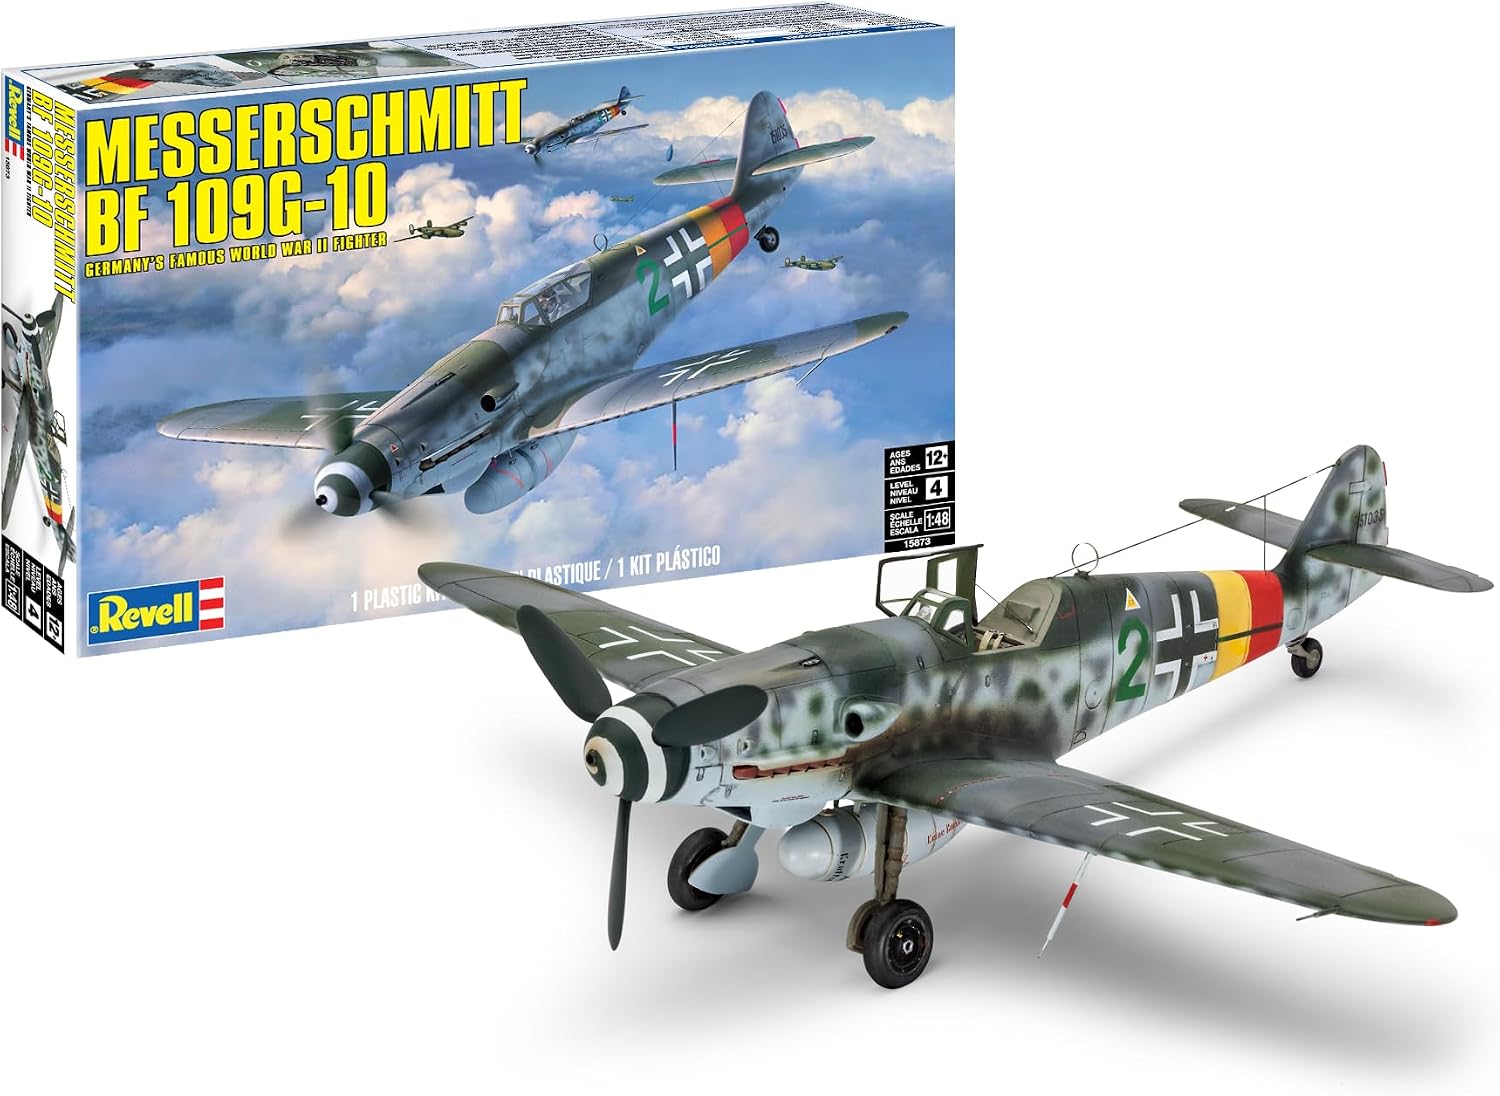
The one that teaches glue and paint: Revell 15873 Messerschmitt BF 109G-10 1:48 Scale 40-Piece Skill Level 4 Model Airplane Building Kit
 Visit on Amazon →
Skill level 4 is the honest label. Forty pieces sounds like a small kit, and it is, but every one of those parts is your responsibility. There are no snap joints to bail you out. Seams are yours to fill, the canopy is yours to mask, and the paint scheme is yours to figure out. This is the kit that teaches what glue discipline actually means: less cement than you think, applied with a needle or a fine applicator, and a dry fit before anything touches the plastic.
At 1:48 scale the aircraft is large enough to show panel lines and small enough to sit on a shelf. That scale is the sweet spot for a first glue build, because the parts are big enough to hold without tweezers while the detail still reads.
One thing to know about Revell as a brand: the catalog swings between new tooling and molds that have been around for decades. I judge the specific boxing, not the logo on the box. Look at what builders say about the fit of the exact kit you are buying, and expect to do more sanding on the older toolings.
Flaws but not dealbreakers: You need cement, paint, and a masking plan. A skill level 4 kit is not a first kit unless you have a patient streak. Check current Amazon price, since Revell boxings get reissued and the listing changes.
Anyone who has finished one snap-fit kit and wants to learn seam filling, masking, and airbrushing on a subject with real history will get a lot out of this one.
The actual build workflow
Now the part you came for. This order works on both kits. Steps one through five apply to everything. Steps six through nine are where the two kits split.
Step one: read the manual before you cut anything. Lay the runners out in the order the instructions call for and check the gate marks against the part numbers. Bandai prints a runner map that tells you where each part lives, and Revell does the same on the instruction sheet. Ten minutes here saves you from cutting the wrong part and hunting a replacement.
Step two: cut the part free with nippers, never twist. Twisting tears plastic and leaves a stress mark that no amount of sanding fully removes. Cut the gate away from the part first, leaving a short stub, then come back and trim the stub down. Two cuts, not one.
Step three: sand the nub flat. Start around 400 grit and finish near 800. Sand in one direction on flat surfaces and follow the curve on rounded ones. When the nub is gone, run a fingernail across the spot. If you feel a bump, keep going. If the surface is glass, stop. Over-sanding flattens the surrounding detail, and you cannot put that back.
Step four: dry fit every joint before it goes together. This is the step beginners skip. Push the parts together without committing, check the alignment, then pull them apart. On a snap-fit kit, a joint that needs force is a joint that will stress the plastic. On a glue kit, a joint that gaps needs sanding, not more cement.
Step five: build in sub-assemblies. Head, torso, arms, legs. Assemble each one, check it, then join them at the end. It is easier to fix a shoulder when the arm is not attached to a finished torso, and it keeps you from handling the whole model while you work.
Step six, snap-fit kits: let the seams fall where the design puts them. A modern High Grade hides most of its seams behind armor panels and under-gates. The ones that remain usually follow a panel line, which means you can leave them alone. If a seam runs across a flat plate, sand it flush and polish it rather than reaching for putty. Snap-fit kits are not designed to be welded, and putty on a joint that flexes will crack.
Step seven, glue kits: weld, fill, and sand in that order. Run a thin bead of cement along the joint, press until it holds, and let it cure fully before you touch it. If a seam remains, fill it, let the filler cure, sand it back, then prime. Primer is the moment of truth, because it shows every scratch and every unfilled seam.
Step eight: panel line before or after paint, but never in a hurry. A fine-tip panel line marker or a thinned wash, one pass along the recessed lines, then wipe the excess off the surface. Let it dry completely before you handle the part. Panel lining is the cheapest visual upgrade in the hobby and the easiest thing to rush.
Step nine: seal it with a clear coat. A matte or semi-gloss clear coat unifies the finish, protects the decals, and knocks down the plastic shine. Two thin coats, not one heavy one. On the Revell kit, a decal setting solution before the clear coat keeps the markings from silvering.
Where beginners go wrong
These are the mistakes I see most often, and every one of them is fixable on the next build.
- Twisting parts off the runner instead of cutting them. This is the single most common cause of a stressed, whitened nub that refuses to sand clean.
- Cutting flush against the part. Always leave a stub and trim it in a second pass.
- Gluing a snap-fit joint. Cement on a Bandai polycap joint can craze the surrounding plastic and it is not necessary anyway.
- Painting before test fitting. Paint adds thickness, and a joint that fit before paint may not fit after.
- Trusting the box art. The box is marketing. The sprue is the truth.
- Building the entire model and then trying to paint it. Work in sub-assemblies or you will spend your evening masking around finished parts.
- Skipping the topcoat. Bare plastic has a shine that no amount of panel lining hides.
What this all costs
Both kits cost whatever the listings say today, so check current Amazon price on each one rather than trusting a number in an article that will age badly. The tools are the real investment, and they are the part that lasts: a pair of single-blade nippers, sanding sticks in a few grits, a panel line marker, a bottle of thin cement for the aircraft, a roll of masking tape, and a can of matte clear coat. Buy them once and they will carry you through a dozen kits.
The Revell kit adds paint to the list, and paint is where budgets actually go. Start with the colors the instructions call out and add as you go. Nothing in this hobby requires you to buy the whole rack on day one.
The math is not the point. The point is that a snap-fit model kit build rewards the boring parts: clean cuts, flat nubs, dry fits, and a clear coat at the end. Do those four things and both of these kits will look better than the photo on the box. Skip them and no aftermarket part will save the finish.