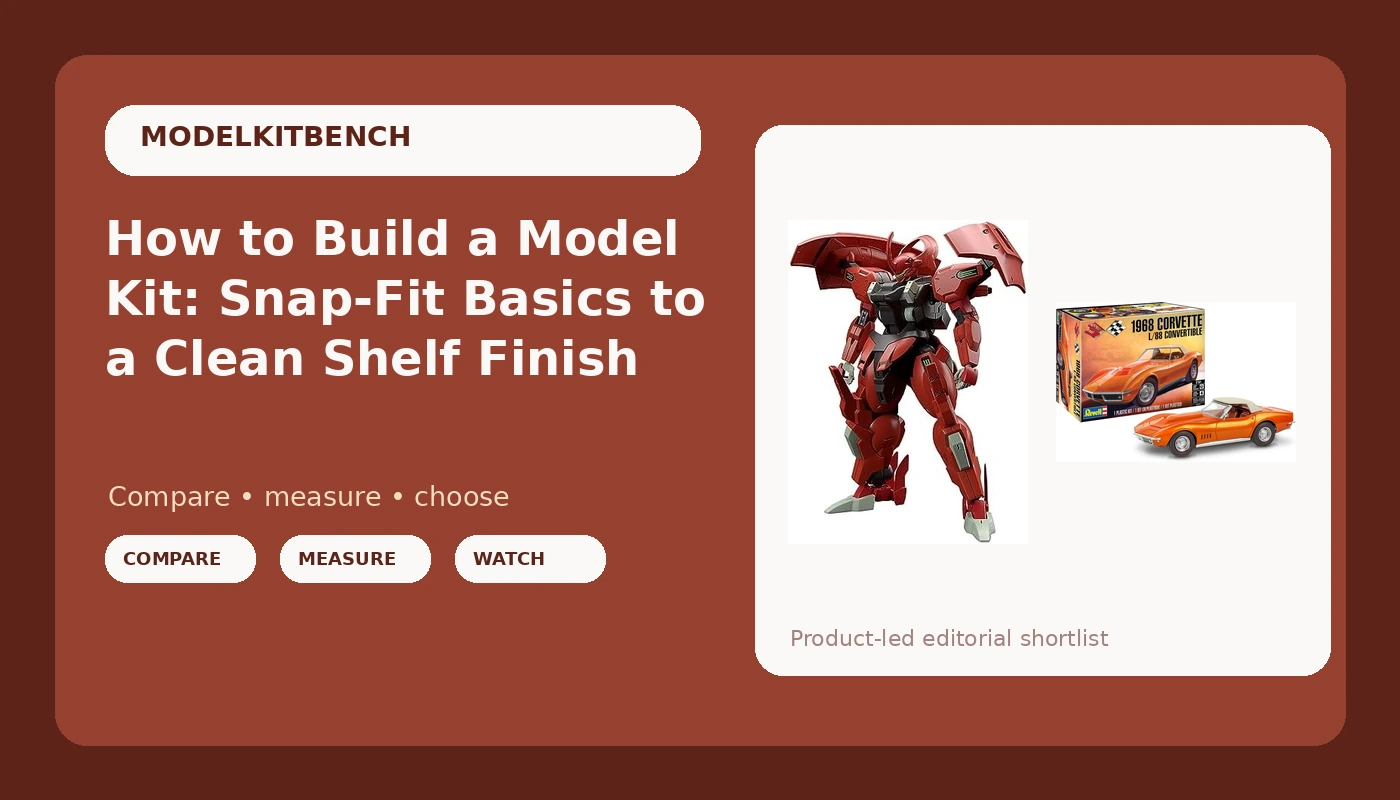
Every kit on a shelf started life as a flat sheet of plastic and one bad decision about which part to cut first. The good news is that a snap-fit model kit build is mostly about order of operations. Get that order right and you finish with tight seams, sharp panel lines, and decals that stay where you put them. Get it wrong and you spend a weekend puttying a joint that should have closed by hand.
I build Gunpla and scale cars on the same bench in San Jose. The two sides of the hobby teach different lessons. Bandai kits show you what good engineering feels like when the plastic does the work for you. Automotive kits show you what patience is worth when every seam is yours to hide. Below is the workflow I run on every kit, plus the two kits I would hand a beginner depending on which lesson they want first.
Why you should trust me
I have been building Gundam kits for 15 years and airbrushing for 10. I have judged local Gunpla competitions twice, which taught me to score engineering instead of taste, because every kit on that table was somebody's first kit once. My part-fit scorecard is the same for a $15 HG and a $200 MG: does it close without cement, where do the gates land, and are the decals usable out of the box.
I do not review anything I have not built with zero aftermarket parts. I do not call a kit snap-fit if it needs glue to hold a shoulder together. And I do not judge a kit by its box art, because the box art is marketing and the sprue is the truth.
What belongs on the bench before you open the box
You need less than the internet tells you. A pair of single-blade nippers, a hobby knife with fresh blades, sanding sticks in 600 and 1000 grit, a glass file for nubs, a gray or black panel line accent, cotton swabs, tweezers, and a small cutting mat. If your kit ships waterslides, add a shallow dish of room-temperature water and a soft cloth.
That is the whole list. No aftermarket detail sets, no resin conversions, no photo-etch. A beginner who learns to clean a nub properly will out-build a beginner with a drawer full of upgrades every time, because nub cleanup is the first skill and it is the one that shows.
Choose the kit that matches the skill you want
Grade is not quality. A great HG beats a mediocre MG every time, and the two kits below are aimed at two different lessons.
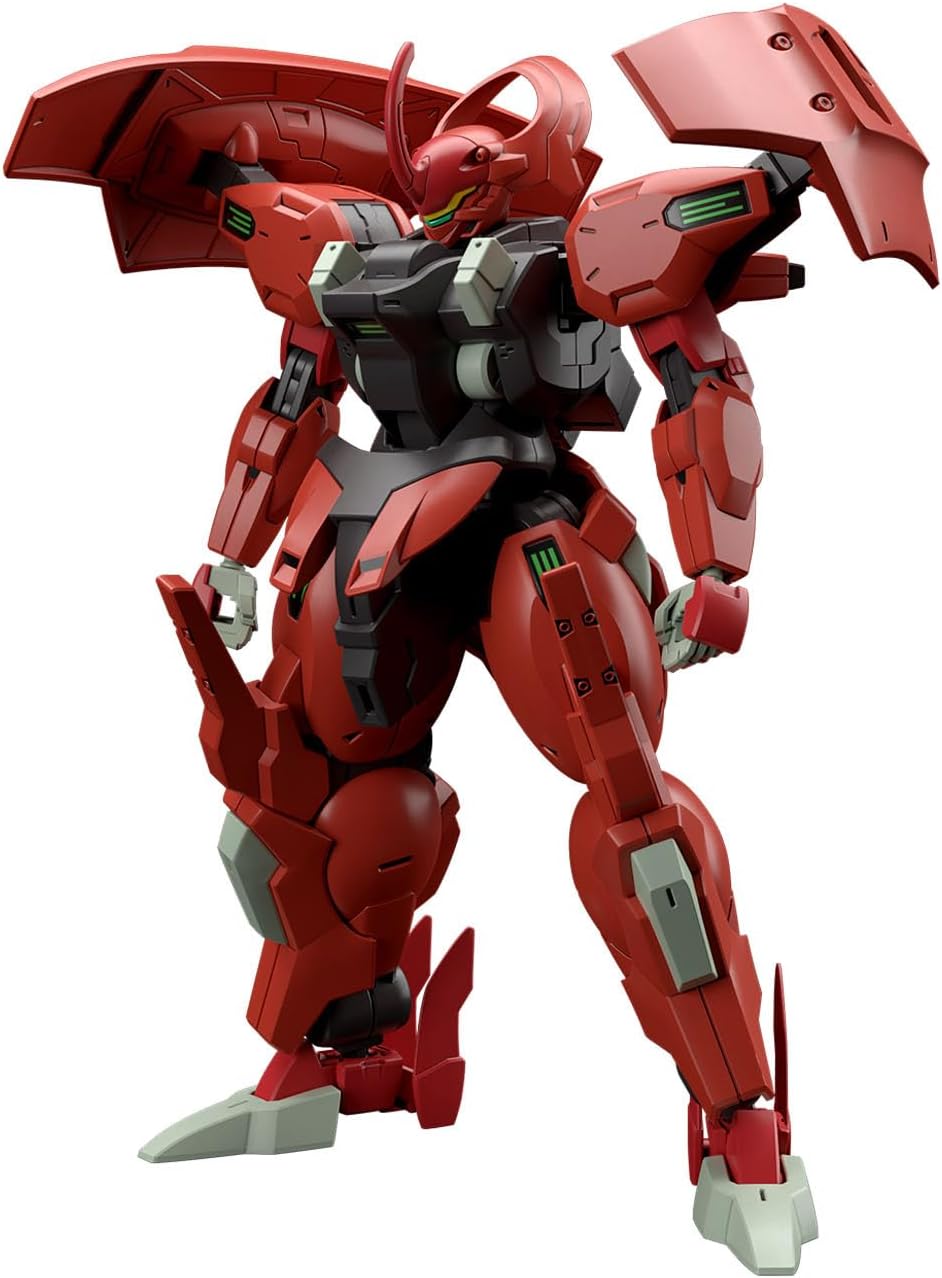
The snap-fit starter: Bandai Hobby - Mobile Suit Gundam: The Witch from Mercury - #08 Darilbalde, Bandai Spirits HG 1/144 Model Kit
 Visit on Amazon →
This is a 1/144 scale HG kit from The Witch from Mercury line, and it is the shape of kit I tell beginners to start with. Modern Bandai HG plastic fits like a dream and needs zero glue. Parts key into place, poly caps and ball joints handle the articulation, and the color separation means the kit looks like the mobile suit on the box without a single drop of paint.
For a first build, that matters more than detail. You get to practice cutting parts off the runner, cleaning nubs, and handling a snap-fit assembly without the pressure of a paint job you are not ready for. Panel line the recesses, snap it together, and you have something that looks deliberate on the shelf.
Check current Amazon price before you commit, because stock on Witch from Mercury kits moves around.
Flaws but not dealbreakers: HG kits are small. If your eyes are older than your enthusiasm, work under a bright lamp and keep the parts tray close. Losing a 1/144 shoulder joint to the carpet is a rite of passage, not a design flaw.
Anyone who has never built a kit, or who wants a low-stakes kit to practice nub cleanup on, should start here.
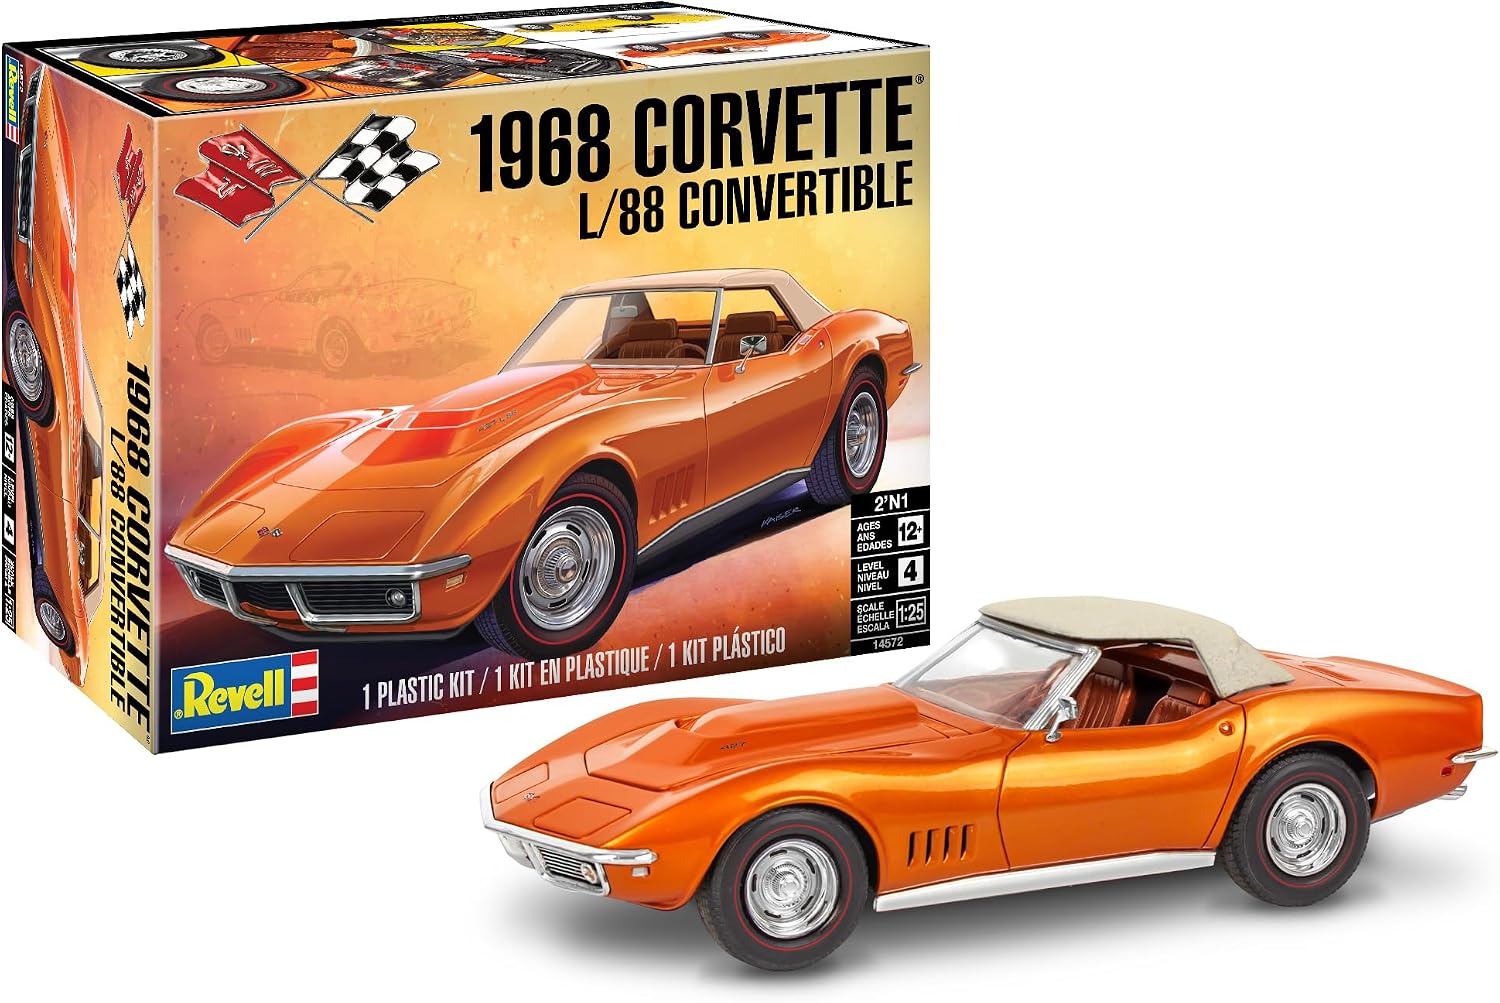
The glue-and-paint project: Revell 1968 Corvette L/88 Convertible 2N1 Car Model Building Kit 1:25 Scale
 Visit on Amazon →
This is the other half of the hobby. A 1:25 scale Corvette convertible with two build options in the box, which is what the 2N1 label means: you pick one version and the leftover parts stay on the sprue. It is a glue kit, and it will want paint if you want it to look like a car instead of a gray plastic shell.
Revell is hit or miss as a brand. New tooling is decent and the parts line up with a little care. Old tooling is a test of your patience, and you will find out which one you have when you dry-fit the first subassembly. Treat that as information, not a verdict.
The skills here are the ones Bandai kits never force on you: cement control, seam line removal, masking, and gloss paint that does not look like orange peel. Check current Amazon price and read the box to confirm which version you are building before you cut anything.
Flaws but not dealbreakers: Glue kits punish rushing. If you snap the body together in one sitting, you will glue your fingerprints into the door line. Build in modules and let each one cure.
Anyone who already knows how to clean a nub and wants to learn paint and putty should take this on.
The build order that saves you rework
This is the part that separates a clean build from a salvage job. Follow it in sequence and you will not redo steps.
Step one: Inventory and read the manual twice. Open the box, count the runners against the sprue map, and check for short shots or broken parts before you cut anything. Then read the assembly sequence all the way through once. Manuals hide their worst instructions in the middle, and knowing where a step leads stops you from sealing a part you needed to install first.
Step two: Cut and clean as you go. Do not cut every part off the runner and dump them in a pile. Cut the gates a couple of millimeters away from the part, then trim the remaining nub with nippers, then sand flush. Cutting flush with the part on the first pass gouges the plastic and turns a two-second cleanup into a putty job. Watch where the gates sit. Gates on a visible surface mean extra sanding, and that is engineering you should notice.
Step three: Dry-fit every subassembly before cement. Press the parts together with no glue. If a joint gaps, find out why now. Snap-fit kits should close with light pressure. If you are forcing it, you have the part flipped or you missed a key. On a glue kit, dry-fitting tells you where the tooling is tight and where it needs a little cleanup.
Step four: Decide about paint before final assembly. If you are painting, you build in modules: torso, limbs, body, chassis, interior, then paint, then assemble. Paint locks articulation, so painting a fully assembled snap-fit kit means every joint you wanted to move now creaks. If you are not painting, skip ahead, but decide now and commit.
Step five: Fix seam lines before decals, always. A seam line under a decal is a seam line you will never hide. Sand the seam, check it under raking light, and if it ghosts, a thin pass of putty and another sand fixes it. Good engineering hides seams in the part breakdown. When it does not, that is the honesty test, and the work is yours.
Step six: Panel line after a clean surface, not before. Panel line accent flows into recesses and wipes off flat surfaces. Gloss coat first if you are using a wash, because a wash on bare matte plastic stains the surrounding area and you will chase it with thinner. One pass of ink in the recesses makes a kit look twice as detailed as it is.
Step seven: Decals, in the right order. Waterslides go on over a gloss coat, one at a time, with a cotton swab to press out trapped air. Use room-temperature water. Warm water makes thin decals curl and shatter, and a shattered waterslide is a design failure on the sheet, not a user error, but you can still avoid most of it by not rushing. Stickers are fine on a beginner kit, but they will lift at the edges over time.
Step eight: Topcoat last. A matte or semi-gloss clear coat unifies the finish, hides decal film edges, and protects your panel lines. Do it in thin passes. One heavy coat is how you get a frosted mess.
Where beginners go wrong
Glue on a snap-fit kit is the big one. If the box says no glue, believe it. Cement melts the plastic and fogs clear parts, and it does nothing for a joint that was engineered to key together. If a snap-fit joint is loose, the problem is a nub you did not clean, not a lack of cement.
Sanding across detail is the second. Sand along the part, not into a raised panel line, or you will flatten the one feature that makes the surface read as machinery.
Trusting the box art color is the third. Box art is a painted, lit, professionally photographed build. Your kit out of the box is colored plastic, and that is fine. Paint is optional. Panel lines are not.
Kits that did not make this guide
Real Grade kits are engineering showcases. The inner frames are incredible, and they are also fragile for a beginner, which is why I left them out. MG kits are the sweet spot for detail and stability, and the 2.0 re-releases are the best the hobby has ever seen, but they are a lot of kit to learn on. Tamiya's automotive and military kits are the gold standard for plastic quality, and they belong in a guide about paint work, not a first build.
What this all costs
The tools are a one-time purchase and they outlive every kit you own. The kits are the recurring cost, and it varies with grade, scale, and stock, so check current Amazon price rather than trusting a number you read in a forum post from three years ago.
The real math is time. A snap-fit kit is an evening. A glue and paint car kit is a few weekends once you factor in cure time between modules. Over a year, the difference between the two paths is not money, it is how many finished models are on your shelf instead of half-built ones in a box.
Start with the kit that matches the skill you actually have, follow the order above, and finish something. A finished model teaches you more than three unopened boxes ever will. That is the job. The sprue is the truth.