I've been painting Gunpla for over two decades, and I own both an airbrush setup and a shelf full of brushes that have seen better days. The question I get asked most at competitions isn't about technique or topcoats.
It's "do I need an airbrush?" The short answer is no. The honest answer is more complicated, and it's going to cost you somewhere between ~$60 and ~$400 depending on which path you take.
The verdict: hand painting is the better starting point for 80% of builders, because it costs less than ~$50 to begin, teaches you paint behavior you'll need anyway, and the finish gap between the two methods has narrowed dramatically in the last five years.
Pros and Cons
| Method | Pros | Cons |
|---|---|---|
| Hand Painting | Cheap to start, no ventilation needed, easy cleanup, teaches paint thinning | 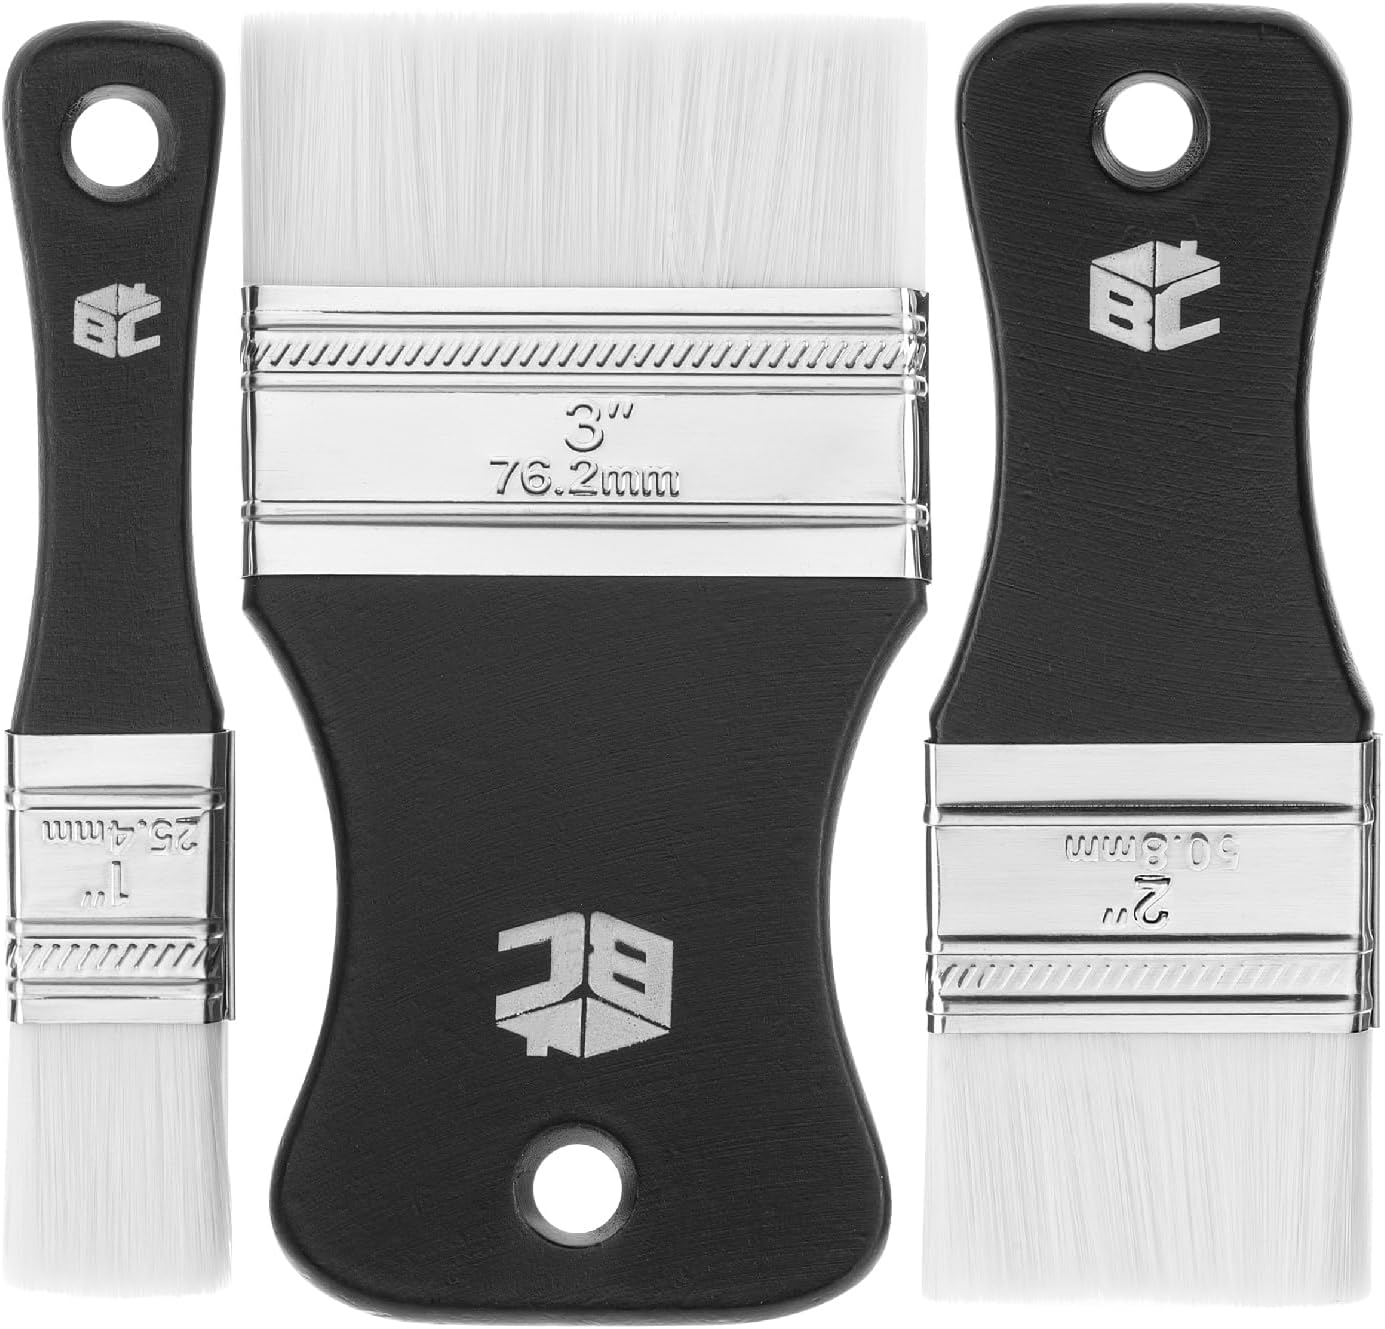 Visit on Amazon → Visit on Amazon →Slower for large surfaces, brush strokes on flat panels, harder to get smooth gradients |
| Airbrushing |  Visit on Amazon → Visit on Amazon →Smooth even coats, faster on big kits, gradients and shading possible, better for candy finishes |
Check price+ for a decent setup, needs ventilation, compressor noise, cleaning between colors |
Compared To
The real comparison isn't brush versus airbrush. It's brush versus airbrush versus rattle can. I've done all three. A ~$15 can of Tamiya spray paint will give you a smoother finish than any brush on a large surface, but you get one color per can, overspray goes everywhere, and you're paying ~$15 every time you want a different shade.
An airbrush gives you that same smoothness with infinite color control, but the upfront cost and learning curve are real.
A brush gives you precision and control that neither can match, but you'll fight to get a flat, even coat on anything bigger than a thigh panel.
Price: The Real Starting Point
Here's what nobody tells you about airbrushing. The airbrush is the cheap part. I bought my first setup for ~$120: a basic dual-action brush and a compressor from Amazon. Then I needed a spray booth because my wife didn't want propellant fumes in the spare bedroom that smells like plastic cement and regret.
That was another ~$80. Then a moisture trap, because water in the line ruins paint. Then a cleaning station, because you can't just rinse an airbrush in the sink.
Then better paints, because the cheap acrylics clog the nozzle.
Six months later I was ~$400 deep and still learning.
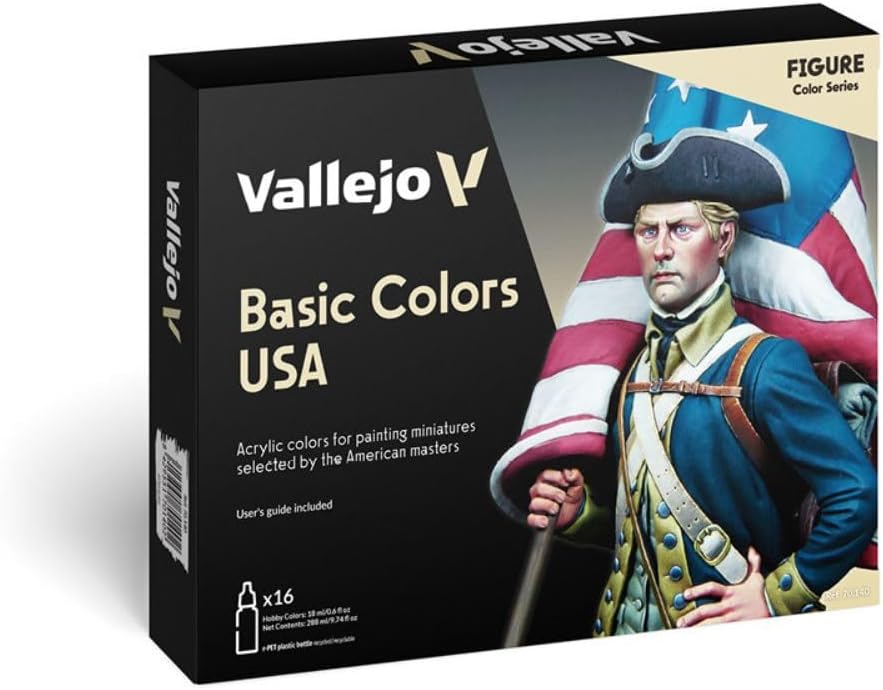
Hand painting cost me ~$45 total. A set of [Vallejo Model Color] paints, a few synthetic brushes, and a wet palette I made from a Tupperware container and some parchment paper. That setup lasted me two years before I upgraded anything.
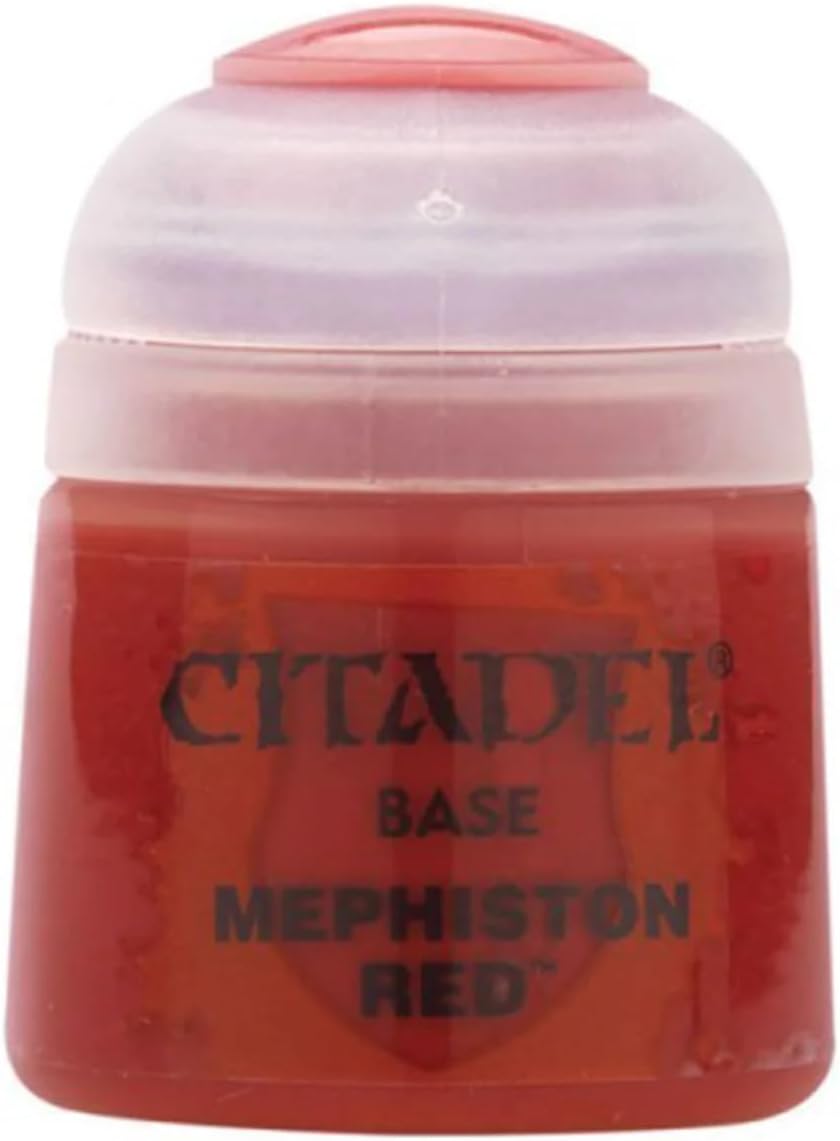
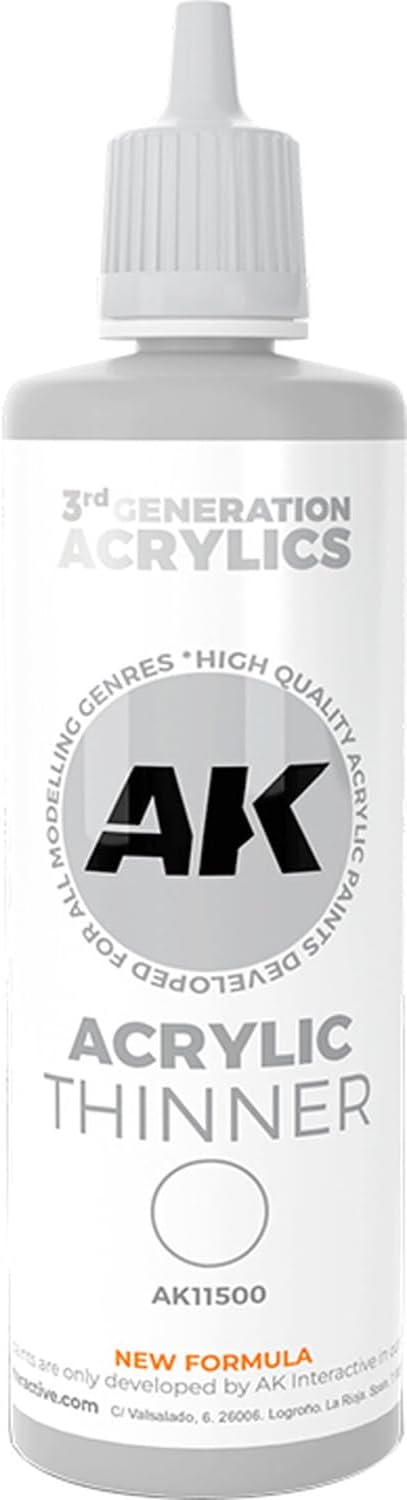
The [Citadel Base Paints] are pricier per pot but they cover better on plastic. The [AK Interactive 3rd Gen] line is my current favorite for hand brushing, but more on that later.
Skill Transfer: What You Learn Either Way
Here's the thing nobody tells you. Thinning paint is thinning paint. If you're brushing or spraying, you need to know what the right consistency looks like, how it flows, and when it's going to leave brush marks or sputter out of the nozzle.
I've judged two local Gunpla competitions, and I can always tell which builders started with brushes. They understand paint behavior better. They know what it looks like when paint is too thick because they've fought with it on a flat surface. They know how many thin coats it takes to build opacity. They've made the mistakes that teach you the fundamentals.
The airbrush-first builders get smoother finishes earlier, but they struggle when they need to do detail work. A brush is still better for eyes, sensors, and fine panel details. You can't mask everything.
Speed: The Honest Math
For a standard HG kit, hand painting takes me about 4 hours for a full color scheme. The [HG Gundam Aerial] took me 5 hours because of all the small white panels.
Airbrushing the same kit took 2 hours. That's the honest advantage. When you're painting a MG with fifty pieces that need color, the time savings add up fast.
But here's the catch. Setup and cleanup for airbrushing takes 45 minutes. I have to get the compressor out, fill the cup, test spray, paint, then break everything down and clean the nozzle so it doesn't clog for next time. Hand painting setup is grabbing a wet palette and a brush.
For a single kit, the time savings are marginal. For a backlog of forty kits like mine, the airbrush wins. But if you're building one or two kits a month, hand painting is not slower in real terms.
Finish Quality: What Actually Matters
The [MGEX Strike Freedom] taught me the limits of both methods. The gold inner frame on that kit needs to look flawless, and I spent hours hand painting it before realizing I'd never get the smooth, reflective finish I wanted with a brush. I switched to airbrushing it, and the difference was night and day.
The MGEX Strike Freedom's gold frame demands an airbrush for a smooth finish.
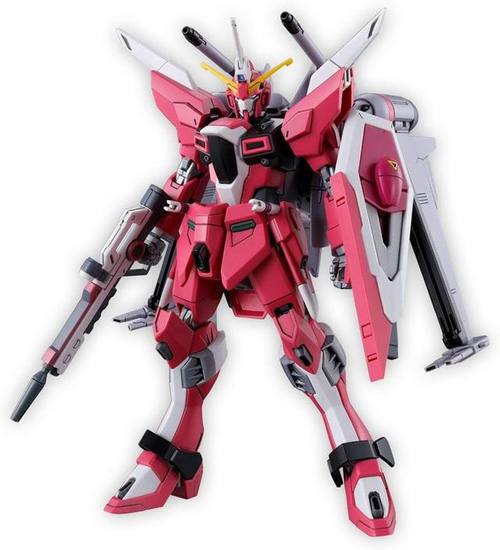
That said, the [HG Infinite Justice] has large flat panels that are a nightmare to brush. I got visible brush strokes on the shield and had to strip it and start over. An airbrush would have handled it in one pass.
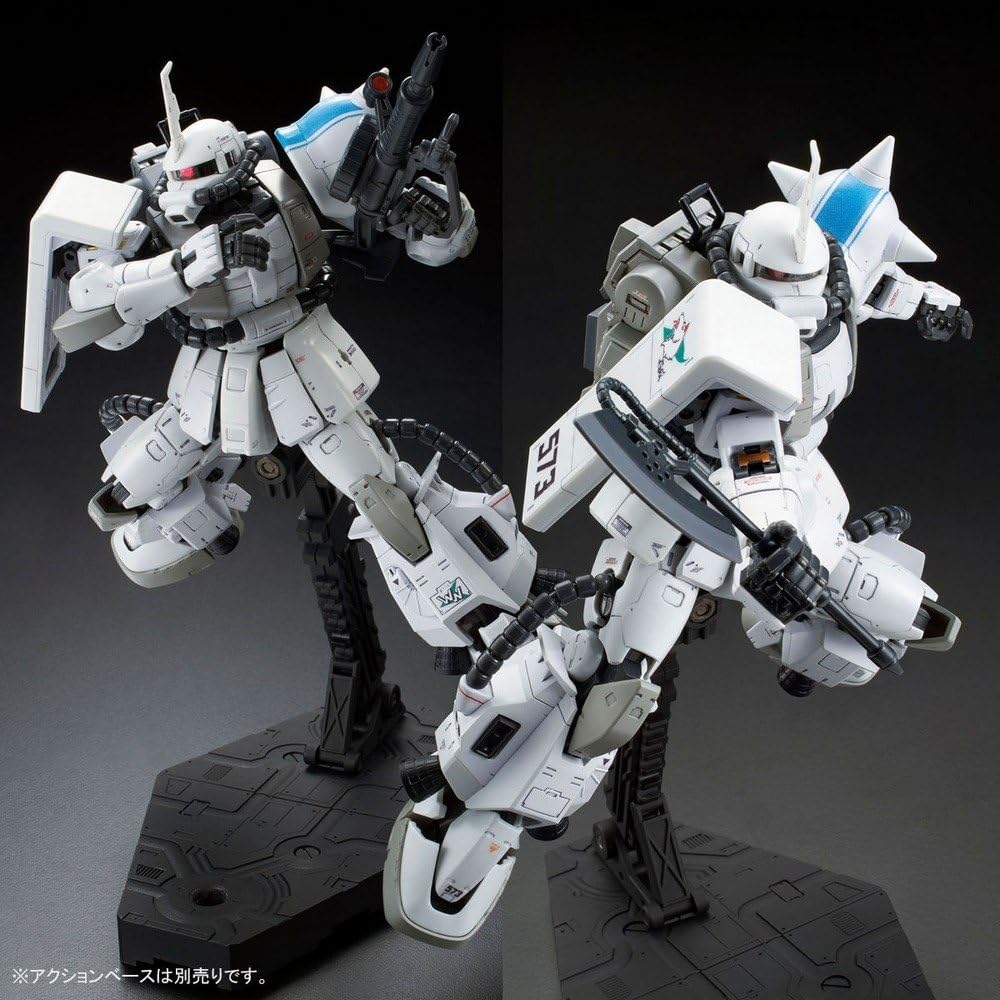
But for smaller kits and detail work, hand painting is genuinely competitive. The [HGUC Zaku II] has those curved shoulder pieces and the monoeye. I painted the whole thing by hand and it looks fantastic on my shelf. The trick is thinning your paint properly and doing multiple thin coats instead of one thick one.
Durability: What Survives Handling
Acrylics are acrylics. Whether you brush or spray them, they'll scratch if you handle the kit roughly. I've broken more parts than I care to count, and I've scratched plenty of paint jobs too.
The real durability difference comes from primer and topcoat, not application method. A good primer gives both methods something to bite into. A good topcoat protects the finish. I've used [Vallejo Model Color] for both brushing and airbrushing, and the durability is identical once the topcoat is on.
That said, airbrushed paint does seem to adhere slightly better because it hits the surface thinner and dries faster. But we're talking about a marginal difference that only matters if you're handling the kit constantly for photography or competitions.
The Middle Ground: Brush-On Primer and Washes
Here's the technique that changed everything for me. You don't need an airbrush to get a smooth base coat if you use brush-on primer. I use [AK Interactive 3rd Gen] primer thinned to a milky consistency, and it self-levels surprisingly well with a wide flat brush.
For panel lining, you don't need either method. A fine-tip pen or a wash applied with a brush and wiped off with a cotton swab works perfectly. The [HG RX-78-2 Beyond Global] was my test kit for this method, and the panel lines look as clean as anything I've airbrushed.
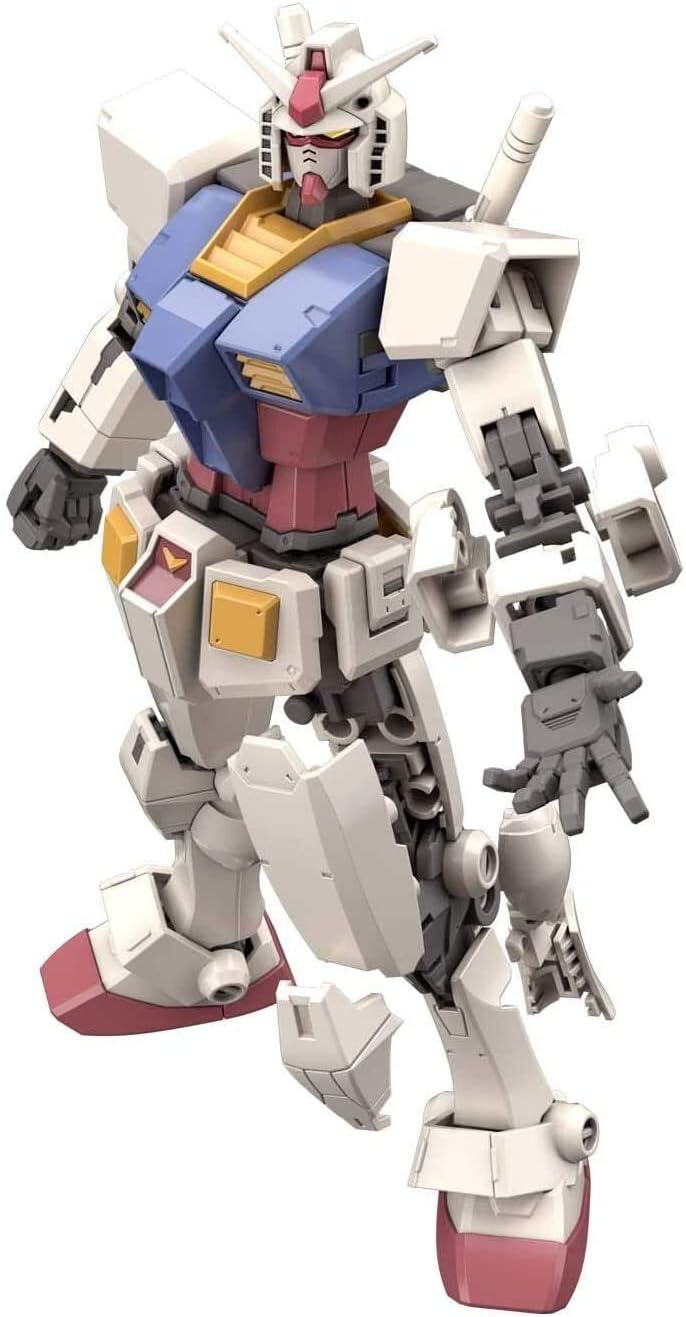
This middle path gets you 80% of the airbrush finish for 20% of the cost. The only thing you can't do is gradients and candy coats.
Ventilation and Space
This is the part that kills airbrushing for apartment dwellers. I have a converted spare bedroom with a window, and I still ran a spray booth setup because my wife could smell the propellant from two rooms away.
Hand painting has no fumes. The [Vallejo Model Color] line is water-based acrylic, and I've painted at my kitchen table with zero complaints from Miso, my six-kilogram cat who supervises every build. She's picky about smells.
If you don't have a dedicated workspace with ventilation, hand painting is the honest answer. Airbrushing without proper ventilation is how you end up with headaches and a spouse who questions your hobby.
Should You Buy an Airbrush?
If you're building your first or second kit, no. Buy a brush set, a wet palette, and some good acrylics. Learn how paint behaves. Make mistakes that cost you ~$5 instead of ~$40.
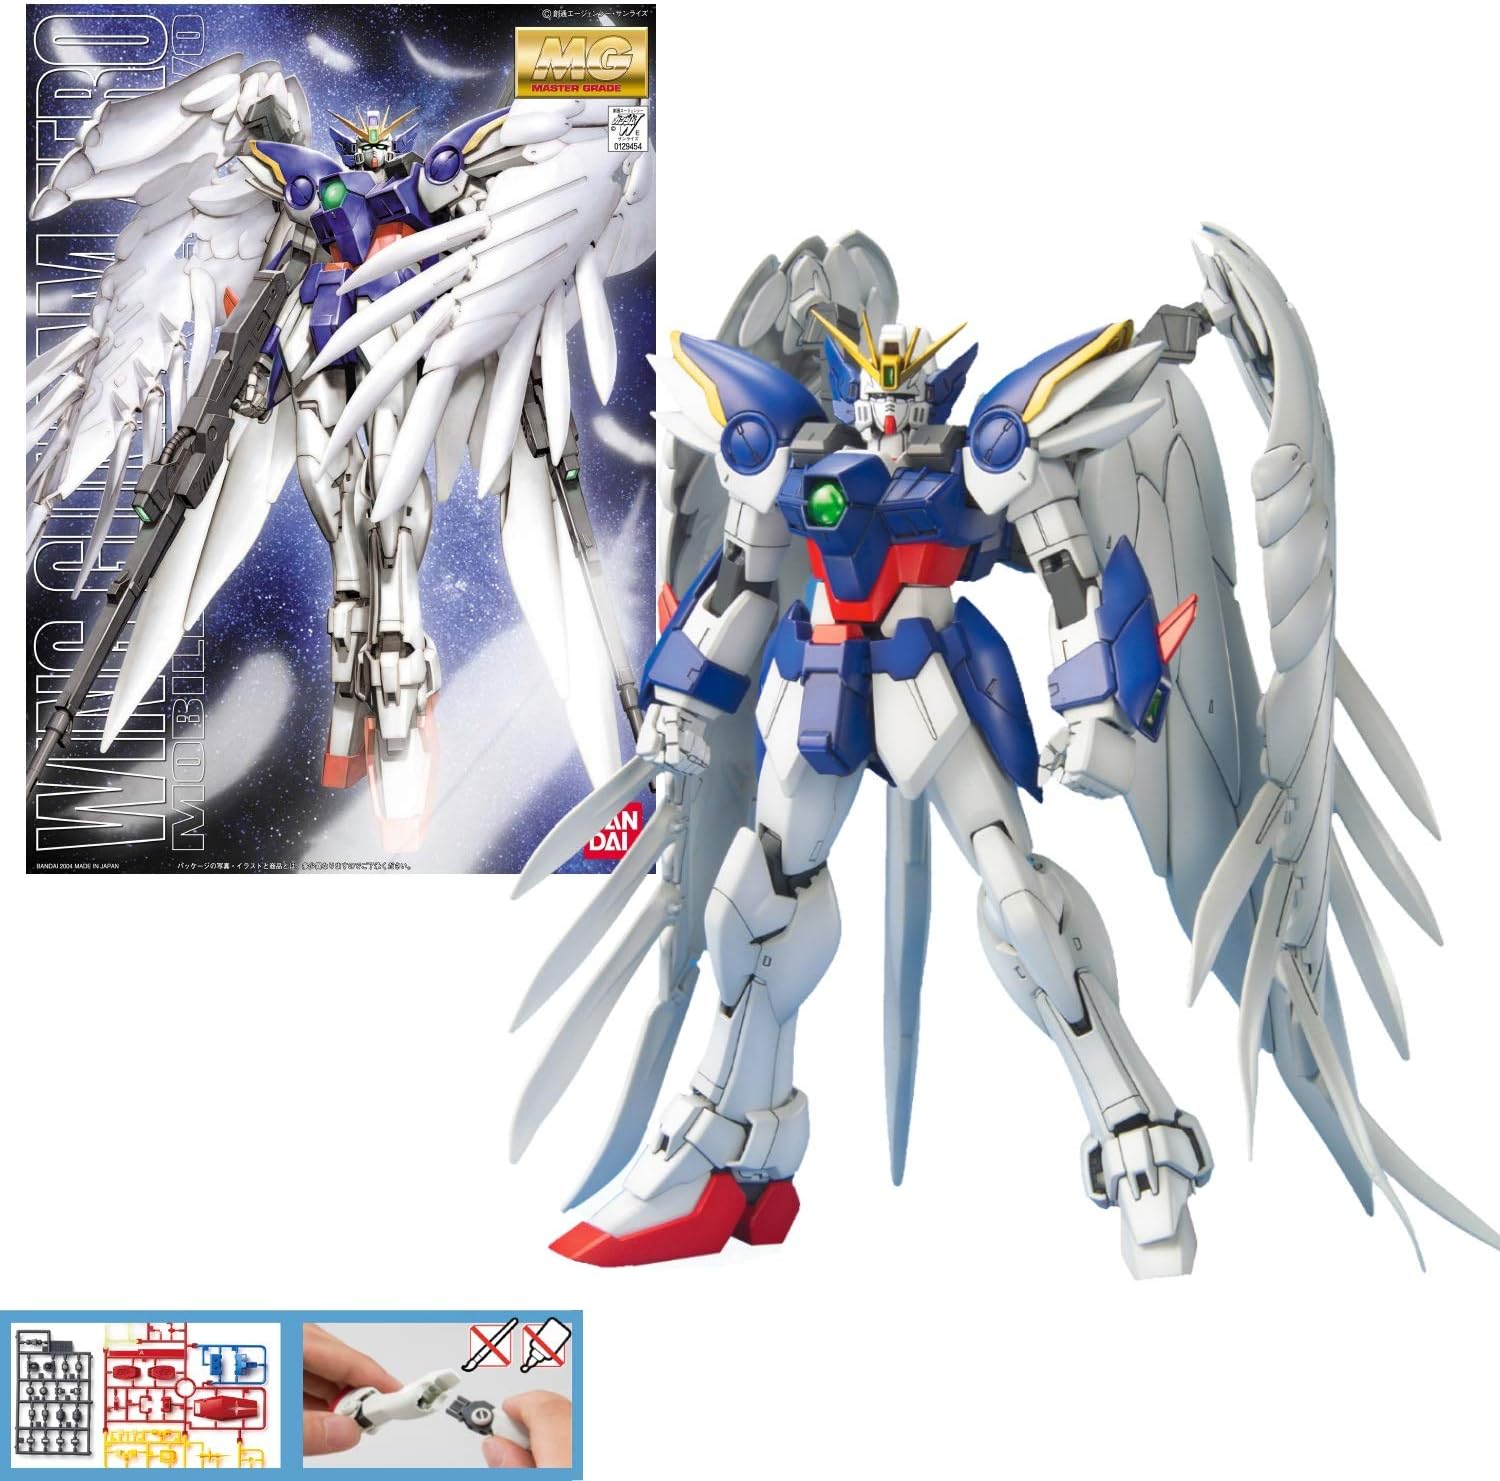
If you're building your tenth kit and you're frustrated with brush strokes on large panels, consider it. The [MG Ver.Ka Wing Gundam Zero EW] has those massive wing sections that are a nightmare to brush. That kit alone convinced me to buy an airbrush.
If you're building for competitions or doing custom paint work, yes. Airbrushing is the only way to get certain finishes, and the control over gradients and shading is unmatched.
I still hand paint details on every kit I build. The airbrush handles the big surfaces, the brush handles the small ones. It's not either-or, it's both.
What I'm Testing Next
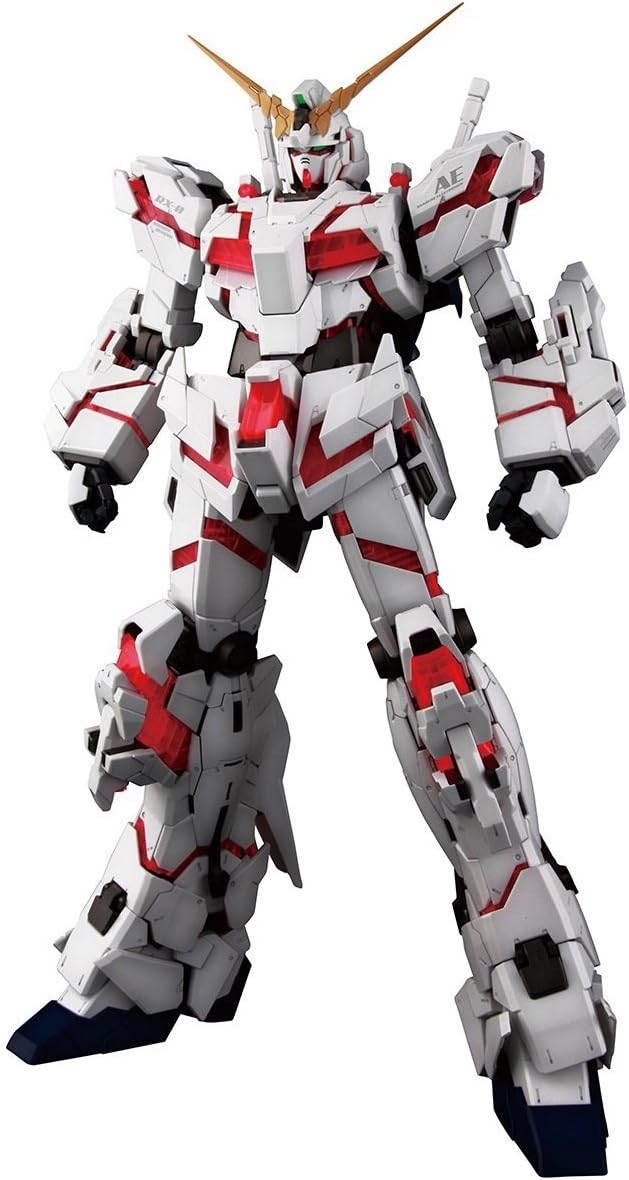
I just picked up the [PG Unicorn Gundam] after months of staring at it in my cart. That kit is going to be the ultimate test of both methods. The inner frame is massive, the armor panels are huge, and I'm planning to hand paint the frame details while airbrushing the armor. I'll report back on whether the hybrid approach holds up on a PG scale.