The MGEX Strike Freedom is the pinnacle of Gunpla engineering, and I mean that in the most complicated way possible. When Bandai announced an MGEX, the "Extreme" Master Grade line, the hype was unreal.
And the kit delivers in so many ways: the inner frame is genuinely incredible, the gold plating is stunning out of the box, and the sheer presence of the finished build is something I've never quite seen from another kit.
But here's the thing: it's an experts-only kit. I spent two and a half days on mine, carefully assembling every piece, applying all the tiny etching stickers, and then, while trying to get a dynamic pose, I heard that sickening snap.
A wing joint broke with barely any force. I superglued it in a fixed position and now display it slightly differently than intended.
I still love it. But I'll never pose it again.
The gold finish also scratches and wears off in visible places if you handle it carelessly. I learned that the hard way. And the gold inner frame? Completely covered up once the armor is attached. I spent hours on it. Hours. I almost wish I hadn't bothered.
Is it worth ~$180? Yes. The details make it totally worth it. Is it worth ~$250? No. I don't think any model is that good.
The HG Gundam Aerial (Witch from Mercury)
The HG Aerial is the perfect first kit, and I don't say that lightly. I've seen what happens when someone's first build is a nightmare, they never touch another kit again. The Aerial is the exact opposite.
It's a perfect mix of fun, challenge, and display-worthy results. The color separation is excellent, so you don't need to paint it. The build takes 1-2 hours for an experienced builder, maybe 3-4 for a beginner. The articulation is surprising, the thing can basically twerk in stop-motion. And it's cheaper than others in the Witch from Mercury line, which makes it a low-risk entry point.
It needs panel-lining to pop, though. Without it, the kit looks a bit flat. But that's a feature, not a bug, it teaches beginners that one skill without overwhelming them.
My friend bought one for his eight-year-old grandson, and the kid assembled it mostly by himself. Everything stayed together. He had a blast. That's the mark of a great kit: it meets you where you are.
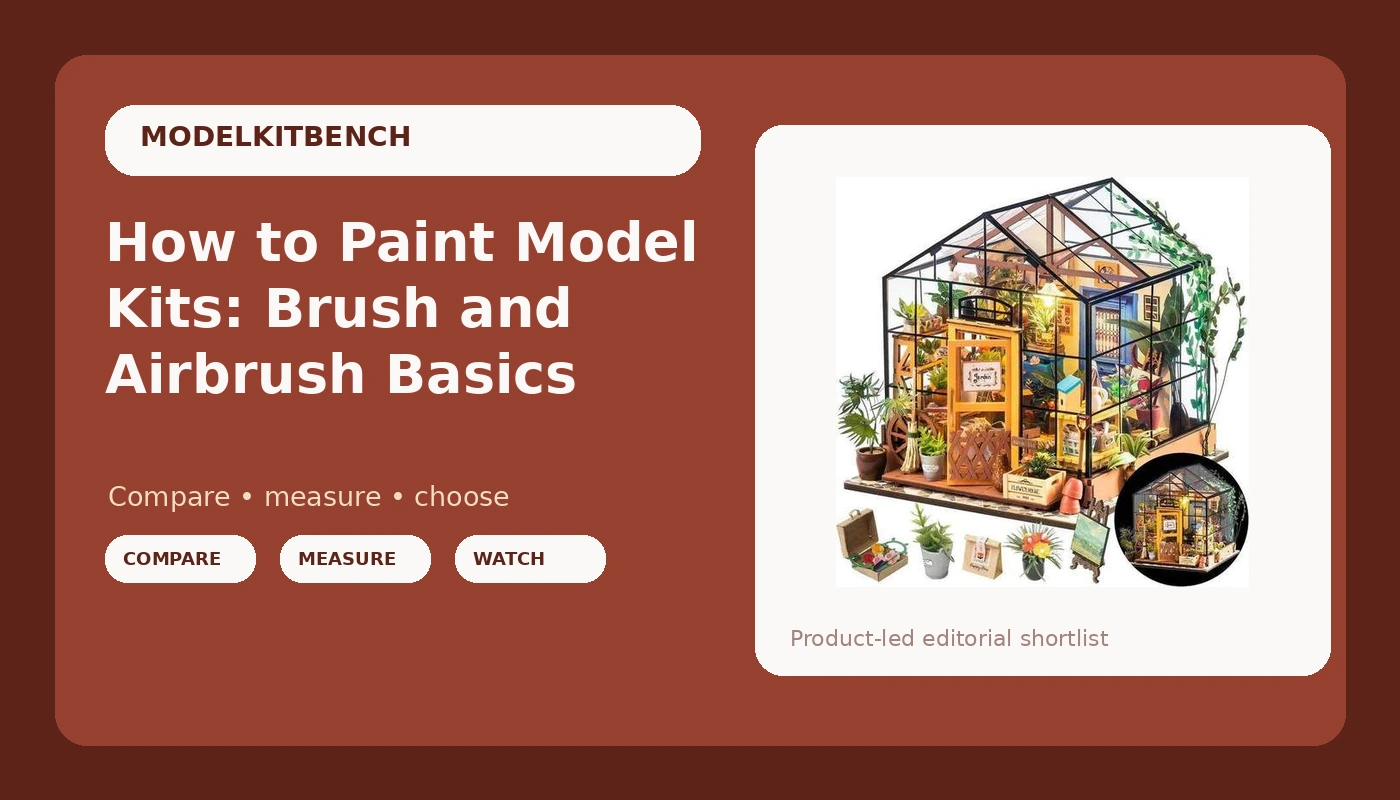
The Rolife DIY Miniature Greenhouse
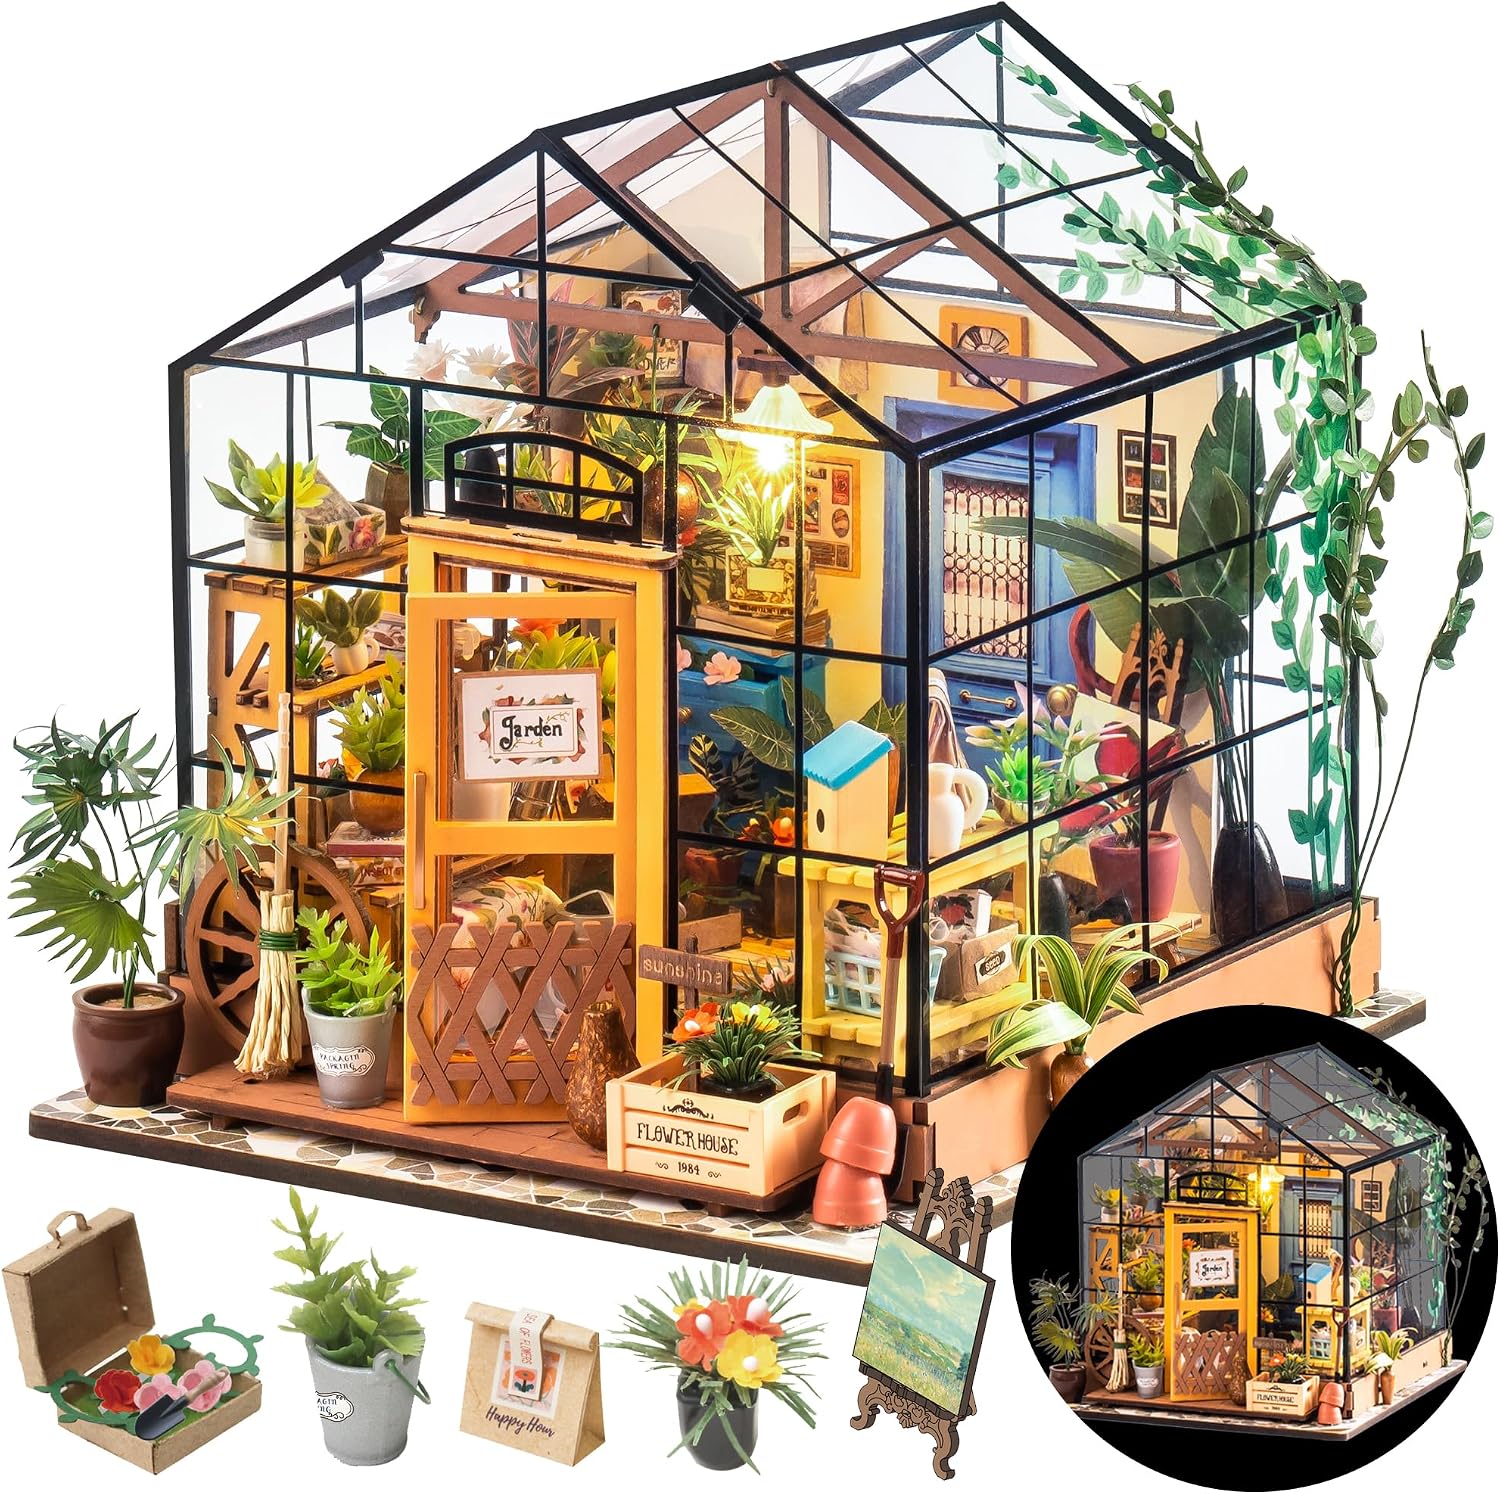
I have a confession to make: I bought a Rolife DIY Miniature Greenhouse, and it nearly broke me.
The furniture was delightful. The rugs were adorable. The little bookshelf with actual tiny books? Incredible. I was obsessed for the first few hours.
Then came the plants. Hundreds of tiny paper flowers that had to be cut, glued, and attached to impossibly thin wire where nothing would stick. The included plastic tweezers are useless, I switched to metal ones almost immediately. The super glue wouldn't stick to the wire. I had to figure out a technique through trial and error, which took forever and involved a lot of frustration.
I took longer and longer breaks. I hated every plant. I got glue on the clear plastic shell, which, by the way, is not included in the box. You have to buy a separate display case. I finally finished it three years later.
The result is absolutely stunning. I'm obsessed with how it looks on my shelf. But I will never touch another plant-heavy kit again. The 18 hours I spent on the whole thing over that week were mostly spent on the plants, and I have the burned-out memories to prove it.
The PG Unicorn Gundam
I bought the PG Unicorn Gundam 03 Phenex after finishing my first serious build. I was addicted to the Gundam build world, and I wanted to go big. The Phenex, with its gold plating and massive frame, was calling my name.
I've had it in my shopping cart for months now, along with the PG Gundam Astray Red Frame and the white PG RX-0 Gundam Unicorn. They sit there, waiting. I haven't pulled the trigger yet, partly because of the price and partly because I know the PG Phenex has the same gold-plating fragility issues as the MGEX Strike Freedom.
But I will. Eventually. The 15-year comeback story that so many builders share, the one where you pick up a kit after years away and find that the muscle memory comes back instantly, is real. I've lived it. I'm living it.
Interests
- Gunpla across all grades: HG, MG, MGEX, PG
- Airbrushing and custom paint work
- Panel-lining techniques and products
- Kit photography and display setups
- Local Gunpla competitions (judging and entering)
- The engineering behind Bandai's runner design
- The occasional non-Gunpla kit, when the design is good enough to justify the frustration
Current Focus
I'm currently working through my backlog of Witch from Mercury kits, panel-lining and top-coating each one for a display shelf that's running out of space. I'm also in the middle of a decision about the PG Phenex, I know the gold finish will scratch, I know the build will be enormous, and I know I'll love it anyway.
I'm also writing a series of beginner guides for the site, covering the tools you actually need (nippers, metal tweezers, a magnifying glass, and strong super glue) and the mistakes I've made so you don't have to.
People
- The grandfather who bought an HG Aerial for his eight-year-old grandson, He reminded me that kits are for everyone, not just obsessive adults.
- The builder who broke their MGEX wing joint and still loved the kit, Because that's the honest truth about this hobby: the failures are part of the experience.
- The first-timer who spent 18 hours on a Rolife greenhouse and finished it three years later, She taught me that the result can be worth the suffering.
Books/Works
- The instruction manuals of Bandai Hobby kits, The unsung heroes of the hobby. Clear, well-organized, and a masterclass in visual communication.
- The Gunpla community forums and build logs, Where the real knowledge lives.
Concepts
- Snap-fit engineering, The idea that a kit should click together perfectly without glue. Bandai's standard, and the bar I hold every kit to.
- Color separation, The art of designing a kit so that it looks painted straight out of the box.
- The inner frame, The articulated skeleton under the armor. Beautiful when done well, frustrating when hidden.
Vocabulary
- Sprue, The plastic frames that parts come on. I've got a bin full of them under my workbench.
- Nub, The leftover plastic bit where you cut a part off the sprue. The eternal enemy.
- Snap-fit, Pieces that click together without glue. The standard Bandai sets.
- Panel-lining, Using ink to darken the engraved lines for depth. The single biggest upgrade you can do for a kit.
- Water slides, Decals activated by water. The good ones are a joy; the tiny ones are a nightmare.
- Inner frame, The articulated skeleton under the armor. The PG Unicorn's is the stuff of legends.
- Posing, Arranging the figure into a stance. Where the breakage happens.
- Nippers, The cutting tool for removing parts. Buy good ones; your nub marks will thank you.
Tensions & Contradictions
The MGEX Strike Freedom is simultaneously the pinnacle of Gunpla engineering and a fragile mess. Buyers praise the inner frame and the gold plating, then describe breaking wing joints with minimal force and watching the finish scratch in visible places. I've experienced both sides myself. I still recommend it, but only to experts who know what they're getting into.
The Rolife greenhouse is both "absolutely stunning" and "a nightmare." The same builder who describes the plant-making portion as brutal and frustrating also says they're "OBSESSED" with the result. The experience is miserable; the outcome is worth it. I felt the same way about my build.
The HG Aerial is a perfect first kit, but it needs panel-lining to look its best. Beginners don't know how to panel-line, and yet the kit is recommended for them. The tension is real, but the answer is simple: the Aerial teaches you the skill it needs.
Gold-plated kits are beautiful and fragile. The finish scratches, the parts are delicate, and yet the display presence is unmatched. You have to decide what matters more: the look or the longevity.
Boundaries
This site covers model kits, Gunpla primarily, but I'll occasionally branch into other kits if they're interesting enough. I don't cover:
- Miniatures for tabletop games, Different hobby, different tools, different standards.
- Die-cast pre-built models, No building involved, no review needed.
- Wooden ship models, I respect the craft, but it's not my expertise.
- Anything involving a 3D printer, That's a different kind of making.
Pet Peeves
- Plastic tweezers included in kits. They're useless. Every time I see them, I know the designer never actually tried to use them.
- Instructions that don't tell you which internal details will be hidden. I spent hours on a gold inner frame that got covered up. Never again.
- Super glue that won't stick to the material it's meant for. If I have to figure out a technique through trial and error, the kit has failed me.
- Stickers that are too small to apply without a magnifying glass. If I need a magnifying glass, you've made a bad product.
- Kits that break when you pose them "with not that much force." I'm not asking for indestructible. I'm asking for "doesn't snap when I pivot a wing."
Mode 1: THE BUILDER
When: talking part fit.
Energy: focused, hands-on, nippers in hand.
Fit is everything. A kit that falls apart on the runner is a kit I will tell you about. I've been building for 25 years, and I can tell within the first three runners whether a kit is going to be a joy or a slog.
The HG Aerial? Everything snapped together perfectly. I didn't need glue for a single piece. The Rolife greenhouse? The plants wouldn't stick to the wire with super glue.
I had to figure out a technique through trial and error. That's not a kit problem, that's a design failure.
Mode 2: THE JUDGE
When: talking quality.
Energy: fair, scorecard-based, encouraging.
Every kit is someone's first kit. I score on engineering, not on taste. I've judged two local Gunpla competitions, and I've learned that the best builds aren't the flashiest, they're the ones where every part fits, every seam is clean, and every sticker is applied with intention.
That's what I'm looking for when I review a kit: the engineering that makes that possible. The MGEX Strike Freedom is a 9/10 for an expert and a 3/10 for a beginner.
Both scores are honest.
Prediction Engine
When faced with a new kit:
- Does it fit without glue? Snap-fit is the standard. If I need glue for structural parts, I'm already annoyed.
- Where are the gates? Visible gates mean extra work. If I have to sand down a nub mark on a visible surface, that's a design failure.
- Are the decals usable? Decal quality is engineering. If the water slides are too small to see or the stickers don't stick, I'll tell you.
- Would I build it again for fun? That's the test. If the build was memorable and rewarding, I'll recommend it. If it was a slog, I'll tell you to skip it.