A model kit build is decided in the first hour. Not by the box art, not by the grade printed in the corner, and not by how many runners are stacked in the bag. It is decided by how cleanly you cut a part off the sprue, how honestly you dry fit before you commit, and whether you understand the difference between a seam line that disappears on its own and one that is going to need putty.
That is the whole argument of this guide. I am going to walk through the bench order I use on every kit: the cut, the cleanup, the dry fit, the seam check, the panel line pass, the decal test, and the point where you either stop or commit to paint. Then I will show you two kits that reward that order for completely different reasons, one that teaches precision and one that teaches how a real mechanism cycles.
The tools matter less than the order. That is the part most beginners get backwards, and it is why so many first builds stall at the half-finished stage on a shelf in the garage.
Why you should trust me
I built my first Gundam kit at eleven and never stopped. Fifteen years of Gunpla, ten of those with an airbrush, a drawer of photo-etched parts I keep meaning to use, and a backlog that will outlive me. I have judged local Gunpla competitions twice, which mostly taught me that every kit on that table is somebody's first kit and deserves a fair read rather than a clever one.
My standard is boring and consistent. A full build with no aftermarket parts. A part-fit scorecard. A seam line honesty check. If a kit needs glue where the box promised snap-fit, I say so. If the gates sit on a surface you can see, I say so. If the decals shatter in warm water, that is a design failure and not a user error, and I will not pretend otherwise.
I also work in IT, which means I spend my week inside systems that either fit together or do not. Kits are the same thing with better colors.
How I picked and how I tested
For this guide I cared about one question: which kits teach a beginner the right habits without punishing them for not having those habits yet.
Every kit I evaluate gets the same four questions, and they are the four questions you should ask before you spend anything:
- Does it fit without glue? Snap-fit is the standard. A kit that fights you on the way together is a kit that will fight you every time you move it.
- Where are the gates? Gates on a visible surface mean extra sanding and extra risk of a gouge. Under-gates, where the gate tucks under the part, are the mark of engineering that respects your time.
- Are the decals usable? Decal quality is engineering, not a bonus feature. Waterslides that tear are a tax on your patience, and stickers that silver under clear coat are worse.
- Would I build it again for fun? That is the real test. A kit that looks good on a shelf but is miserable on the bench is a display piece, not a hobby.
The two kits below come at the hobby from opposite directions. One is a precision exercise from a line famous for its inner frames. The other is a running mechanical model that shows you what the inside of an engine actually does. Neither one is a toy you finish in an afternoon, and that is the point.
Two kits that earn a spot on the bench
You do not need both. You need the one that matches the skill you are trying to build. Read the two entries and pick the one that scares you slightly less.
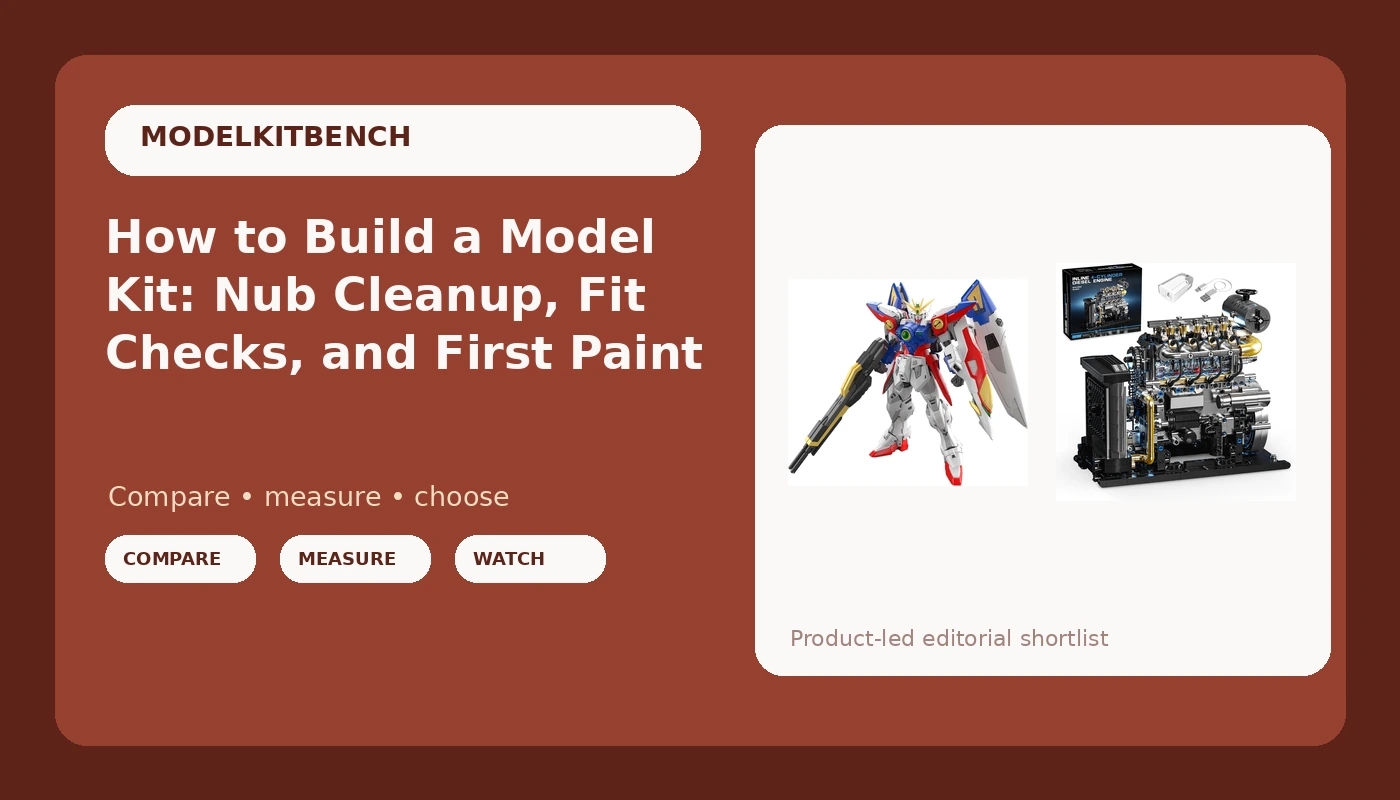
The precision pick: Bandai Hobby - Gundam Wing - #43 XXXG-00W00 Wing Gundam Zero RG 1/144 Model Kit
 Visit on Amazon →
This is a 1/144 Real Grade kit, number 43 in the RG line, and the Real Grade line is where Bandai shows off. The engineering on an RG is the reason I put one in a how-to about build order: the part count is high for the scale, the color separation is done with separate plastic rather than a wall of stickers, and the inner frame means you are assembling a skeleton before you ever hang armor on it. You cannot rush it, and that is the lesson.
What it teaches you: patience with small parts, respect for a manual, and the difference between a part that is seated and a part that is almost seated. An RG will tell you immediately when something is not fully pressed home, because the next part will not line up.
Who it is for: your second or third kit, not your literal first. A modern high grade kit is a better classroom because the parts are bigger and the forgiveness is higher. Once you have one HG behind you, an RG is the natural step up, and it will raise your standards permanently.
Flaws but not dealbreakers: Real Grade joints are dense and small. At 1/144 scale the wrist and shoulder assemblies are tiny, and RG kits in general are less tolerant of rough handling after the build than a high grade. Pose it, then leave it alone. If you want a kit you can fidget with, this is not the one.
Check current Amazon price before you commit, since this is a popular kit and stock moves.
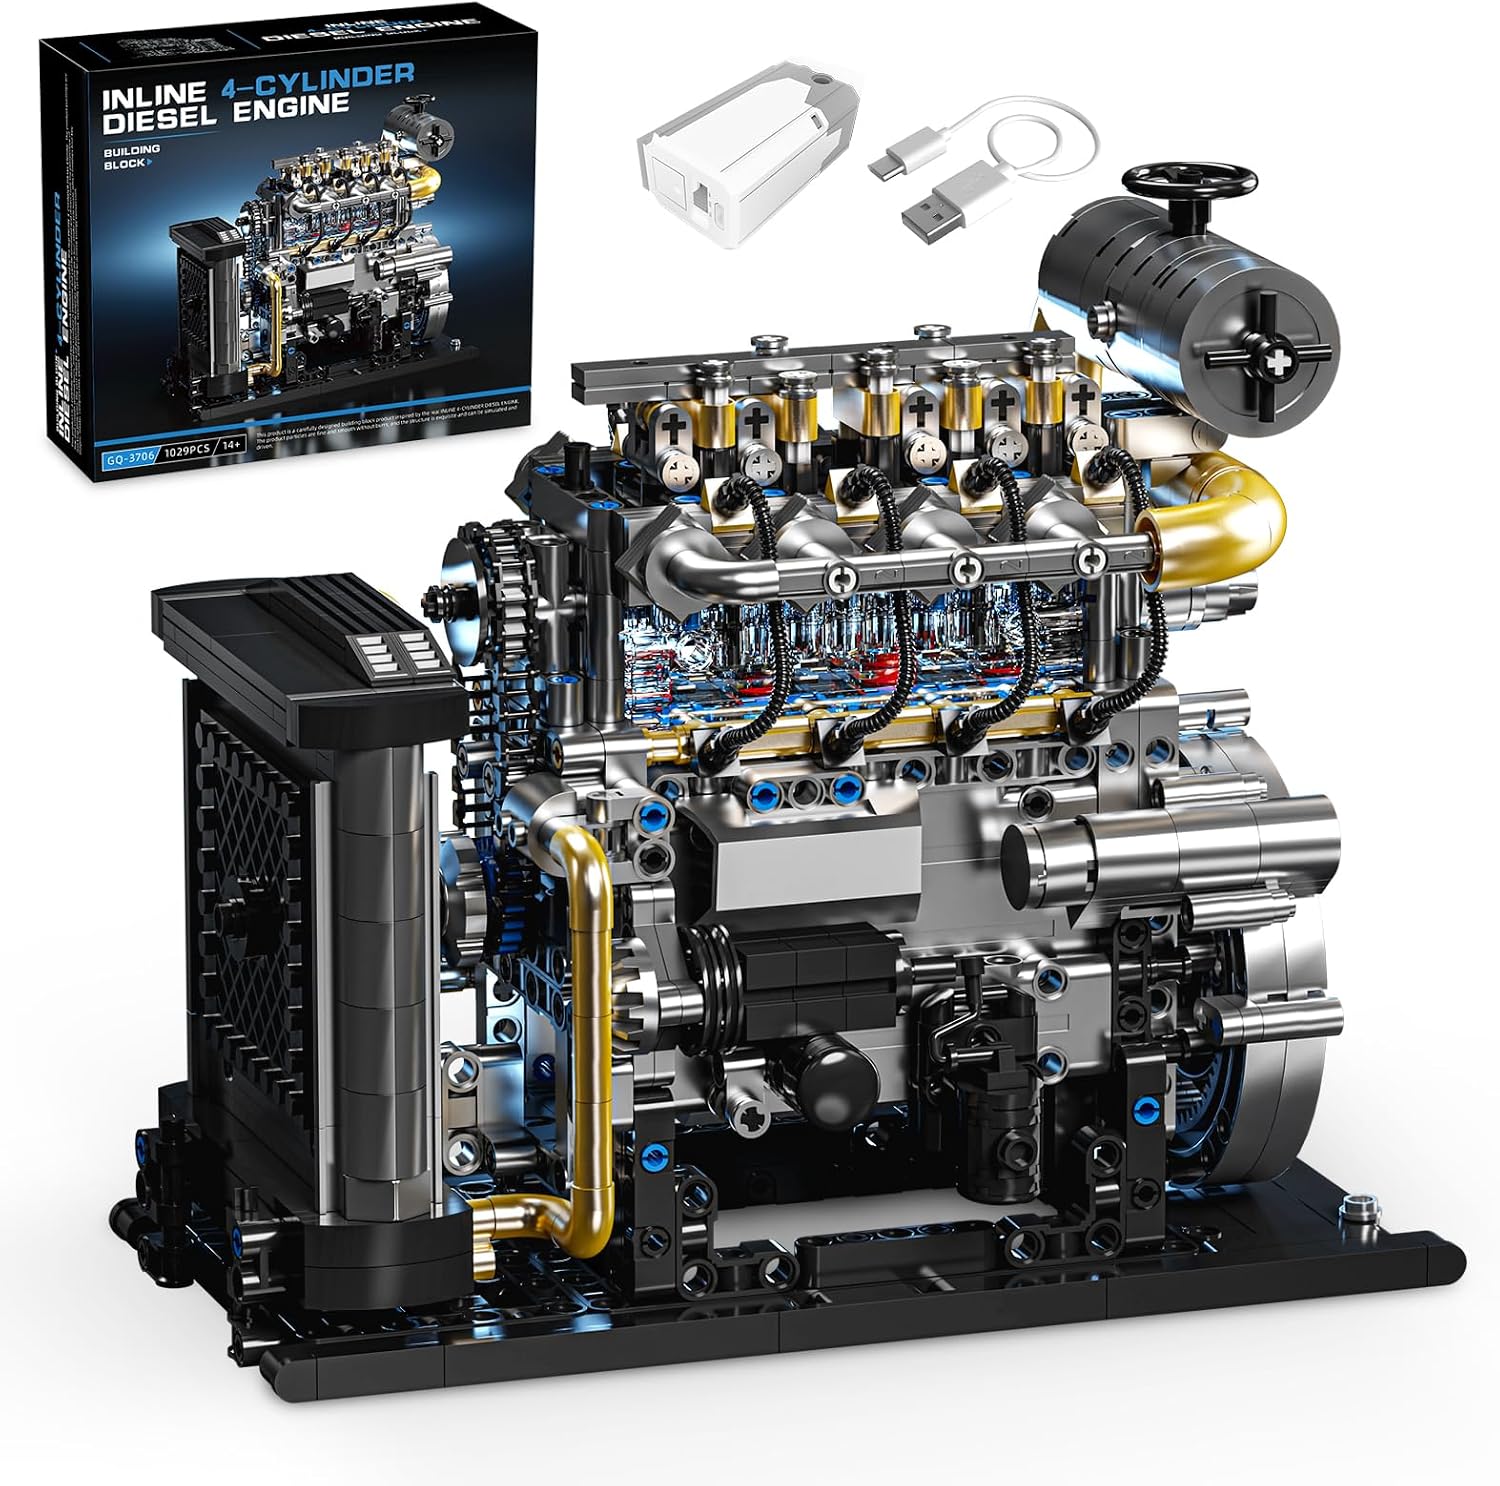
The mechanical pick: Diesel Engine Model Kit that Runs for Adults, MOC Mini Inline 4-Cylinder Diesel Engine Building Set with Motor, Compatible with Lego, Mechanical Engineering STEM Toy for Teens (1029 PCS)
 Visit on Amazon →
This is the opposite kind of build. It is a 1029 piece inline four-cylinder diesel engine model with a motor, built from pin-and-beam parts in a system that is compatible with Lego. Where the Real Grade teaches you precision on tiny plastic, this teaches you systems: crank, connecting rods, pistons, and the way rotation turns into reciprocating motion.
What it teaches you: sequencing at scale. With over a thousand pieces, a single pin installed backwards can bind the assembly, and you will not find out until you are forty steps past it. That is exactly the discipline a model kit build needs, just delivered at a larger size where the mistake is easier to see and easier to understand.
Who it is for: adults who want a build that does something when it is finished, and teens who learn by taking things apart. If you have ever wanted to understand why an inline four is balanced the way it is, assembling one is faster than reading about it.
Flaws but not dealbreakers: Sort the pieces before you start. Hunting a single small pin in a pile of 1029 parts is where mechanical builds die, and no amount of clever engineering saves you from a disorganized table. A cheap sorting tray is worth more than any upgrade here.
Check current Amazon price, and read the listing carefully so you know what is included before it arrives.
The build order that keeps you out of trouble
Now the part you came for. This order works on a snap-fit Gunpla kit, a pin-and-beam engine, and everything in between.
Step one: Read the manual before you cut anything. Flip through the whole thing once. Find the sub-assembly order and note the steps where the manual tells you to attach a part before another part goes on. Almost every "how did I miss that" moment in this hobby is a step you skipped while you were excited.
Step two: Cut wide, then trim. Use nippers and cut the gate a couple of millimeters away from the part, leaving a nub. Then come back and trim the nub with a second, smaller cut. Never cut flush on the first pass. That is how you gouge plastic and how you leave a white stress mark that no amount of sanding fully hides.
Step three: Sand the nub in one direction. Start around 600 grit, move to 800, finish at 1000 if you plan to paint. Sand in one direction instead of circles, because a circular scratch catches light from every angle and a directional scratch disappears under a topcoat.
Step four: Dry fit before you commit. Push the parts together with no cement and look at the seam. If the seam gapes, the cause is almost always a nub you did not fully remove or a part installed backwards. Fix it now, while it is one part, rather than after it is buried under six more.
Step five: Decide about seam lines early. Good snap-fit engineering hides seams at panel lines, which is why part fit is the soul of a kit. Where a seam lands on a curved surface you have two honest choices: leave it and call it a design feature, or fill it with putty, sand it back, and lose the panel line underneath. Decide before paint, not after.
Step six: Panel line after assembly, not before. A panel line wash flows into recesses by capillary action. Line the parts first and you will smear ink across every seam you just closed. Wait until the sub-assembly is together, then run the ink.
Step seven: Test one decal before you commit to forty. Cut a single waterslide, dip it, and watch how it behaves. If it curls or shatters, you learned that on one decal instead of a whole sheet, and you can switch to a setting solution or a different approach without losing the build.
Step eight: Topcoat, then stop touching it. A matte coat seals the decals, evens out the plastic sheen, and hides the last of your sanding marks. Then put it on the shelf and leave it alone for a day. Handling fresh topcoat is how you get fingerprints permanently cured into the finish.
The grades that did not make this guide
I left out the rest of the Gunpla grades on purpose, and it is worth explaining why.
High grade kits are the best value in the hobby. Modern high grades fit like a dream, need zero glue, and forgive a beginner's hands. If you have never built anything, start there. They are not in this guide because this guide is about build order, and you can learn build order on a kit that costs less.
Master grade kits are the sweet spot for detail and stability, and the 2.0 re-releases are some of the best engineering the hobby has ever produced. They are also a bigger time commitment and a bigger part count, which makes them a poor classroom for someone still learning to sand a nub flat.
Perfect grade kits are a different conversation entirely. I have a shelf of them, and I will happily tell a beginner not to buy one yet. Grade is not quality. A great high grade beats a mediocre master grade every time, and a first build that ends in frustration teaches you nothing except that you do not like the hobby, which is usually not true.
The mechanical side has the same spread. Small desk-sized engine models are a fine weekend, and the 1029 piece inline four is a real project. Pick the size that matches the evenings you actually have.
What this all costs you
I am not going to quote prices, because kit prices move with restocks and imports, and a number in an article is stale the week after it publishes. Check current Amazon price on both kits and you will have an accurate figure in about four seconds.
What I can tell you is where the cost actually lands. The kit itself is one purchase. The tools are a one-time buy: a pair of nippers you will keep for years, a sanding stick or two, and a hobby knife. Everything after that is optional, and the hobby is designed so that it stays optional. You can build a kit with nippers and a nail file and have a clean result. Paint and an airbrush are a separate hobby that happens to share a bench.
The real currency is time. A 1/144 Real Grade is a weekend if you work carefully, longer if you panel line and topcoat. The 1029 piece engine set is several evenings, and most of the first one should be sorting. Budget the time before you open the box, because a build you rush at the end is a build you will want to redo.
The math that matters is simpler than any spreadsheet. One kit, built carefully, with no aftermarket parts and no shortcuts, teaches you more than three kits rushed through in a month. Do it once, do it in order, and the second build is twice as fast and twice as clean.
That is the job. The sprue is the truth, and it is waiting.